This tutorial shows you how to make your own customized enamel camp mugs with very limited supplies!
As some of y'all know, my grandmother passed shortly before Easter. She was 90, almost 91, and she hadn't been comfortable or happy with her deteriorating health for some time. She'd been in and out of the hospital, physical rehab, nursing homes, and assisted living for the past two years. I am glad she's no longer suffering, but miss her a great deal and am sorry she never got to meet our LG in person.
While going through my old things at my mom's house, I came across a set of enamelware mugs she gave me about 10 years ago. I honestly haven't had much occasion to use them, but had the idea for a fun project when I encountered them.
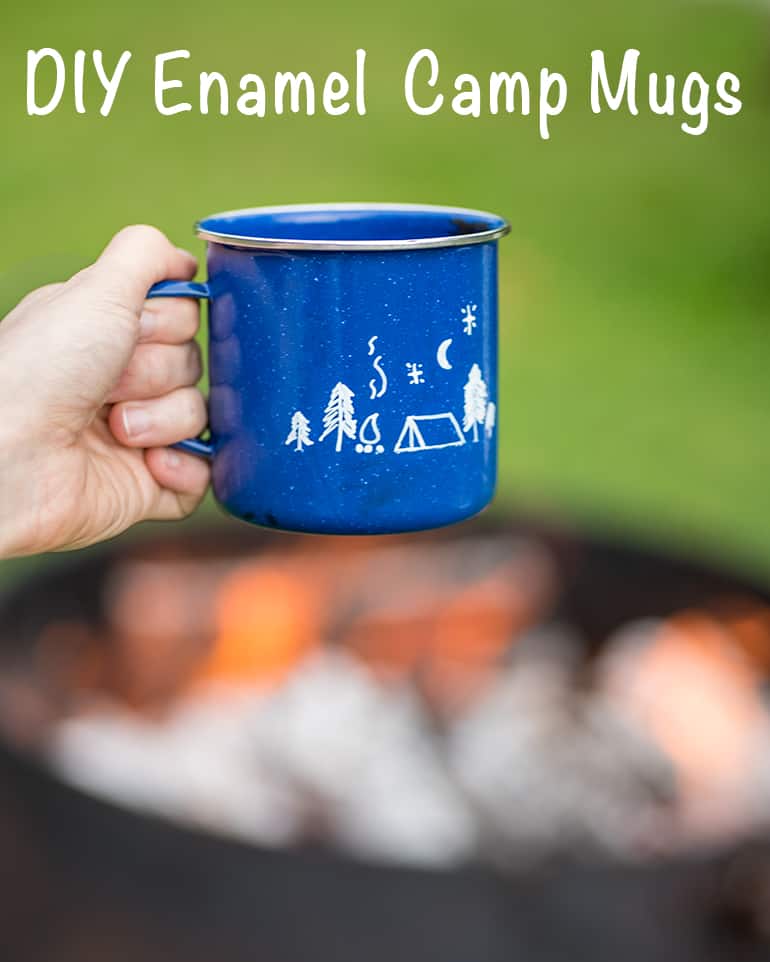
I grabbed a paint pen and quickly turned them into DIY enamel camp mugs that were absolutely perfect for our recent trip to West Virginia! Keep reading and I'll show you how to make your own on-trend camp mug that's perfect for your adventures.
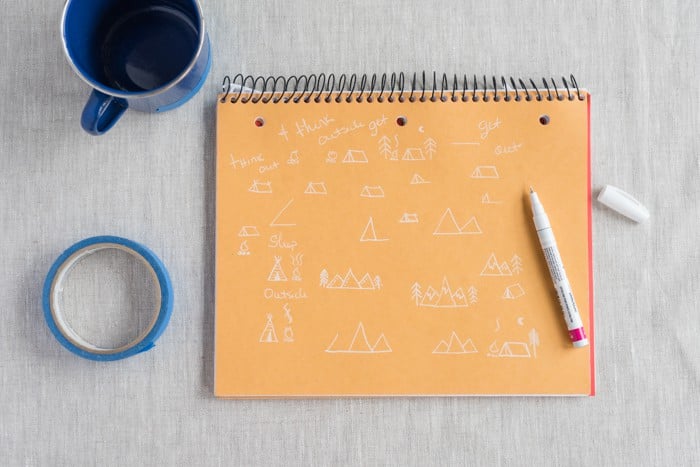
Materials needed for DIY enamel camp mugs
- Enamel mugs to decorate! You can go with classic blue mugs, but there are so many shapes, colors, and sizes of enamelware mugs today that you can easily find something else if it suits your style better.
- Rubbing alcohol and a paper towel.
- White extra fine tip oil based Sharpie paint pen. Other paint pens designed for use on ceramics should work, but water based makers will not work! They'll go on the mug, but rub right off.
- A piece of cardstock or colored paper to practice your designs on. We still don't have our household goods so I used the manila file divider in a spiral notebook and it worked fine!
- Painter's tape. Optional but helpful.
How to make your own adventure camp mugs
Grab a piece of cardstock or colored paper (something that your white paint pen will show on) and practice drawing a few designs. I highly recommend drawing with paint pen because it will behave differently from a 'normal' pen and you want to practice before you start drawing on your mug!
If you want even more practice, tape a piece of paper onto your mug and draw on it.
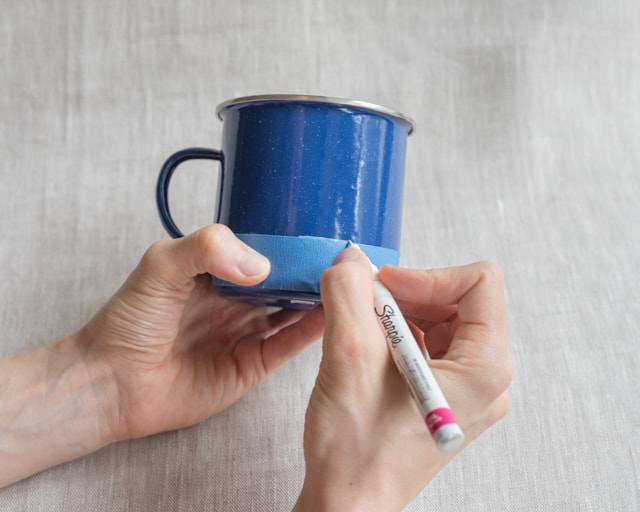
Once the alcohol has dried fully, you may want to place a piece of painter's tape on your mug to act as a guide. Once the alcohol has dried fully, you may want to place a piece of painter's tape on your mug to act as a guide.
If you make a mistake, do not panic! Clean it up with rubbing alcohol and a paper towel.
If you experience any dripping behind the tape, you can carefully clean up the drips this way, too.
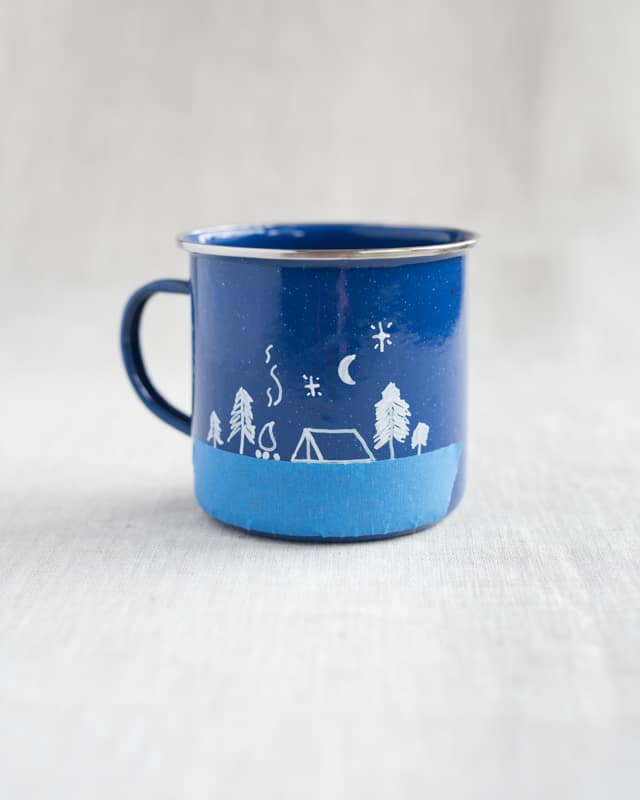
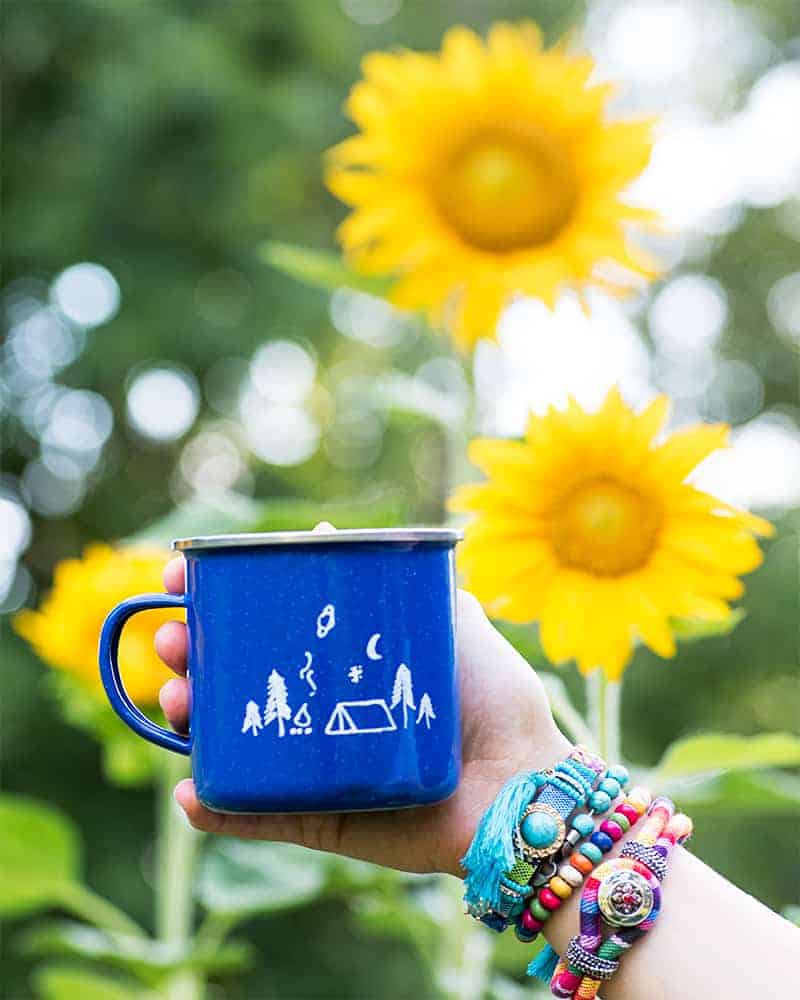
DIY Enamel Camp Mugs
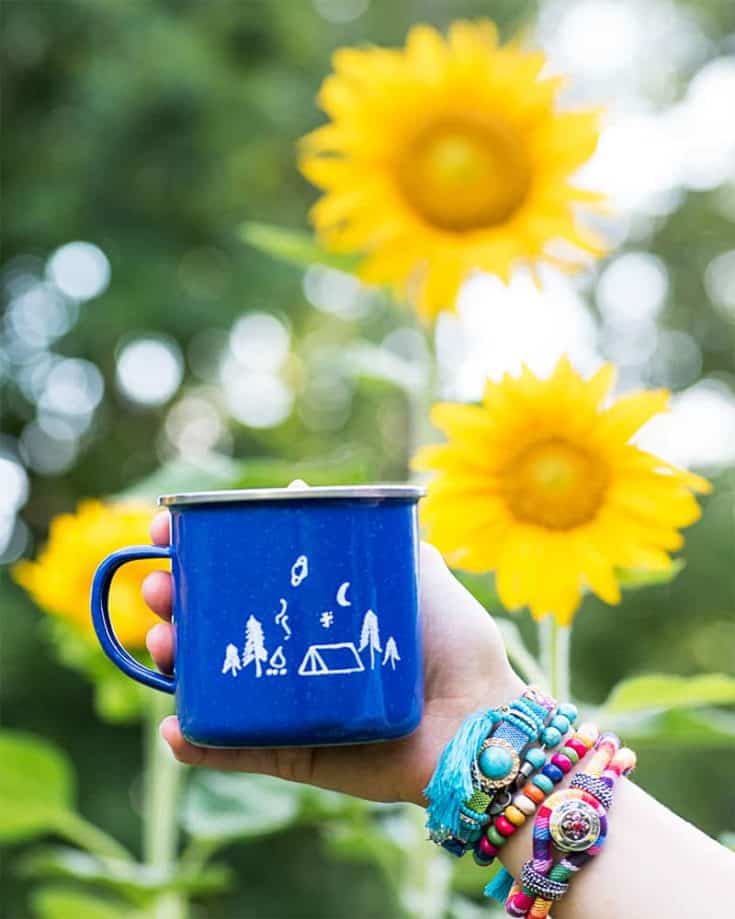
These easy personalized enamel camp mugs are perfect for your summer adventures!
Materials
- Enamel mugs to decorate! You can go with classic blue mugs, but there are so many shapes, colors, and sizes of enamelware mugs today that you can easily find something else if it suits your style better.
- Rubbing alcohol and a paper towel.
- White extra fine tip oil based Sharpie paint pen. Other paint pens designed for use on ceramics should work, but water based makers will not work! They'll go on the mug, but rub right off.
- A piece of cardstock or colored paper to practice your designs on. We still don't have our household goods so I used the manila file divider in a spiral notebook and it worked fine!
- Painter's tape. Optional but helpful.
Instructions
1. Grab a piece of cardstock or colored paper (something that your white paint pen will show on) and practice drawing a few designs. I highly recommend drawing with paint pen because it will behave differently from a ‘normal’ pen and you want to practice before you start drawing on your mug! If you want even more practice, tape a piece of paper onto your mug and draw on it. The curve of the mug definitely changes things!
2. When you’re happy with your design, clean your mug with rubbing alcohol. This will remove any residues or oils and help the maker stick.
3. Once the alcohol has dried fully, you may want to place a piece of painter’s tape on your mug to act as a guide.
4. Get drawing! If you make a mistake, do not panic! Clean it up with rubbing alcohol and a paper towel. If you experience any dripping behind the tape, you can carefully clean up the drips this way, too.
5. Have fun this summer!
Notes
These mugs are washable, but I recommend gently washing them by hand to help protect your design.
You may also want to be careful with them if you have any sunscreen or bug repellant on your hands. I’ve had paint lift off things from sunscreen and bug repellant before.
Where will you go venturing with your mug?
More summer fun
More Related Posts
[pt_view id=“15d429e15n"]
[catlist search="tutorial" numberposts=4 orderby=rand excludeposts=this]


Sarah
These are super cute! I am obviously a bit of a numpty but I do remember burning myself on an enamel mug because I just didn't realise how hot they got compared with pottery ones!
Natasha
I've totally done that before, too! It's an easy mistake to make.
Lydia
Looks amazing! Decorating mugs are always so fun.
Natasha
Thank you! I don't even know how many mugs I've decorated in my life - it's one of those things that never gets old for me!