This post may include affiliate links, which means I may make a commission on purchases made through these links at no additional cost to you.
Valentine's Day has always been strongly associated with handmade in my mind. When I was a young child, my mom and I used to create homemade Valentines with paper, glitter, and doilies.
This association as stuck in my mind, which is why today I'm sharing a guided polymer clay Valentine tutorial to help you celebrate the day in handmade style!
This polymer clay heart can be used as a Valentine (just grab a fine tip Sharpie and write on the back!), a gift tag, or a brooch. It's versatile and easy to make so I hope you jump on the homemade Valentines wagon and craft along!

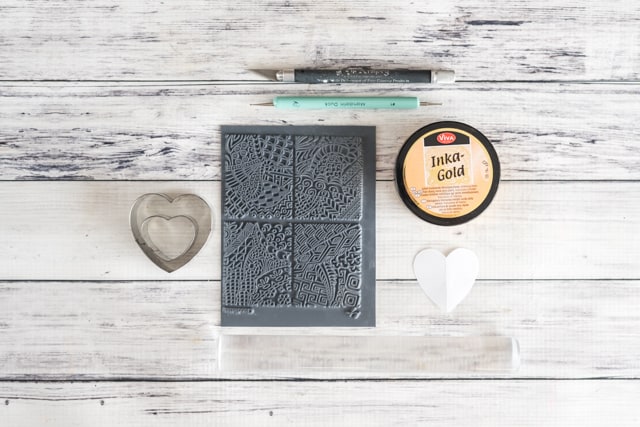
Materials needed to make a polymer clay Valentine
- Polymer clay! I highly recommend Premo! Sculpey or another 'nicer' brand like Kato.
- An acrylic roller.
- Pasta machine for clay use - optional.
- A texture stamp.
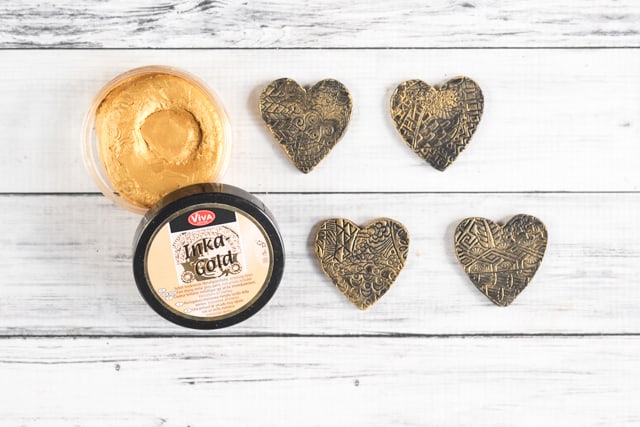
- Rub'n Buff, Inka Gold, or other similar product to 'gild' your Valentines. You could also use mica powder or Pearl Ex.
- A heart shaped cutter or a heart template to trace. A cookie cutter works well, but please use one set aside for clay use and don't switch back and forth from clay to food. I've used this set for about 4 years.
- If you use a paper template, you'll need a ball head tool or colored pencils & a hobby blade. You can grab a free 1.75" heart printable here.
- Update!! If you'd like to make other sized hearts, check out this post of 20+ heart template printables!
- A teflon crafting mat, piece of cardstock, or something else to bake your clay piece on.
- Optional:
- A skewer, ball head tool, etc. to make a hole for a tag, garland, bookmark, etc.
- A pin back and adhesive to make a brooch. E6000 works well if you have a well-ventilated space.
- Nitrile gloves to keep your fingers from getting messy.
- A paint pen or Sharpie to write a Valentine message (a gel pen will not stick to the clay).
How to make a polymer clay Valentine
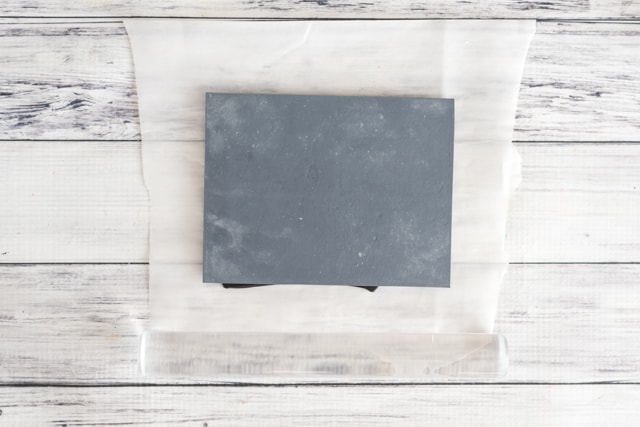
Condition your clay.
The exact amount needed will depend on how large your heart cutter is, how thick you want your Valentines to be, and how many you're making.
I used less than one ounce of clay for the pictured hearts, but make sure to condition and roll out more clay than you'll ultimately need. To condition, run repeatedly through your pasta machine and/or knead with your hands.
Roll out your clay to a thickness you like. I used the thickest setting on my pasta machine.
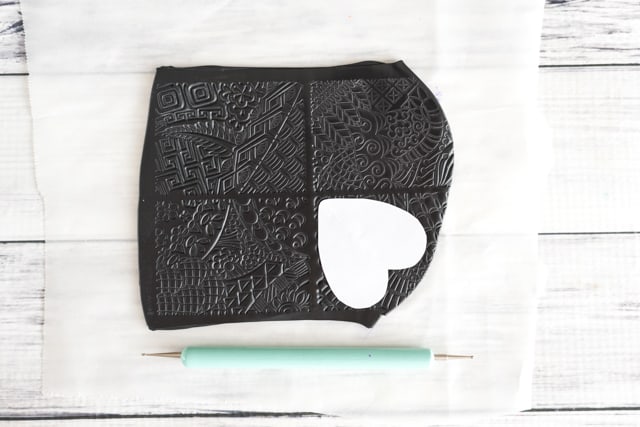
Use a clean texture stamp to stamp your uncut sheet of polymer clay.
If your stamp isn't clean and you're using a light colored clay, clean it off with a bit of rubbing alcohol stamp cleaning solution.
Place your stamp face down on the clay and roll across it once, applying firm, consistent pressure with your acrylic roller. Rolling more than once risks blurring the design.
Cut out your heart(s)! If you're using a paper template, place your template on the textured clay and trace around it with a ball head tool or colored pencil.
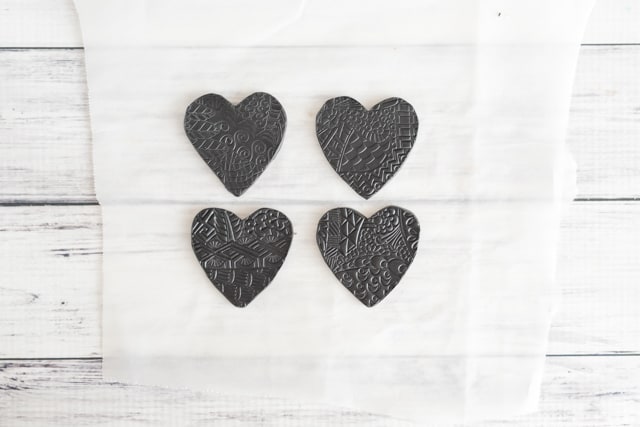
Carefully lift the template then cut along the outline with a hobby knife.
If you're using PearlEx or mica powder, carefully apply some with your finger or a small brush prior to baking. Add a little at the time to help make sure it doesn't get down in the cracks. If you want to add holes to make ornaments, go ahead and do that with a ball head tool before baking, too.
Bake your clay according to package directions. Premo! bakes at 275ºF for 30 minutes per ¼" inch. I baked my Valentines for just 15 minutes because they were fairly thin.
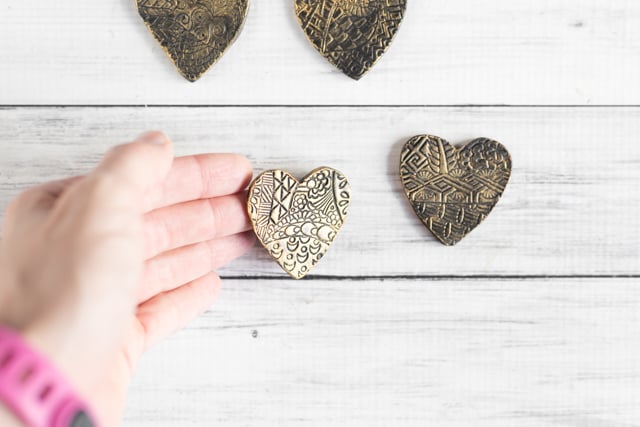
After your clay is baked and cooled, apply your "gilding" a little at a time. I encourage you to use nitrile gloves - it can be difficult to get Inka Gold off your fingers! Apply just a little at the time and try to keep your finger flat so that most of the paste ends up on the raised areas, not down in the stamped impression. You want the clay to show through in the indentations so the design really pops.
Like most shiny things, the "gilded" Valentines look a little flat in most photographs, but they really shine in real life!
If you'd like, you can write a Valentine message on the back of your gilded hearts. Use a paint pen or permanent marker - gel pens will not adhere to the clay.
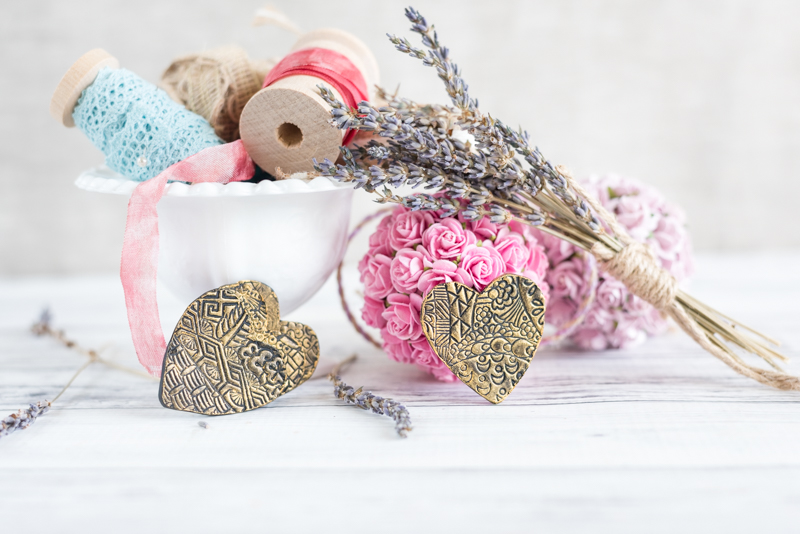
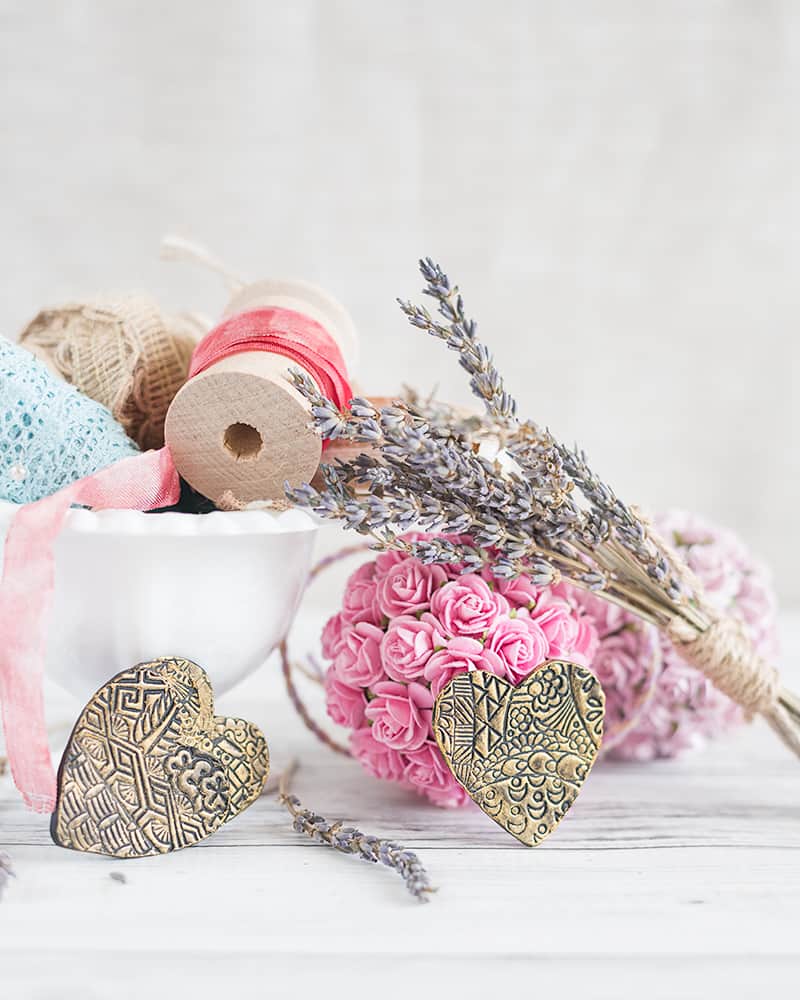
Keep or gift your polymer clay Valentines, but, most importantly, enjoy them! Wouldn't they be cute as garland strung up on a ribbon? Or as bookmarks?
If you're planning to make handmade Valentines, don't forget to stop by this super huge collection of printable heart templates, heart envelopes, and even a printable Valentine!

Do you make handmade Valentines or decorate for the holiday?
![]()
Dyana
The design of the hearts is so adorable. I hope I can try making this in air dry clay since I have that in abundance 😉
Love
Dyana,
http://www.shinecrafts.com
Natasha
It probably would work with air dry clay! Thanks for stopping by.
Pamela Baker
Definitely going to try making one of these Hearts. I have starting to work with Polymer Clay - so this will be interesting.
I do miss those days of making my own Valentine's with Red Construction Paper, and Lace Doilies (Paper)!
Thanks for sharing!!!
Pam
Natasha
Polymer clay is so much fun! Making your own Valentines always feels more meaningful than buying a box at the store.