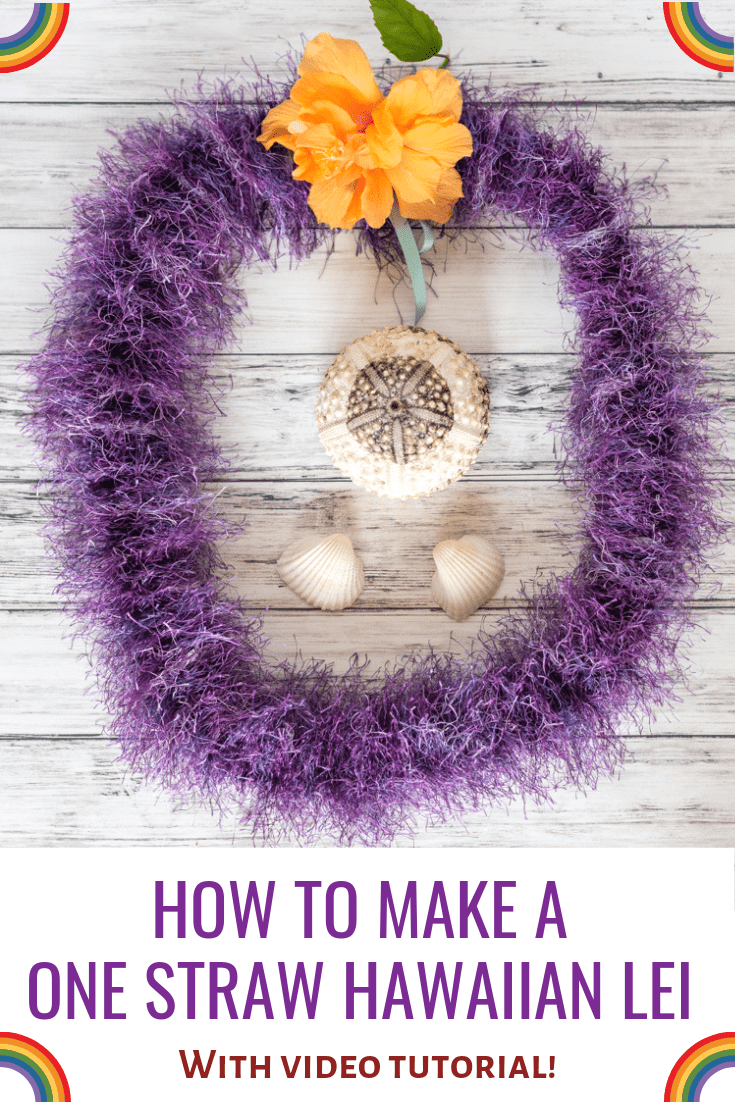
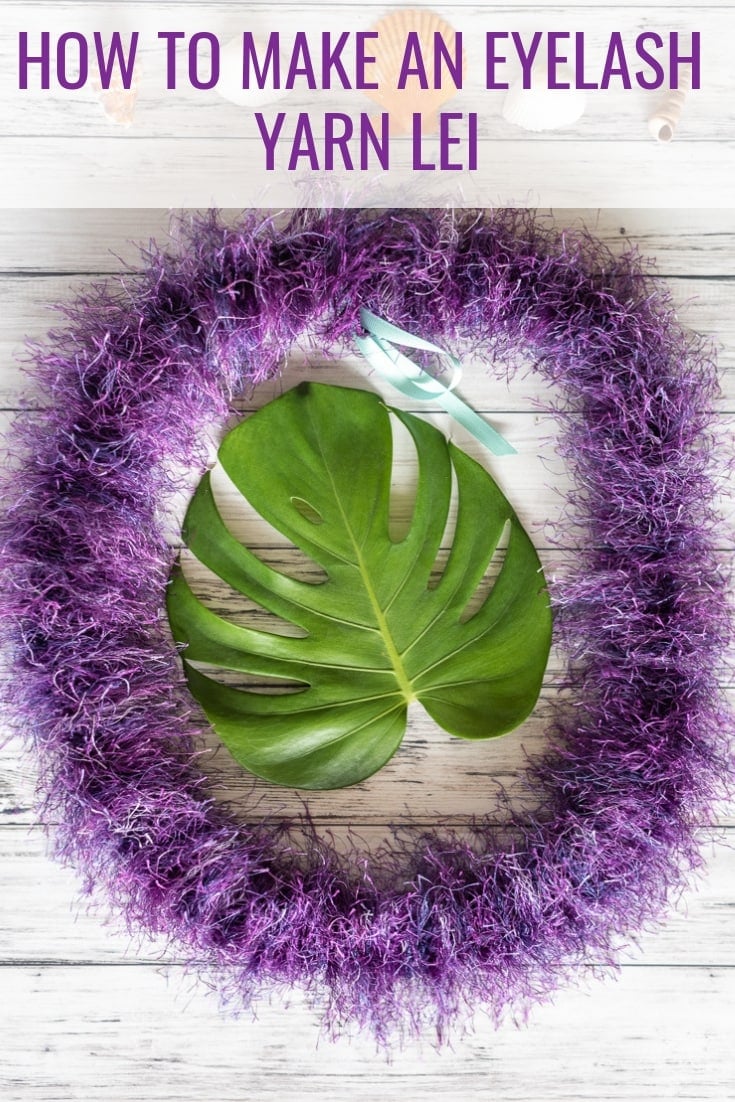
Although fresh flower leis are beautiful, they don't last very long. An eyelash yarn lei, however, can last a lifetime!
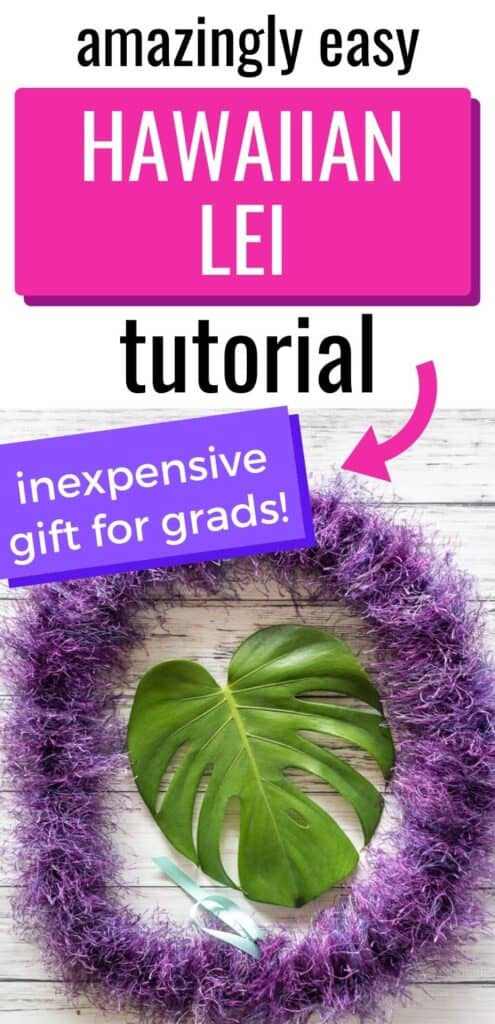
One straw Hawaiian eyelash yarn leis are super easy to make and so fuzzy and soft to wear. Today I'm showing you how to make this popular graduation lei, both with photos and a video tutorial. Let's get started!

This post may include affiliate links, which means I may make a commission on purchases made through these links at no additional cost to you.
How to give a lei
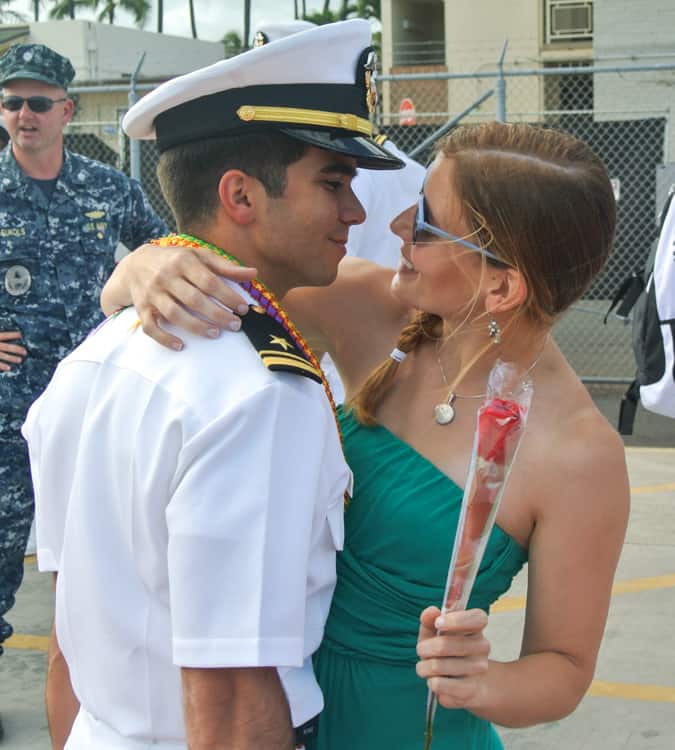
Lei are usually presented by placing them around the recipient's neck and then giving them a kiss on the cheek and a warm embrace.
Lei are "supposed" to be worn draped over the shoulders with equal amounts hanging down in front and back, not like a necklace, but most of the time people do end up wearing them like a necklace.
It's poor etiquette to refuse a lei or the accompanying embrace so make sure to hug back, smile, and say thank you when someone gives you a lei!
What do I need to make an eyelash lei?
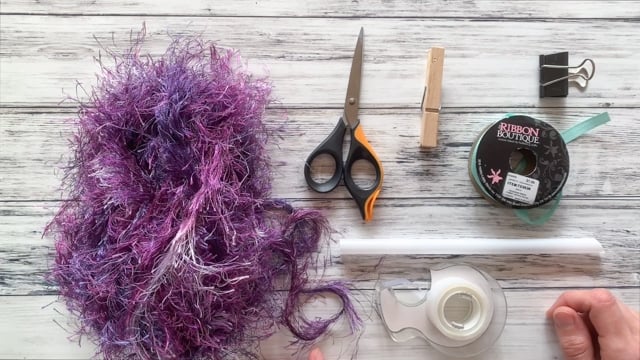
You need three main things to make a single straw lei with eyelash yarn:
- A skein of medium or long lash eyelash yarn or "fun fur" yarn (at least 50 yards)
- A large straw like a bubble tea straw or milkshake straw.
- McDonald's straws are larger than most other fast food straws and will do in a pinch.
- About 4 feet of ribbon. ⅜" grosgrain ribbon works best, but whatever fits through your straw is fine.
You will also need small piece of tape, scissors, and a clothespin or binder clip. You may also want a pair of kukui nut beads or other large beads.


I haven't had much luck sourcing kukui nut beads from a big online retailer for you. You could always get a kukui nut lei, take it apart, and have beads for several of your own lei.
PS - If you shop on Amazon and you're not signed up for Ebates (They're called Rakuten now, but it's Ebates) yet, you're leaving money on the table! It's free to sign up and you can get money back on sites like Amazon, Walmart, and Target.
I've never shopped with them, but a retailer called Aloha Gifts from Hawaii has loose real kukui nut beads. If you buy from them, please leave a comment letting me know how the transaction went! If you're in Hawaii, you can (of course!) find a variety of kukui nut beads at Ben Franklin.

How to make a Hawaiian eyelash lei with one straw
Making this graduation lei couldn't be easier!
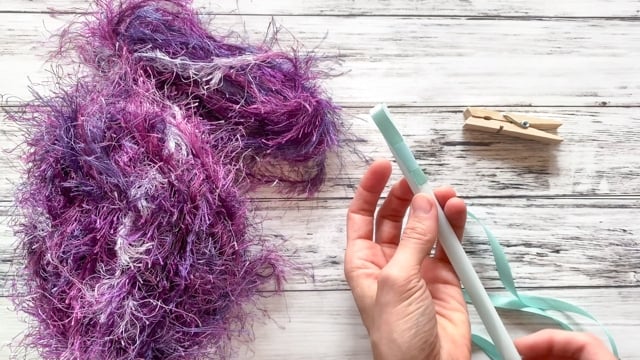
Cut a piece of ribbon at least 4 feet long (5-6' is fine, too). Most lei are about 36 inches around, so the extra ribbon gives you space to tie off and make a little bow or attach a large bow.
Thread the ribbon through the straw and pull about two inches of ribbon out. Fold it back down over the straw and tape it in place.
Knot your yarn around the ribbon just below the straw. Tie it loosely enough that it can still slide.
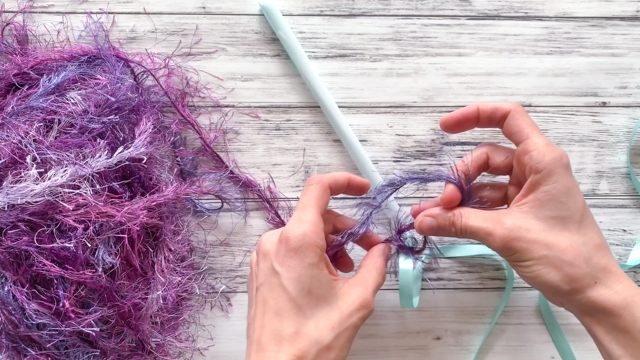
Now you wrap, wrap, wrap! Wrap your yarn around the straw. Don't make your wraps too tight or the lei will be narrow, but don't wrap them so loosely that they hang down off the straw and look uneven.
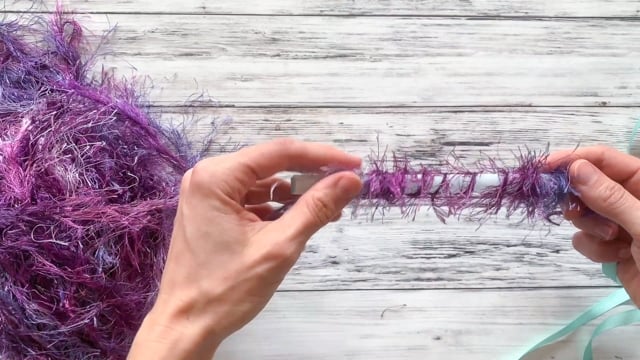
Once your straw is "full," slide the wraps down. Push some of them off onto the ribbon, but keep a couple of loops on the straw.

Wrap, wrap ,wrap, repeat until you've run out of yarn or your lei has reached its desired length. If you have a 50 yard skein, use the whole thing. I think the pictured skein was 75 yards and I still used it all for a nice, fluffy lei!
Once you reach the end of your yarn, carefully un-do the tape and slide the straw off. Knot the tail of yarn to the ribbon, just like you did at the beginning.
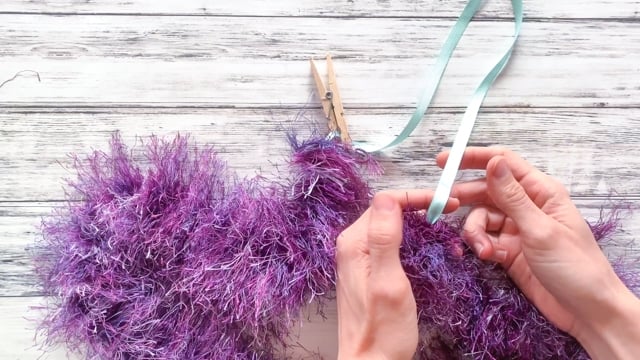
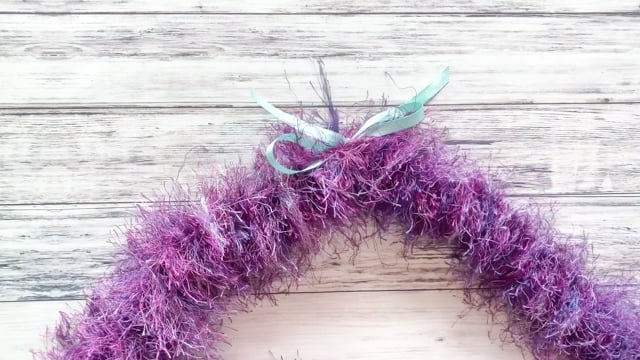
Add kukui nuts to the ribbon if you're using them. Knot the ribbon ends together or make a bow and you're done!
If you want a little more explanation and to see the process in action, check out the one straw lei video tutorial right here!
If you want to see how to make and add a large, fluffy bow check out this video from my spiral ribbon lei class.
Ribbon lei tutorials
Ribbon lei are also very popular! They cost less to make than eyelash yarn lei, so they can be a good choice if you need to make a lot of lei for a class, spots team, etc. (No, that's not a typo - there is no "s" in the Hawaiian language, so it's appropriate to use "lei" as the plural instead of leis! People do also say leis, though, so it's kind of your choice.)
Here are some of my most popular ribbon lei tutorials:
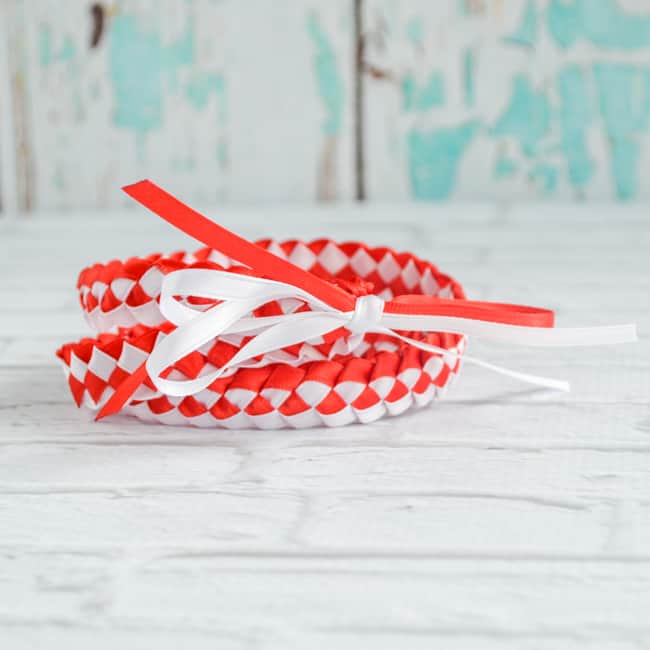
How to make a braided Hawaiian ribbon lei
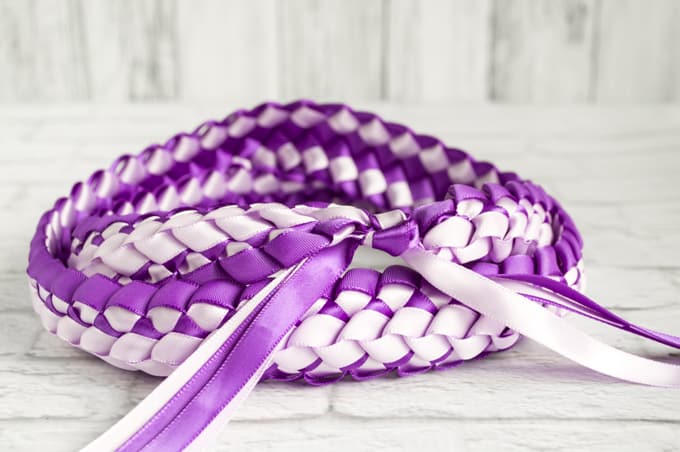
How to make a double braided ribbon lei
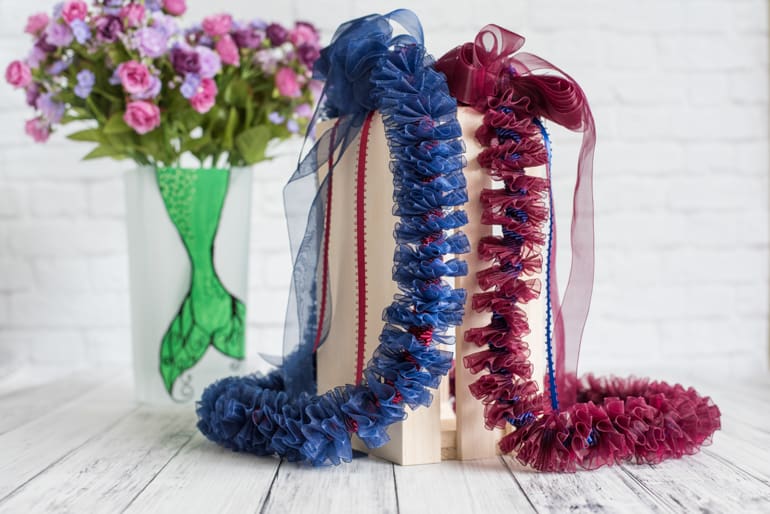
How to make a spiral ribbon lei
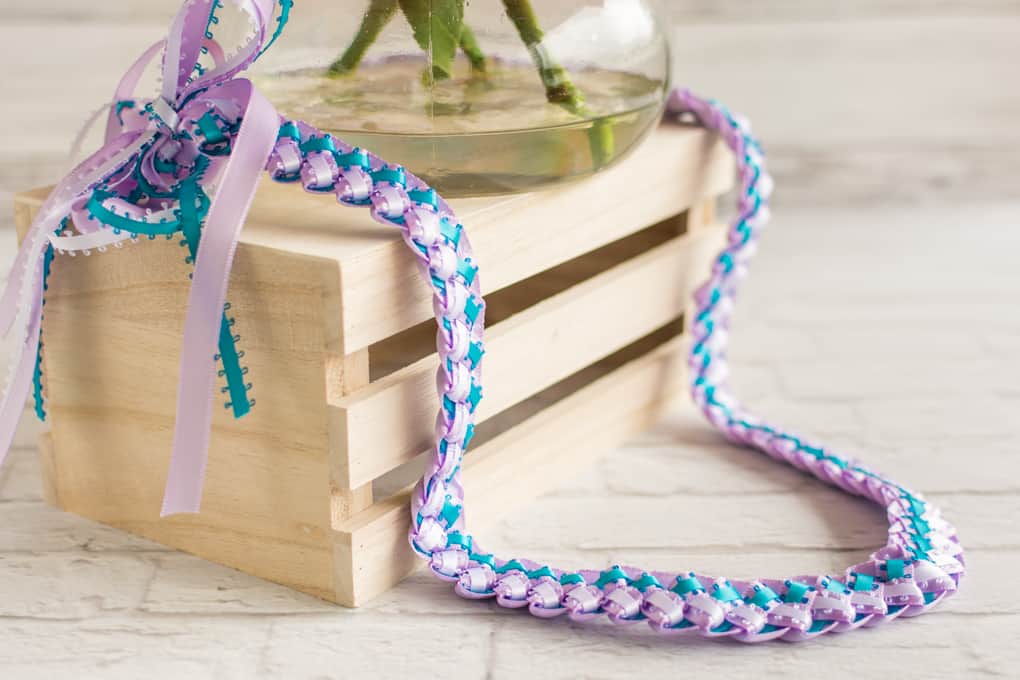
How to make a tri-color ribbon lei with picot
I hope that you enjoyed this Hawaiian eyelash yarn lei tutorial!


Leave a Reply