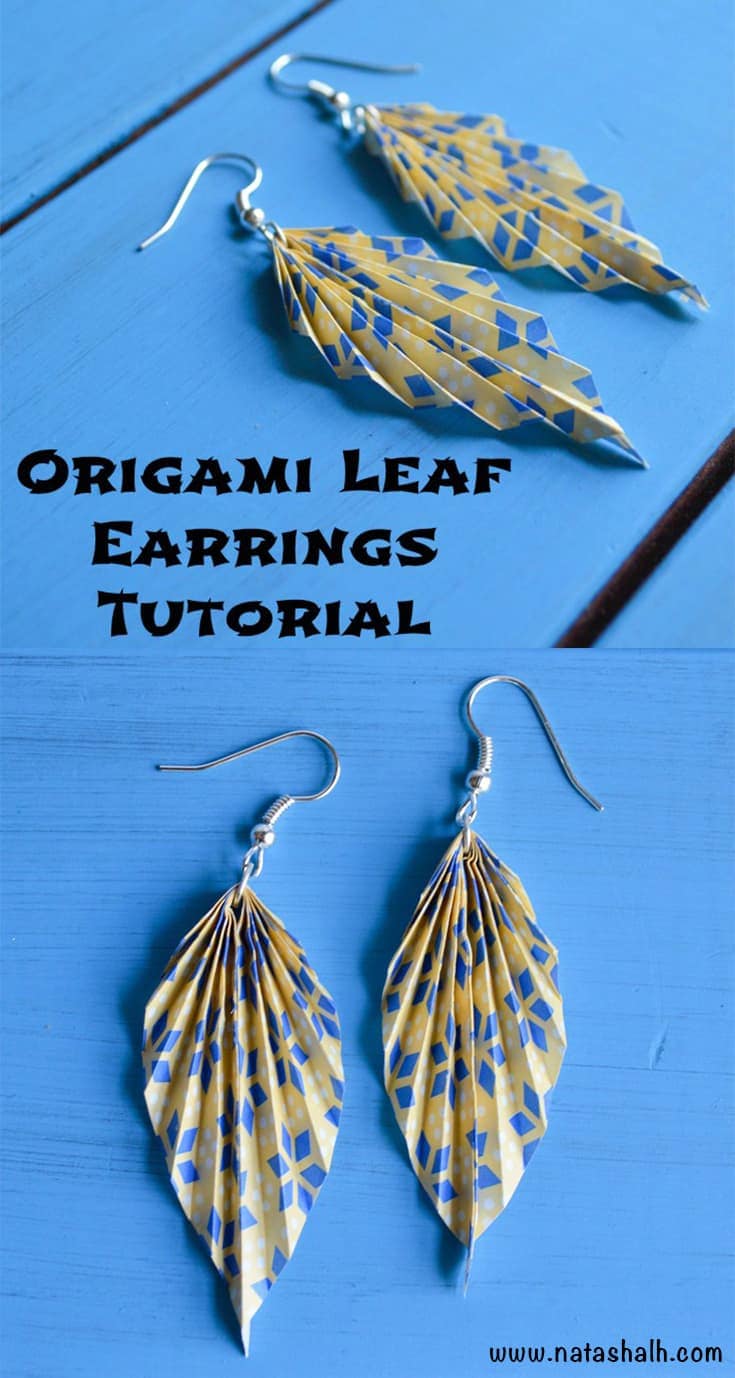
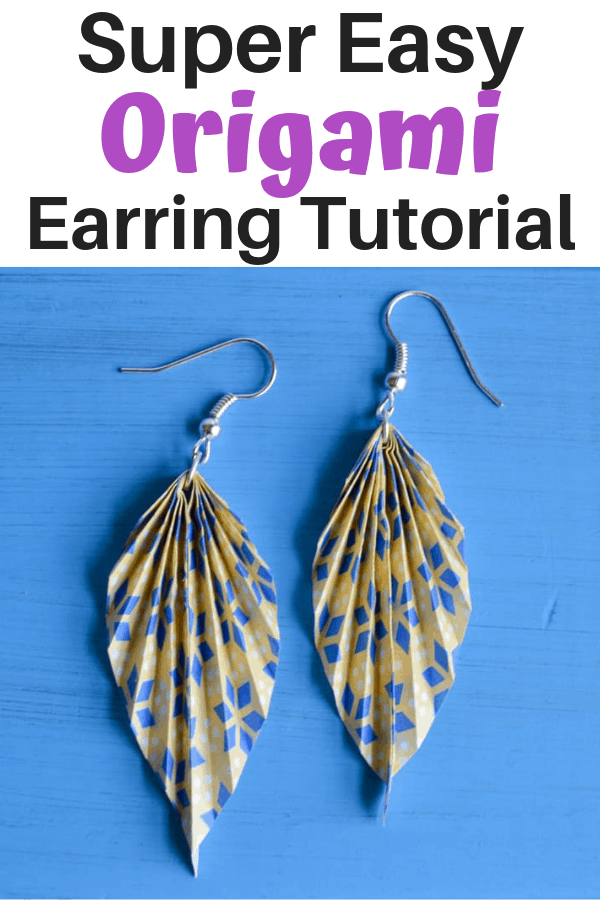
These origami paper leaf earrings are so easy to make, beautiful, and a whole lot of fun!
You can easily personalize the earrings by choosing different papers. They also make a good kid's craft. Let your child paint or draw on paper, then turn that paper into special keepsake earrings!
This post may include affiliate links, which means I may make a commission on purchases made through these links at no additional cost to you.
Supplies for origami paper leaf earrings
- A sheet of origami paper + additional pieces of paper/more origami paper to practice. I recommend 3" or 2.5" paper.
- I used this pack of 3" paper.
- A pair of scissors.
- Glue - My favorite go-to glue is Original Tacky Glue
- Two jump rings.
- A pair of earring hooks. I use and recommend hypoallergenic ear wires.
- Clear, matte acrylic spray (optional but recommended)
For real, guys, Original Tacky Glue is the best glue out there! It's non-toxic and it holds so well!
- Voted America’s Favorite Crafting Glue by generations of crafters, hobbyists, and households
- Premium all-purpose adhesive
- Nontoxic but super strong
Free free to make your own jump rings if you have the materials and that's something you like to do!
Origami paper leaf earring tutorial
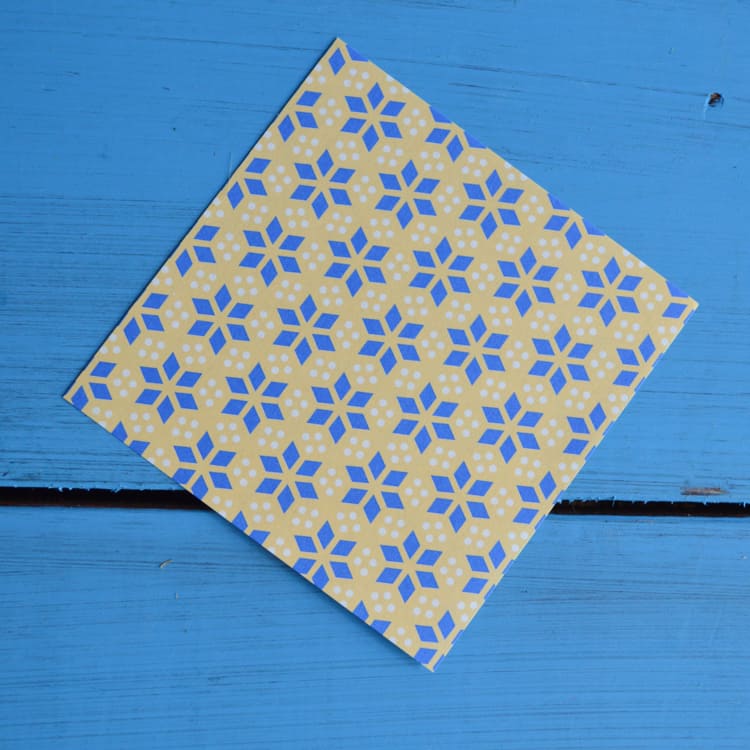
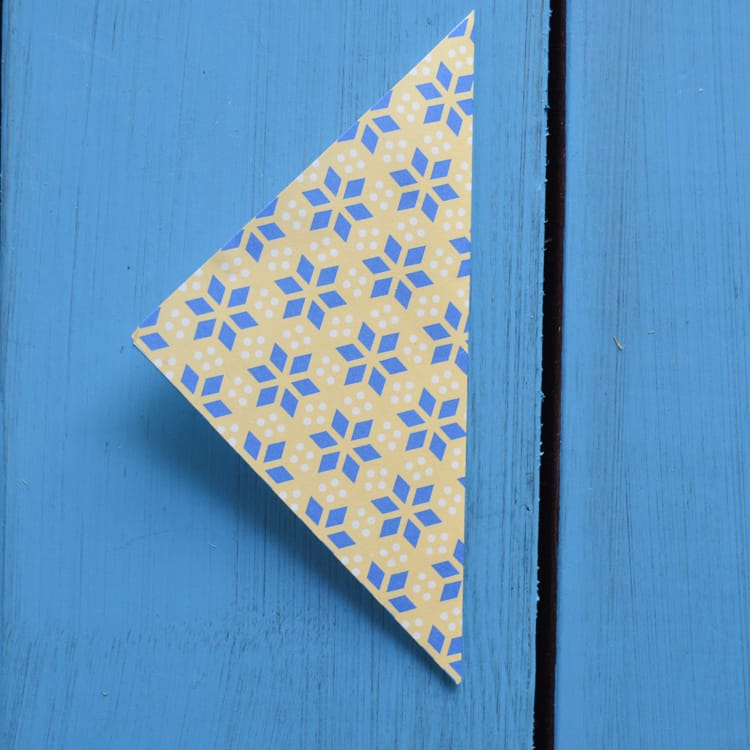
1. Fold your square piece of origami paper neatly in half to form two triangles, taking it from this:
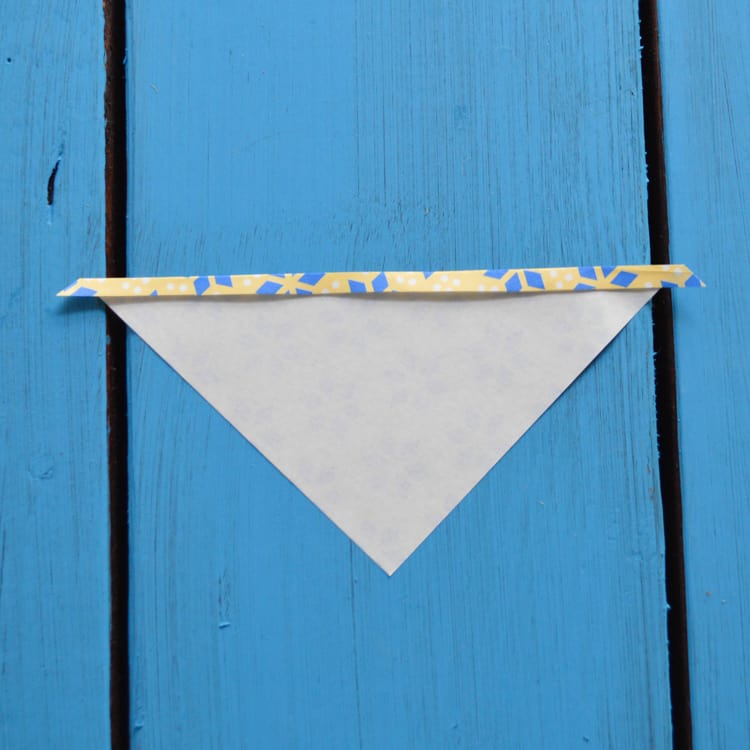
To this:
2. Next, unfold the paper and carefully cut along your fold line to create two triangles.
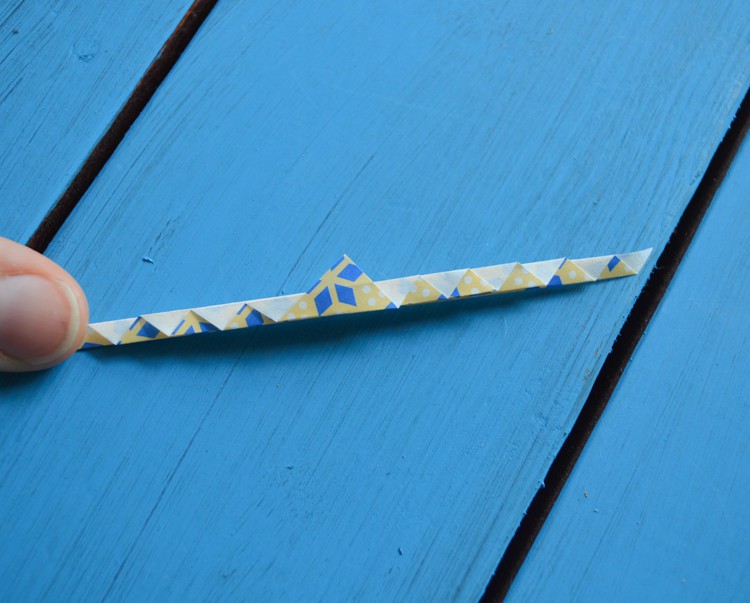
3. Place the patterned side of one triangle down on your work surface and create a small, even fold, as shown below. This fold should be ¼" wide or less.
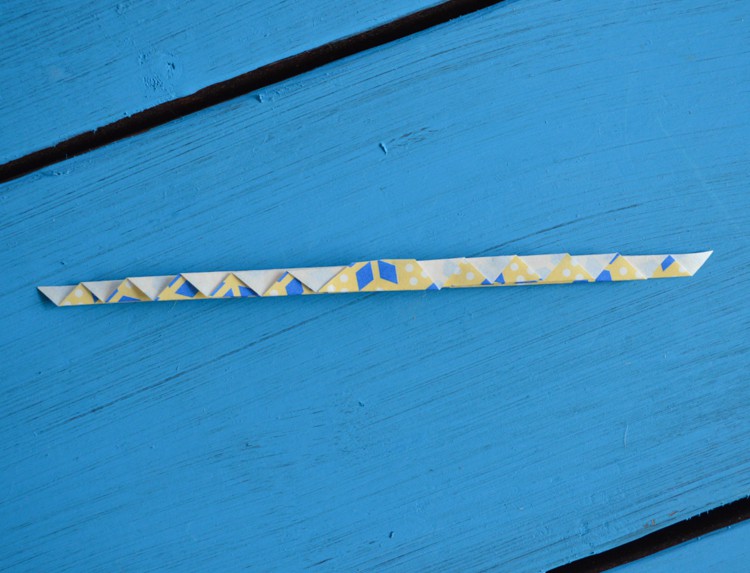
4. Continue making folds back and forth, as shown, until you've folded all of the paper out to the triangle's point. Take care to make each fold the same width as the previous ones and crease them with your thumb nail (or even a bone folder, if you have one) to make sure they're nice and crisp.
5. Cut off the little remaining triangle tip.
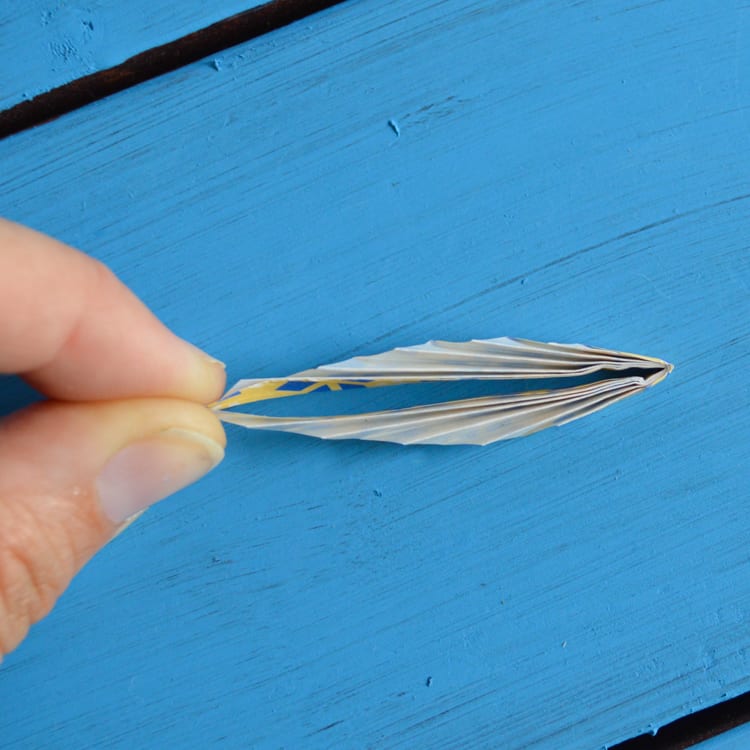
6. Carefully fold the piece in half, as shown below, and crease the fold as firmly as possible.
7. After finding and creasing the half way point, slip a jump ring over the folded papers and slide it to the fold.
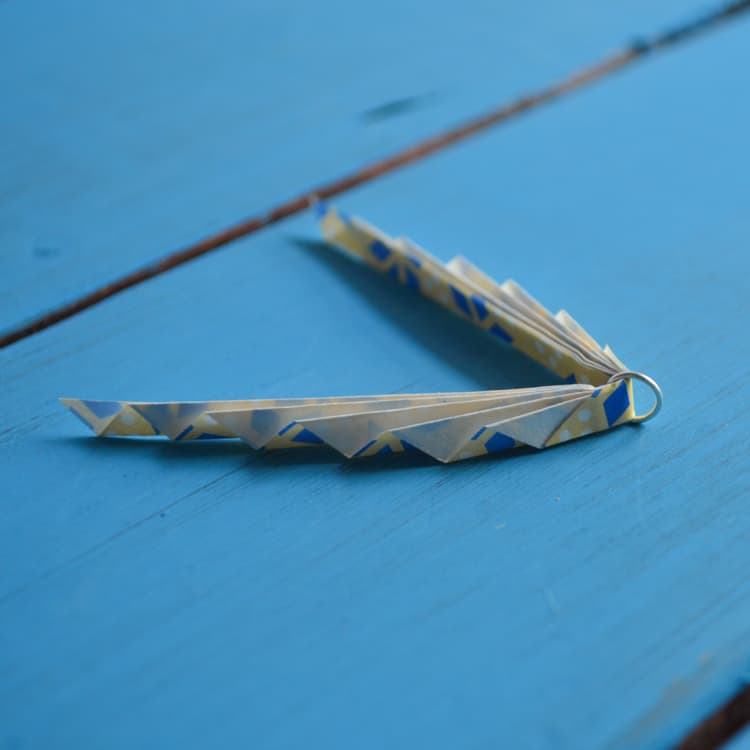
8. Following the directions for your specific adhesive, carefully glue the folded paper together only along the first, center fold. Make sure you don't get glue all over the other folds or the leaf won't fan out!
9. While the first leaf is drying, repeat steps 1-8 for the other triangle of paper.
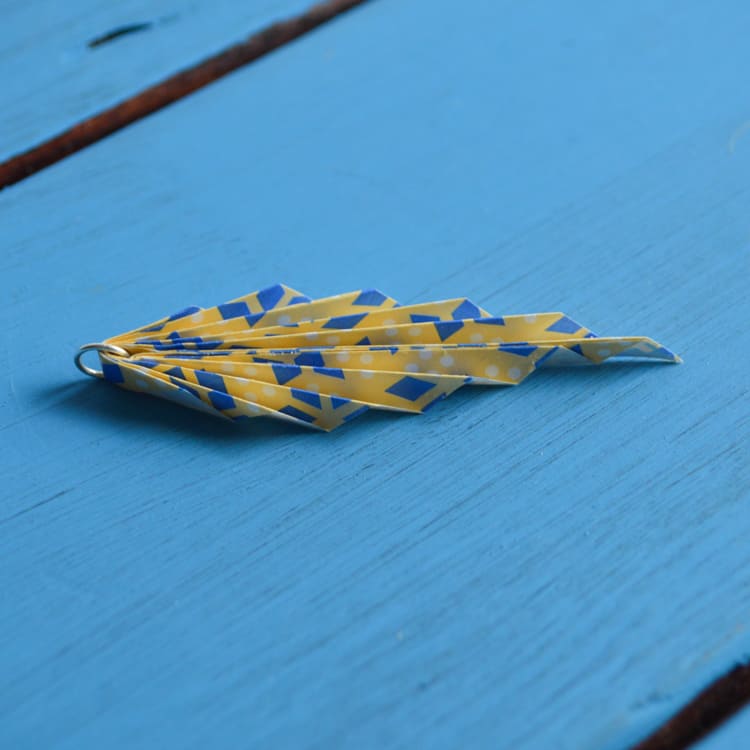
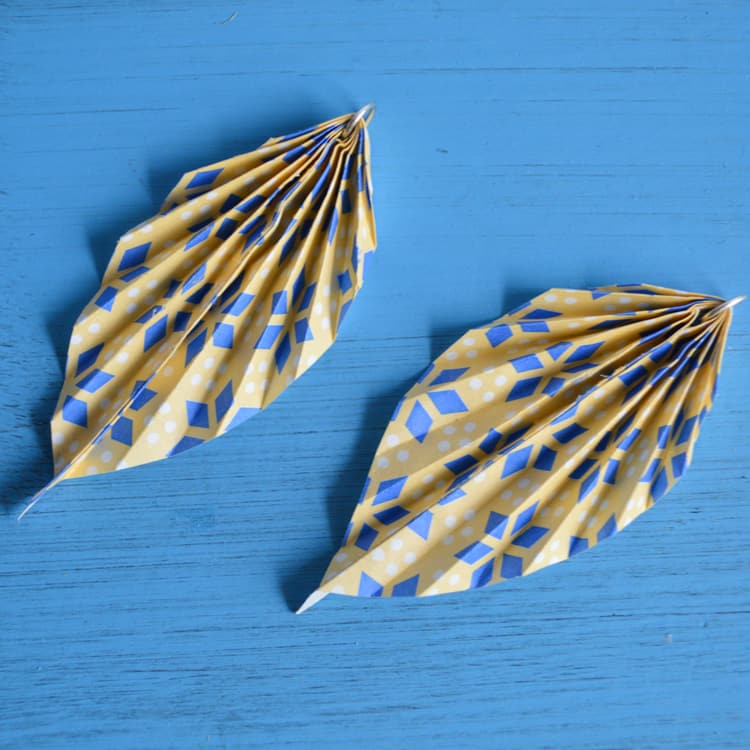
9. After the glue is dry, carefully fan out the leaves.
11. If desired, coat the back and front of both leaves with a clear, matte acrylic spray, like Mod Podge or Krylon. This enables them to hold their form better and makes them much more durable.
12. Hang ear wires from the jump rings and admire your new earrings!
So, what do you think? I love them! Have you ever worn paper jewelry before? You obviously shouldn't wear them to the pool, but I love how lightweight they are because it makes them very easy to wear and perfect for people with sensitive ears.
If you like this post, please remember to Pin it to your crafts board!
More Easy DIY Tutorials
How to make an Anthro-Inspired crystal and key necklace
More Related Posts
[pt_view id=“15d429e15n"]
[catlist search="tutorial" numberposts=4 orderby=rand excludeposts=this]







Jane T.
Just found these origami paper earrings on Pinterest. And I lucked out! I just purchased a 400 page book or origami paper at JoAnn's at 50% off! Guess what I'm making for Christmas presents this year! I love working with paper. I also make paper beads to make jewelry out of. Now I have something new to make.
Deborah
Tried to send a picture. It's from img02.deviant art.net
Natashalh
Hmmm, when I just search that I'm not seeing anything that looks particularly relevant - sorry.