These rustic twine candy cane ornaments are easy to make and last for years!
With this technique, you can spruce up faux candy canes to create an ornament that will last for years, regardless of the humidity.

This post may include affiliate links, which means I may make a commission on purchases made through these links at no additional cost to you.
Materials needed for rustic twine candy cane ornaments
- Plastic candy canes! It doesn't matter what color they are because you'll be covering them up!
- Twine. I experimented with different types of twine and I found that fairly narrow twine, but not the super narrow, smooth hemp cord you use to make bracelets, works best. Unless your candy canes are oversized, thicker twine is more difficult to use. I imagine baker's twine would be pretty cute, too!
- Hot glue & glue gun (confused by all the different types of hot glue? Make sure to check out my top 10 hot glue tips & tricks!)
- Scissors
- Ribbons and additional decorations (berries, springs, tiny pinecones, etc) - totally optional. I cut apart small pine and berry spray and used the pieces.

- Use indoors or out to decorate trees, wreaths and other holiday decorations or as package tie ons.
- Each candy cane is approx. 7 inches long.
- Bright colors, red and white.Shiny to reflect holiday lights.
If you live somewhere with candy cane-friendly weather, you might be able to make these with 'real' candy canes, but be careful because I suspect the hot glue would melt the plastic wrapper and leave you with semi-exposed candy that might attract bugs.

How to make simple twine candy cane ornaments
Wrapping a candy cane will probably take more twine than you'd guess! I recommend not cutting any twine off the spool until you're almost finished wrapping a candy cane.
1. Heat your glue gun!
2. Lay about an inch of twine down the candy cane, as shown.
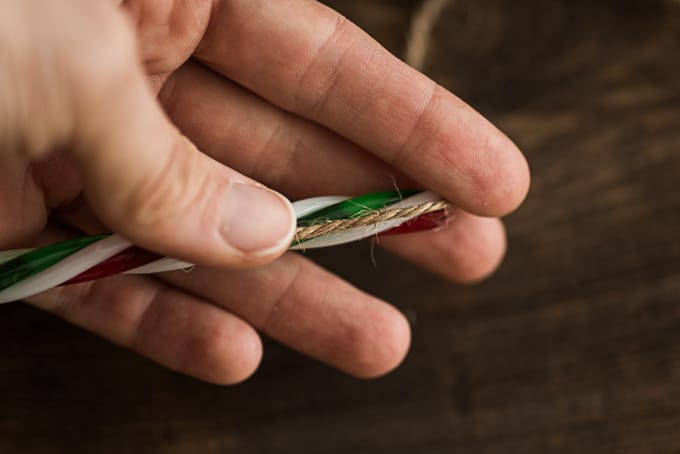
3. Add hot glue around the bottom of the candy cane, then begin wrapping it with twine. Make sure to work quickly, before the glue has a chance to set, and carefully (so you don't burn your fingers!)
Update - You can prevent scorched fingers with these inexpensive silicone finger protectors! I wish I'd purchased some years ago!
No products found.
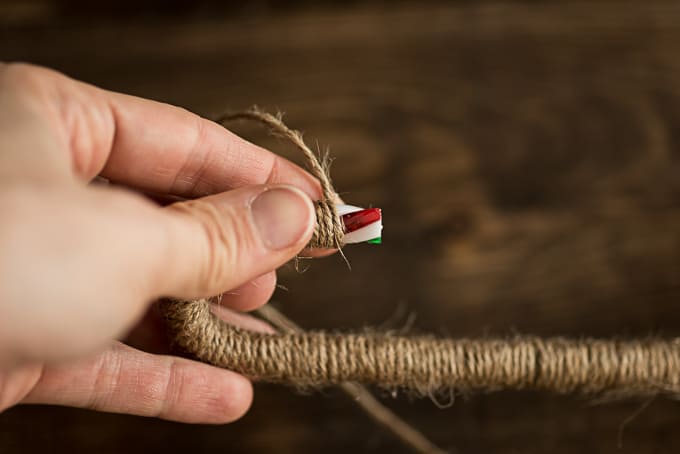
You may need to make a couple of wraps that go around existing wraps to help the twine stay in place at the end (you can see in the photo below that not all the wraps are completely on the candy cane - some loop over the twine).
4. Continue wrapping up the candy cane, making sure your wraps are snug and close together. Every few inches, you can add a dab of glue to help hold everything in place, if you'd like (I've tried both with and without extra glue and both ways work fine.)
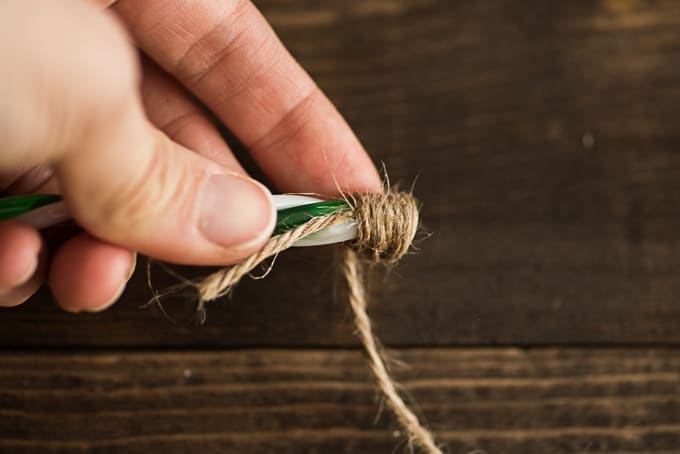
5. When you get just a few wraps from the end, go ahead and cut your twine. Cut it so you'll have about an extra inch or so more than you'll need to finish wrapping. If you're not sure how much this will be, go ahead and finish wrapping the candy cane without adding hot glue and then cut the twine. Unwrap the last few wraps, then add hot glue and rewrap. Add a dab of glue to the very end of the candy cane then curl the extra twine in place to conceal it, as shown:
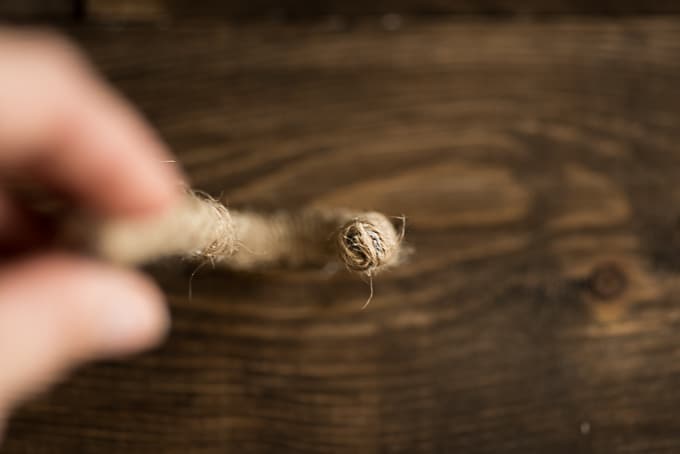
6. Your twine candy cane ornaments are basically finished now!

They can be made even more cute by adding extra decorations, like ribbons, greenery, berries, and pinecones.
I glued each piece of greenery in place, then lightly added a bit more glue for each berry, then tied everything in place/concealed the glue with a piece of ¼" ribbon.

These cuties would look great on a tree, on wreaths, or as part of a tablescape! No matter how you use yours, I hope you enjoy. =)
You know you'll be shopping online during the holiday season, so why not earn cash back on the purchases you're making?
Always check Ebates (they're Rakuten now, but it's still the same service) to see how much cash back you could be getting before making a purchase! Sign up for a free Rakuten account to get started today!
What ornaments did you always put on the tree as a kid? Anyone else try to sneak candy canes off the tree ahead of time?
Don't lose track of this rustic ornament tutorial! Pin it to your Christmas board now!

More Christmas posts & free printables
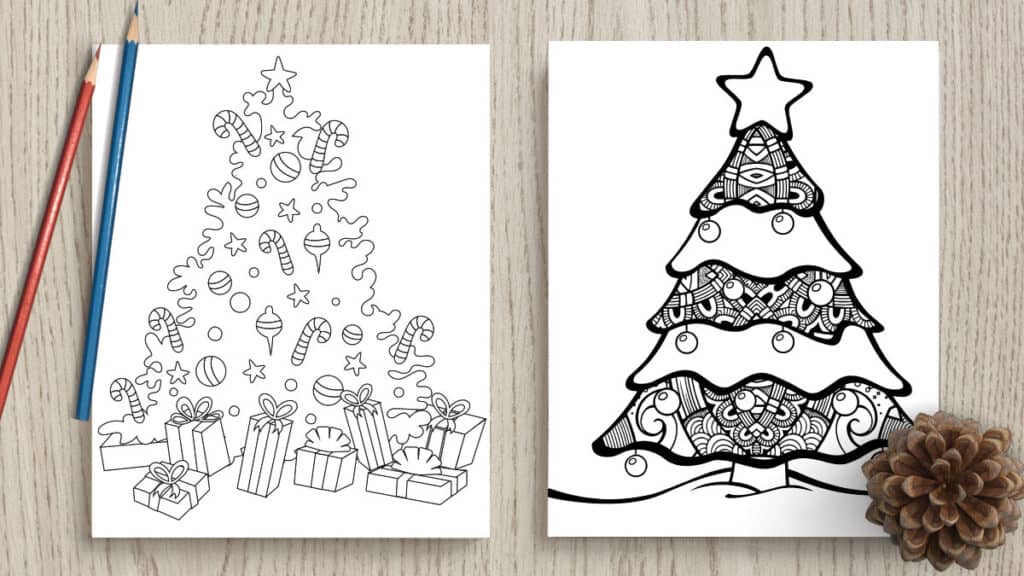
Free printable Christmas tree coloring pages
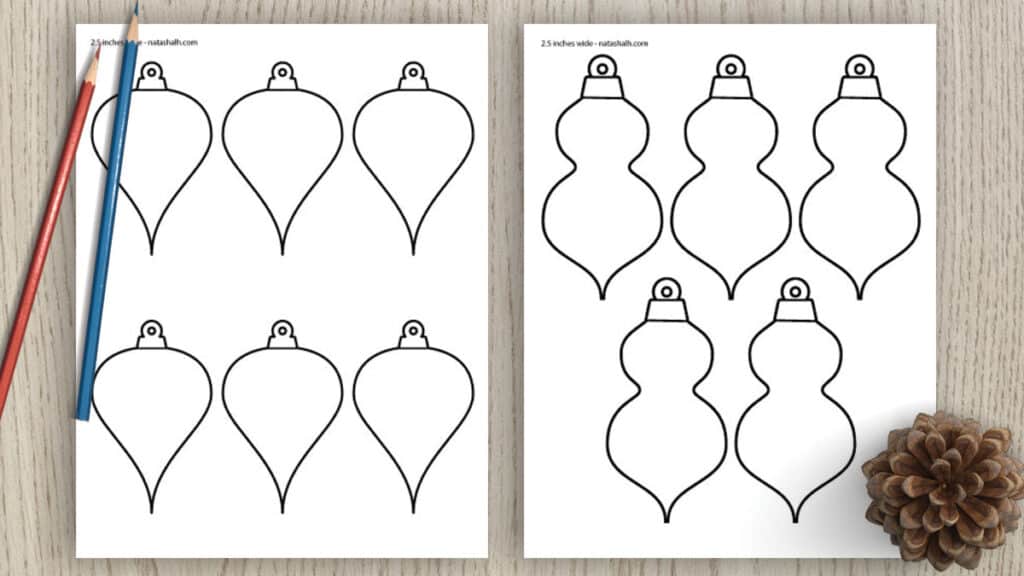
Free printable ornament coloring pages

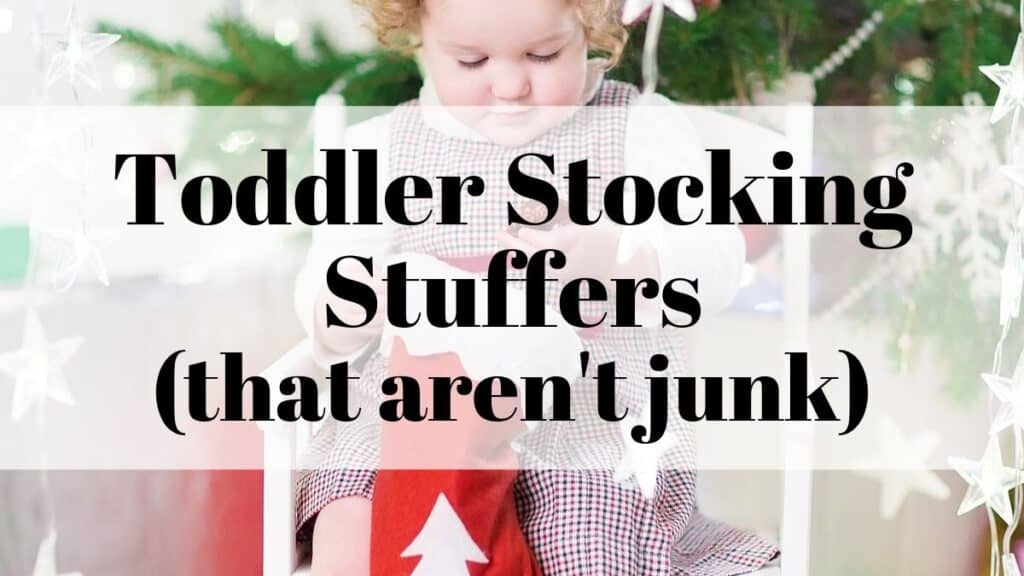
Stocking stuffers for toddlers (that aren't junk)


BeadedTail
Those are super cute! I didn't see this until after Christmas but I'm saving for next year!
Julie
I have some real candy canes up on my tree, but yeah, I think they're probably one gooey mess..! Oh well! These are super cute and look super easy to make! Saving it down for next year!