This post may include affiliate links, which means I may make a commission on purchases made through these links at no additional cost to you.
Discover the safe way to make blown Easter eggs without putting your mouth on a raw egg! This way to how to hollow out an egg without blowing is easy and uses something you may already have at home.
Easter is coming up and you usually have two choices - decorate hard boiled eggs that don't last as long, or make blown eggs that force you to work with raw eggs.
I've always been kind of a freak out about raw chicken and eggs, and I think I'm pretty justified! A study showed 97% of chicken breasts on the market have at least one potentially harmful strain of bacteria. Eek! I don't know if the same holds true for commercially-produced eggs, but I'm not taking any chances.
I'd always chosen to go the boiled easter egg route, but then I realized you don't have to use your lung power to blow eggs!
You can safely blow eggs using a bulb-style nasal aspirator, clean the eggs with bleach, and have safe blown eggs to decorate to your heart's content. Ready to see how?
Table of Contents
What you need to make blown Easter eggs safely
- A small round needle file (check a hobby shop or game store if you can't find one at the hardware store) or cuticle cutters
- A baby nasal aspirator
- A toothpick, darning needle, or bent paper clip
- Bleach or vinegar
- A bucket/bowl you don't mind putting bleach in
- Water
- Eggs
- Nitrile gloves
- Safety glasses
How to safely blow eggs
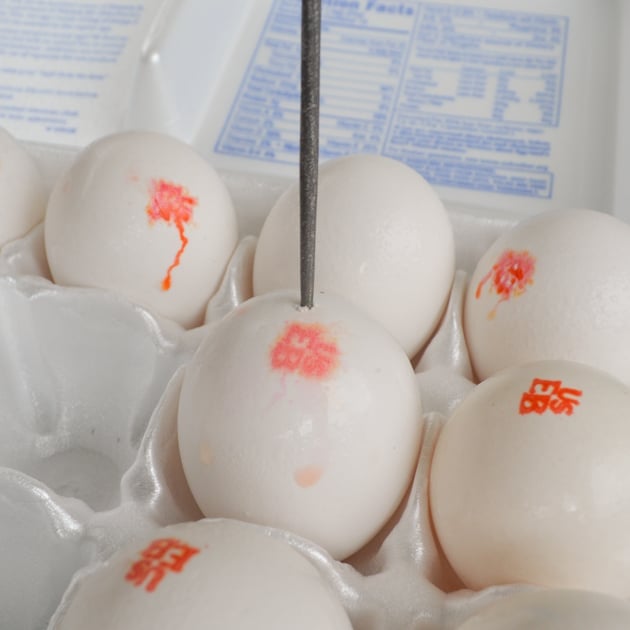
First off, let me explain what that funny mark on the egg shells is!
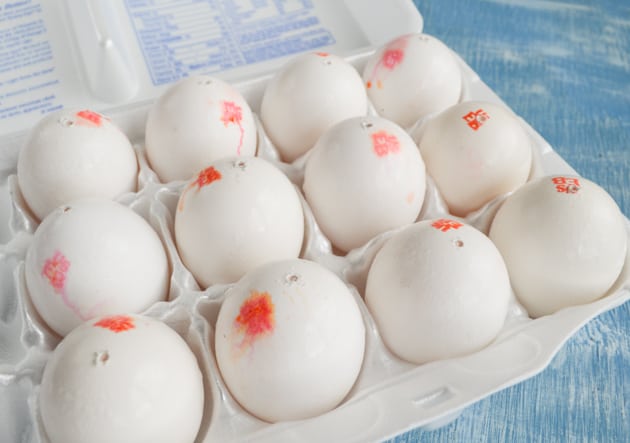
Eggs in Hawaii have this "Mainland shell certified" stamp that bleeds and looks weird as condensation forms on the eggs. Luckily, the bleach water takes this stamp right off! I know some brands on the Mainland also stamp their shells, so don't worry if you have stamped eggs - the stamp does come off.
1. Begin by drilling a small hole in one end of each egg.
This is easiest to do if you leave the eggs in their carton and use the file's tip to lightly scratch the shell first, creating a small groove. Once the groove is visible, place the file's point in it and gently twist back and forth, pressing down lightly, until you've drilled a hole through the egg.
You can also very carefully use the tip of a pair of cuticle scissors! I prefer a round file, but cuticle cutters will do in a pinch.
2. After you've drilled each egg once, flip all the eggs and drill the opposite side. I know this seems like it will create a mess, but very little egg will leak out during the process.
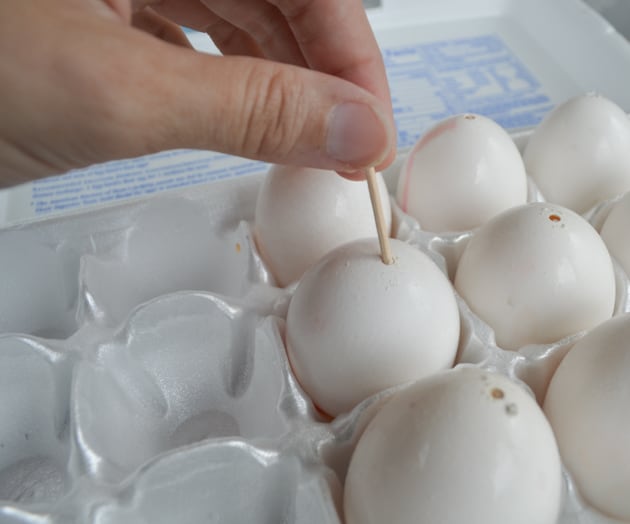
3. Once all eggs are drilled on both sides, insert a toothpick or darning needle into each egg in turn. Move the toothpick around inside the egg to break up the yolk as much as possible.
4. Now you're ready to "blow" the eggs!
You can blow the eggs into a container to save their innards for later, or you can blow them into the sink if you don't plan to use the scrambled eggs and yolks.
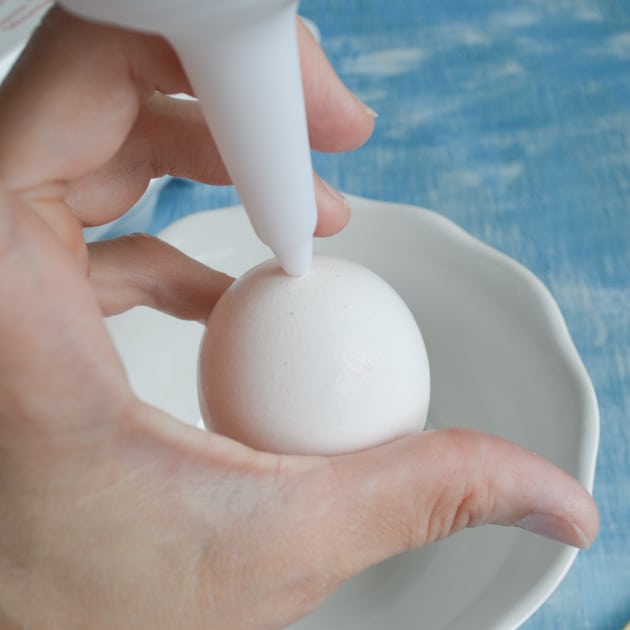
Hold an egg with one hand and place the aspirator's tip over/in one of the egg's holes. Make sure the egg's other hole is over your bowl!
Squeeze the aspirator's bulb to expel the yolk.
Remove the aspirator from contact with the shell before you release the bulb to bring in air or you may end up with an aspirator full of egg! It will take several pumps to remove the insides from each egg.
If nothing comes out after several pumps, trying scrambling the insides again or making the hole larger so the aspirator's tip can fit inside the egg.
5. After all eggs have been blown, clean out some of the excess yolk by running a trickle of water through each one.
6. Once the eggs are blown and rinsed, it's time to prepare the bleach solution.
My bottle of bleach says to use ¾ cup of bleach per gallon of water for sterilization purposes, but be sure to check yours!
Alternatively, you can mix up a 1:1 vinegar to water solution.
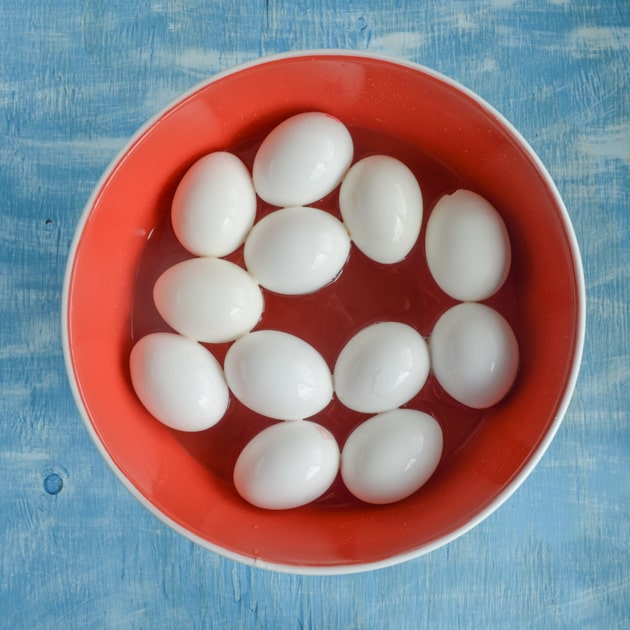
Mix a bucket/bowl of bleach solution, but don't add the eggs yet. Since they're empty, they will float. Put your rubber gloves on, if you'd like, and use your aspirator in reverse to squirt bleach water into each egg before placing it in the bowl. If you get enough water in an egg, it will sink. If you can't fill your eggs with water, get as much in each one as possible and roll the eggs around occasionally to soak each side in bleach.
7. Allow the eggs to soak for at least 30 minutes (I simply left mine overnight).
Wearing your rubber gloves, carefully remove the eggs from their bleach bath. Rinse the eggs thoroughly and either use your lung power or aspirator to blow the bleach water out. Rinse the egg's insides again with fresh water, and then blow out as much water as possible.
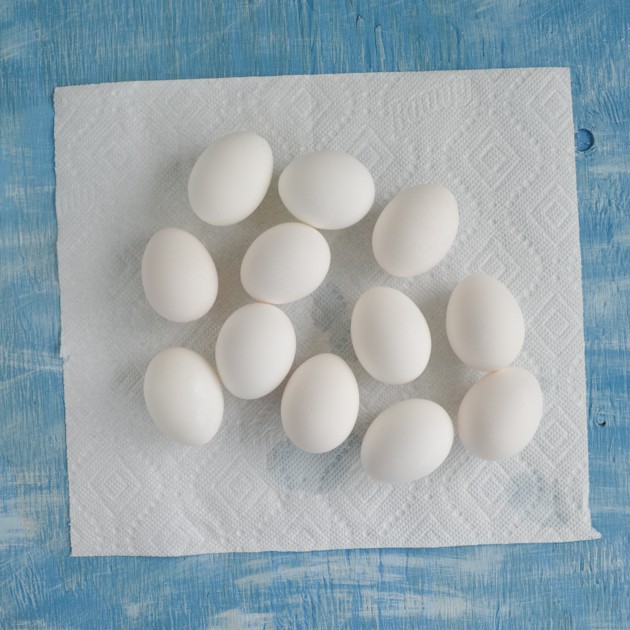
8. Allow the eggs to drain and then decorate away!
Like I said, I know it's a little extra work, but I think it's worth it. This way you can create Easter eggs that last and create ornaments, egg flowers, or other decorations without putting your mouth on a raw egg!
More Easter craft tutorials
Now that you have lovely blown eggs, why not make them into cute watercolor doodle eggs?
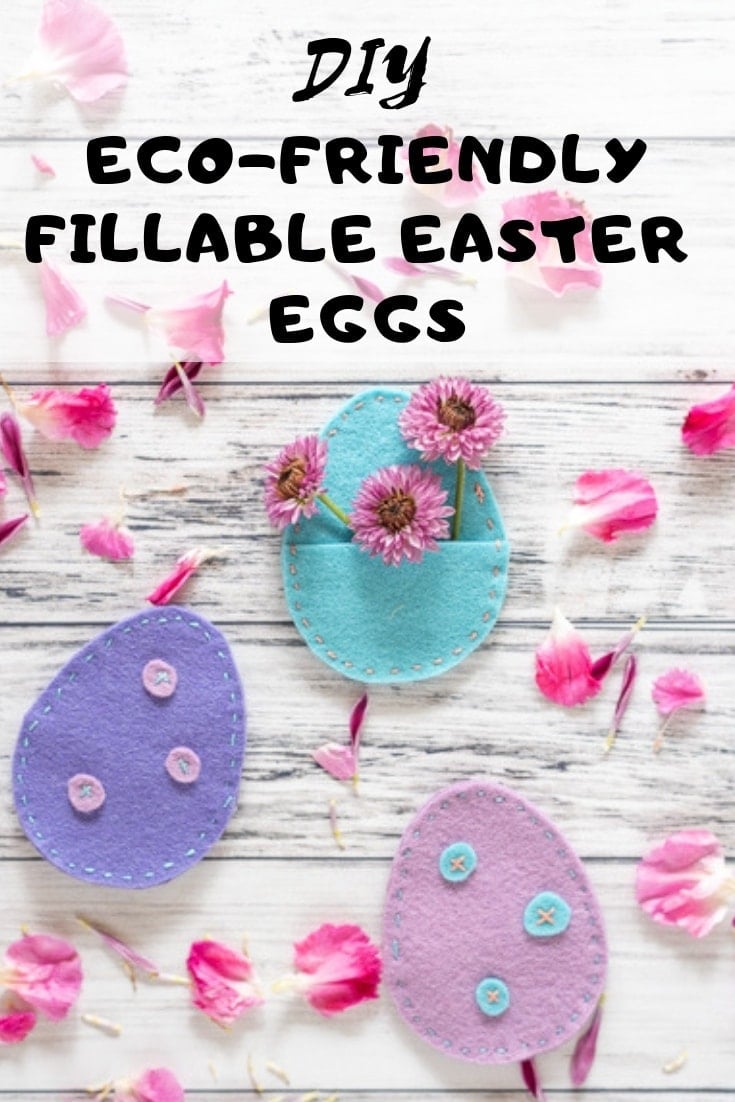
If you want something to put treats in, make these eco-friendly fillable felt eggs and use them year after year!
If you have a little one, check out these toddler Easter basket stuffers that aren't junk!
What's your favorite way to decorate eggs?







Sandra @ Scrumptilicious 4 You!
This looks so cool to make! So glad you stopped by! Thanks for sharing on the Four Seasons Blog Hop! Sandra from Scrumptilicious 4 You! I am Pinning this Now!
Natashalh
Thank you for pinning! If you like the plain eggs, stop by Thursday for some decorated ones. =)
Seana Turner
I would try this. I have a couple of blown eggs, but I didn't make them. I think my daughters made them at school. I appreciate the advice on cleaning them with bleach solution. If you know you can keep them for multiple years, it makes the effort of decorating all the more worthwhile!