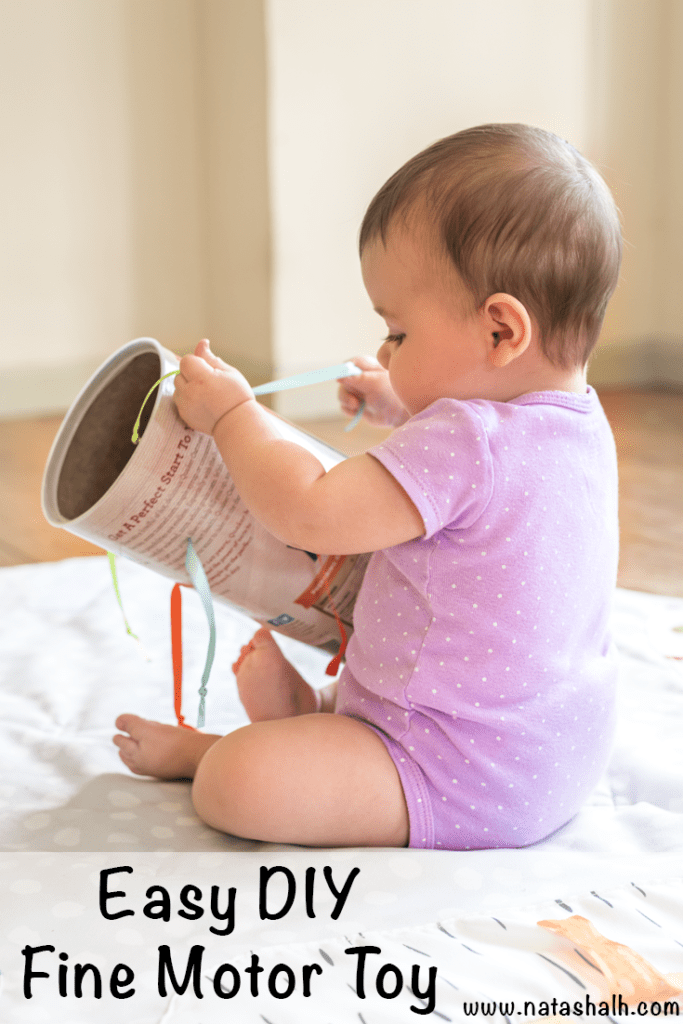
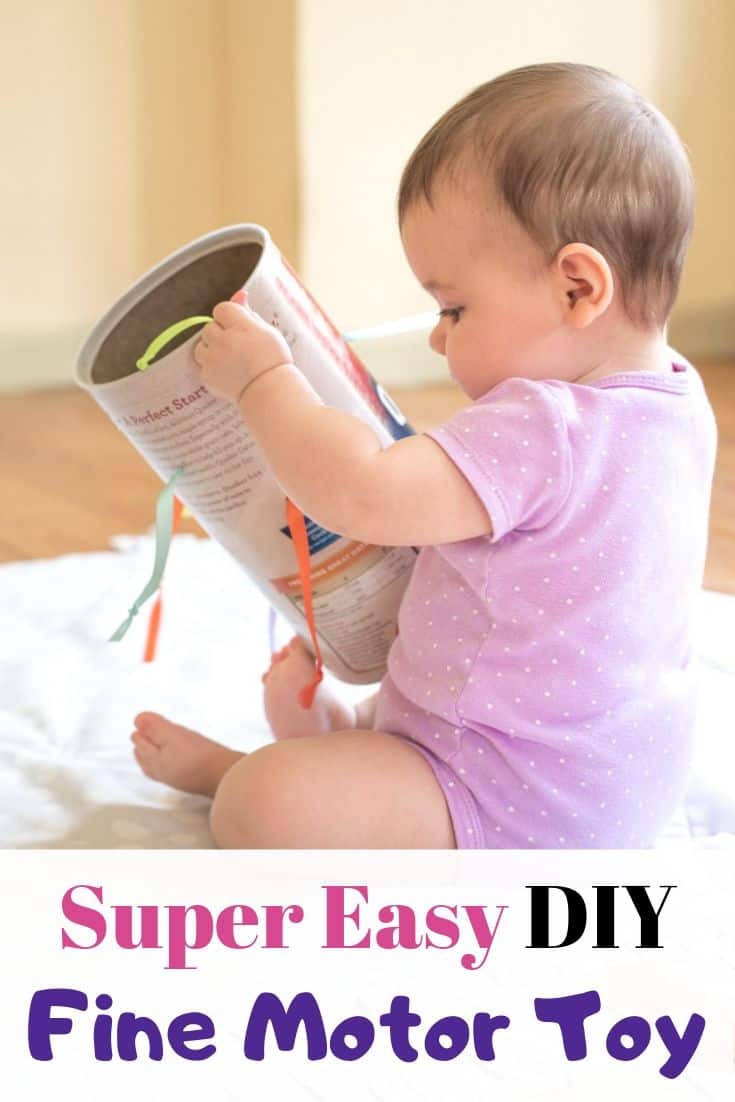
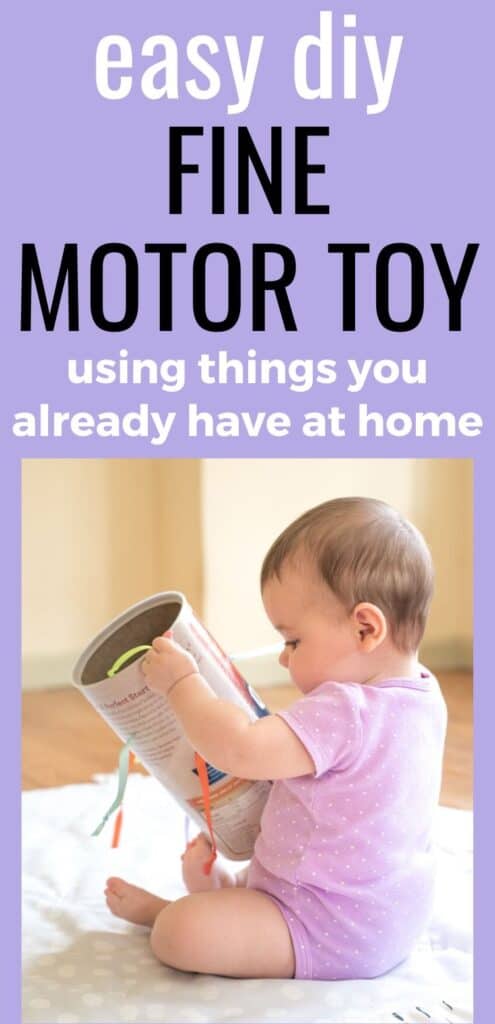
This easy DIY fine motor toy for infants is practically free to make and provides so much entertainment! It's quick and easy to make your own baby toy using materials you already have at home when you follow this tutorial.
Our LG has always immediately gravitated towards whatever she isn't "supposed" to have. Keeping up with her is an even bigger challenge now that she's crawling! She really loves buckles, ribbons, wires, ties, etc. Really anything that could become a strangulation hazard!
Lately she's also been really enjoying an empty oatmeal container, so I decided to make her an upcycled DIY fine motor toy that combines bright colors with the allure of the forbidden. Please don't tell her that I made sure all the ribbons are too short to be hazardous!

This post may include affiliate links, which means I may make a commission on purchases made through these links at no additional cost to you.
Easy DIY fine motor toy for infants
This toy is super easy to make.
We usually buy store brand oatmeal when it's in stock, but I know LG really likes the brightly colored Quaker box and the cardboard is a bit thicker than many store brands I've encountered.
I did not decorate the container because I know our girl is drawn to its un-decorated appearance. You could paint your oatmeal container with a certified nontoxic paint if you'd prefer.
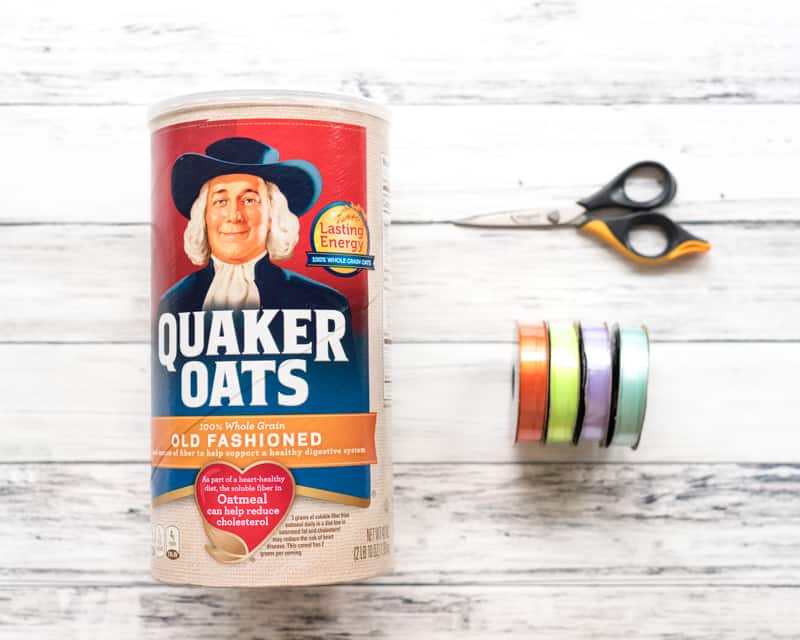
Materials needed to make an easy DIY fine motor toy
- An empty oatmeal container, box, or something similar and food-grade cardboard.
- A pair of scissors with pointy ends, a small awl, a large nail, or something else to poke holes with.
- Ribbons. I used a variety of ¼" ribbons, some smooth and others with texture.
- A lighter. Optional but helpful to prevent fraying if you use synthetic ribbons.
Do you need easy, low-prep activities for your older kids? Join The Artisan Life family today and receive a printable woodland animal activity pack!
DIY fine motor toy for infants with an oatmeal container
Cut as many pieces of ribbon as you'd like to use.
Make sure your ribbons are fairly short. Anything that can form a loop that's longer than 6" can become a hazard! I cut my ribbons ever so slightly longer than 6" to allow space for knots. (As a note - I've seen some sources say that a loop over 5" is hazardous, so feel free to go even shorter if it makes you more comfortable.)
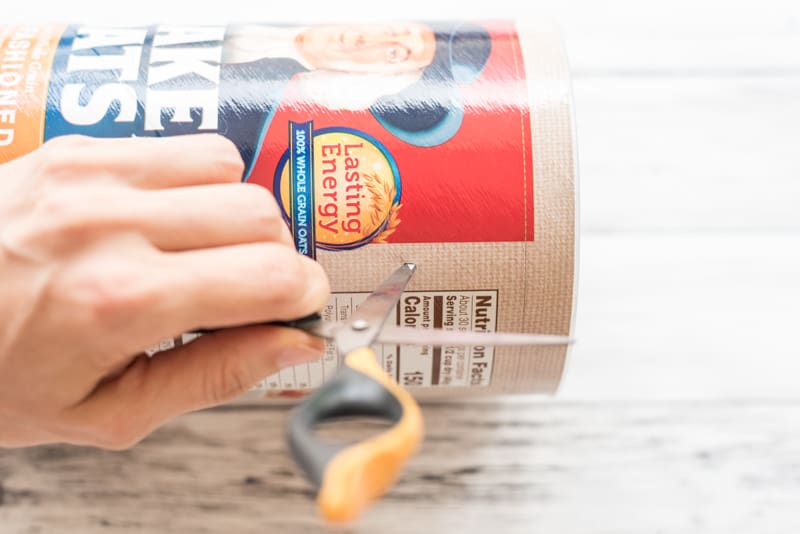
Use your scissors, awl, or other tool to very carefully poke holes in your cardboard container.
Make them just large enough to slip a ribbon though. I used a single blade from a smallish pair of scissors to stab a small slit - don't create a giant hole or the ribbons will pull right through. Poke one hole for each of your ribbons.
If you'd like, singe the ribbon ends to help prevent fraying.
Tie a knot in one end of each ribbon.
One by one, thread the ribbons through a pre-cut hole, then knot the opposite end.
It can be really tricky to the the knot inside the container, so I recommend threading from the inside out (so that the pre-tied knot is inside the container and you're tying the second knot on the outside). Test your ribbons to make sure they can't escape through the holes. If they can, tie a second knot on top of the first to make it more bulky.

Hand over the toy and watch your baby enjoy! As with any toy, please make sure to directly supervise your little one while they use it.
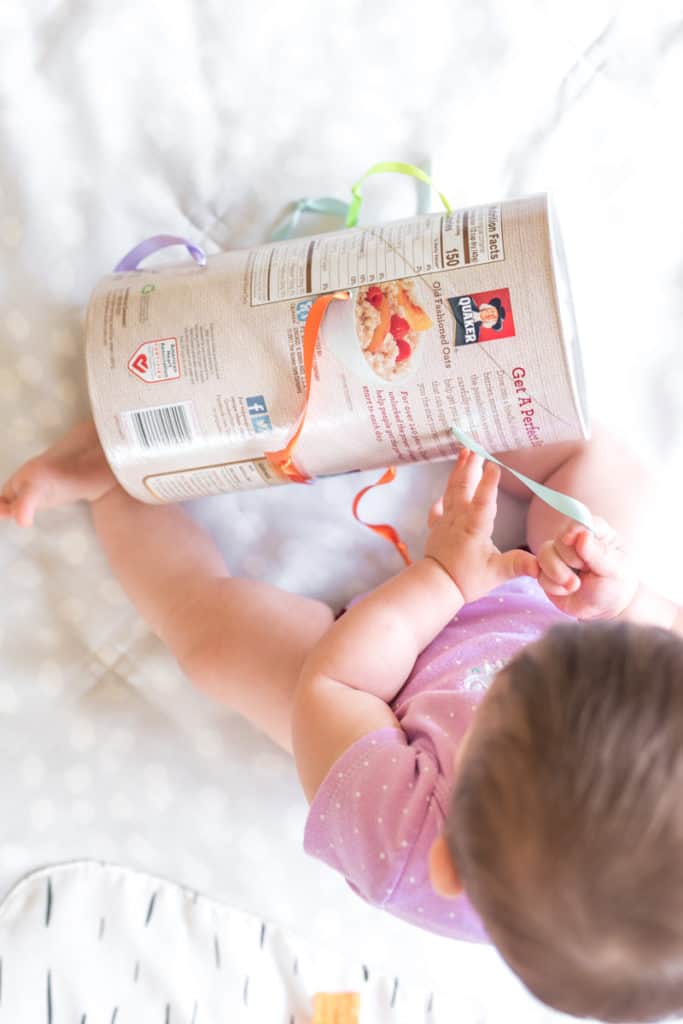
Even though I made this a little while ago, this upcycled toy is still out on LG's shelves and she still likes to play with it. Though, honestly, all of her toys have recently taken a back seat to cruising and crawling away from us at top speed. I feel like she's going to be walking way sooner than any of us are ready for.
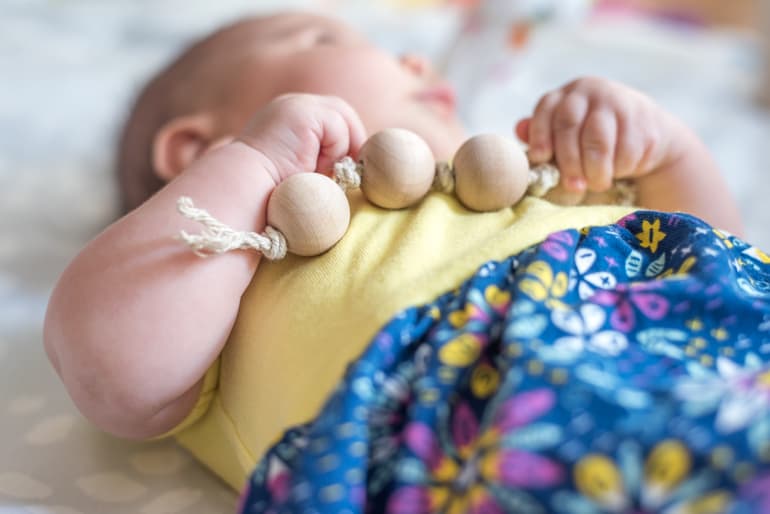
Looking for another handmade toy idea? This wood bead clutch toy is super easy to make!
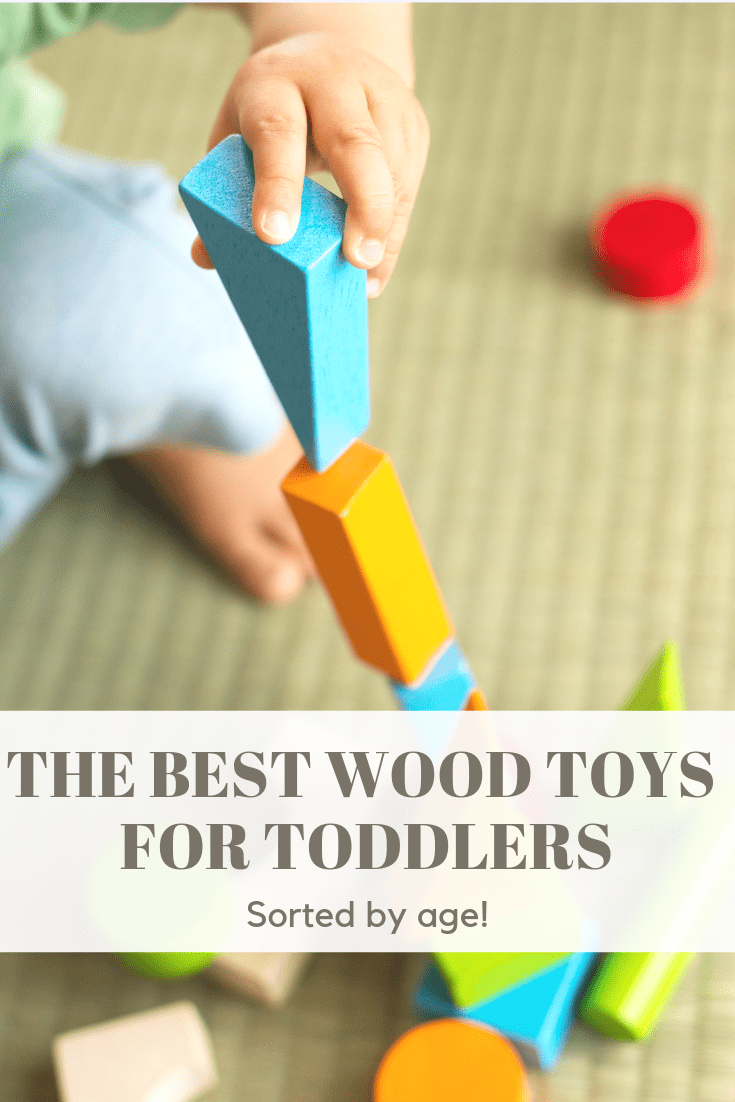
For older infants and young toddlers, check out this collection of best non-toxic wood toys!
Have you ever made upcycled toys or used non-toy items as toys?
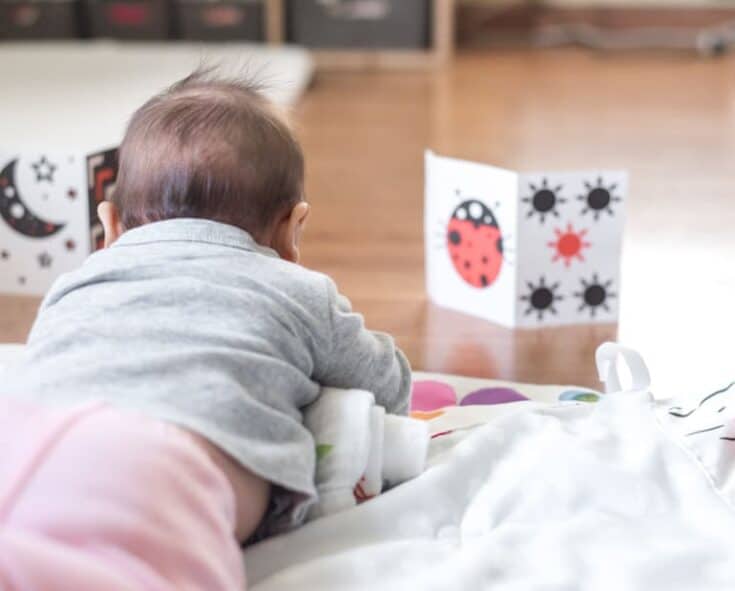
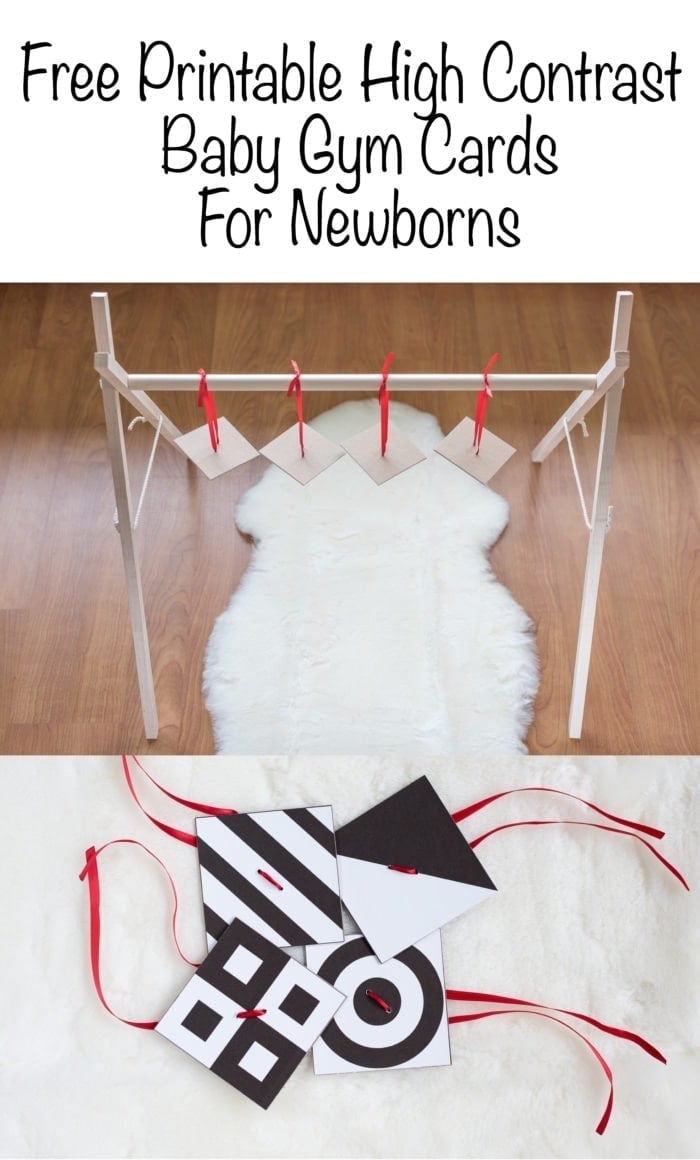
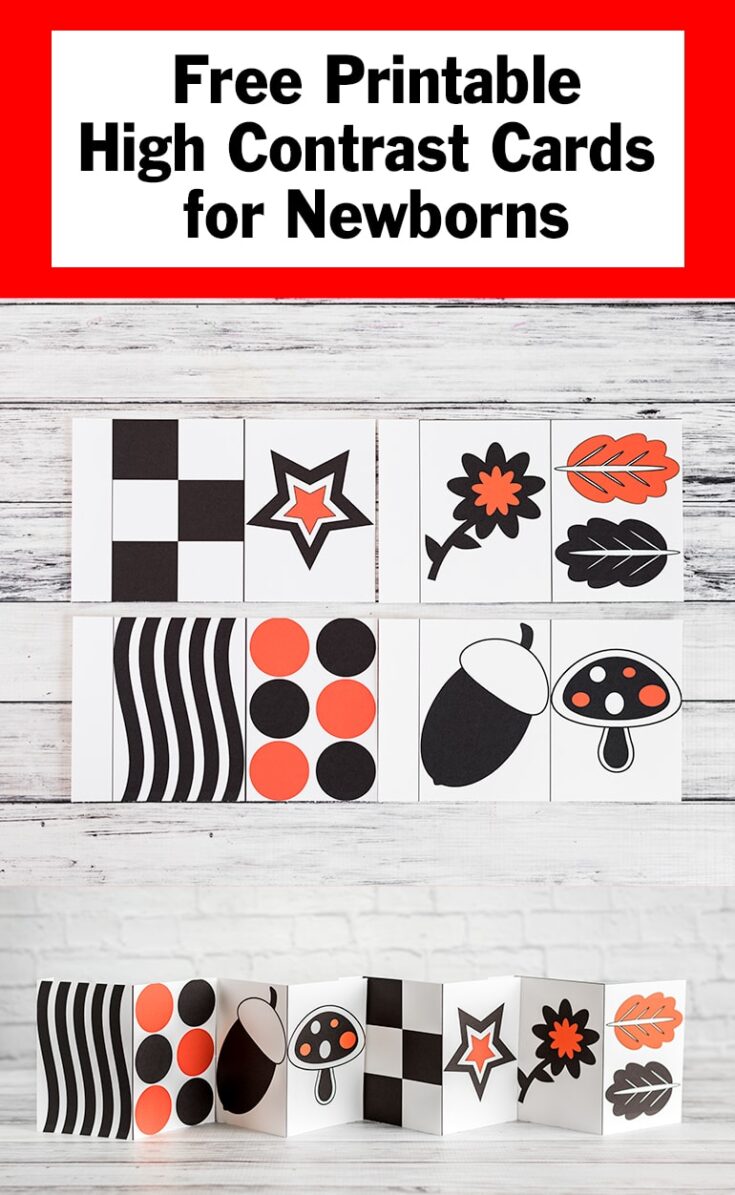
Free printables for babies
Need educational baby toys you can make at home? Check out these free printables on The Artisan Life!

Nessy
I've tried this one before with my nephew. He also loved it! And it's funny because even though he has A LOT of toys, he likes using actual household items more and recycled stuff like this. 🙂 I guess toddlers can really see the "real" value of things beyond the price tag.
Natasha
I think little babies and toddlers can frequently see more clearly because they don't know about money and how much they 'should' value something based on its price tag! I also think part of it comes from the baby/child seeing adults using the item. Our girl always gravitates towards the things we use most like phones, shoes, and keys.
Veronica
That’s a great toy idea and most especially the materials you used. Always need to recycle. 🙂
Joy to the World
Natasha
I love making recycled things! It feels good and saves money, too. =)