• Skip to main content
  • Skip to primary sidebar
The Artisan Life
  • Dot Marker Pages
  • Learning Center
  • Seasonal Printables
    • Winter Printables
    • Valentine's Day printables
    • St. Patrick's Day printables
    • Earth Day
    • Easter printables
    • Mother's Day
    • Fall printables
    • Thanksgiving Printables
    • Christmas Printables
  • Printable Calendars
  • Preschool + K
    • Alphabet Tracing Worksheets
    • Dot Marker Pages
    • Cut & Paste Crafts
    • Preschool Math
    • Fine Motor Practice Pages
    • Spanish Preschool Pages
  • Coloring Pages
  • Shop
  • Recipes
    • Healthy dessert recipes
menu icon
go to homepage
  • Dot Marker Pages
  • Free Printables
    • Preschool worksheets
    • Free Printable Coloring Pages
    • Printable journals & planners
  • Learning Center
  • Shape Templates
  • Coloring Pages
  • St Pat's Printables
  • Desserts
  • Dot Marker Bundle
  • Shop
    • Instagram
    • Pinterest
  • search icon
    Homepage link
    • Dot Marker Pages
    • Free Printables
      • Preschool worksheets
      • Free Printable Coloring Pages
      • Printable journals & planners
    • Learning Center
    • Shape Templates
    • Coloring Pages
    • St Pat's Printables
    • Desserts
    • Dot Marker Bundle
    • Shop
    • Instagram
    • Pinterest
  • ×
    Home » Printables

    DIY Folding Felt Bins/Mini Desk Organizers Tutorial

    Published: Oct 9, 2014 · Modified: Mar 2, 2025

    3909 shares
    • Share

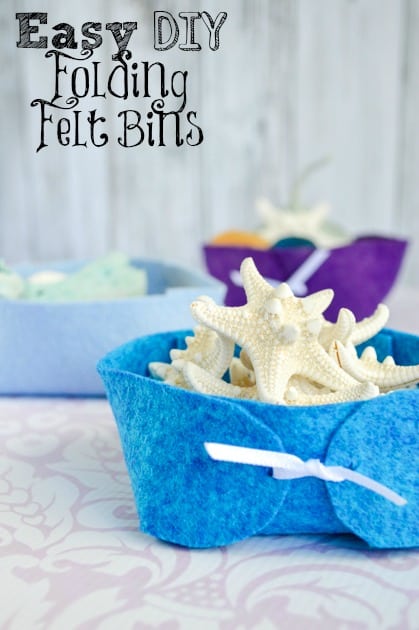
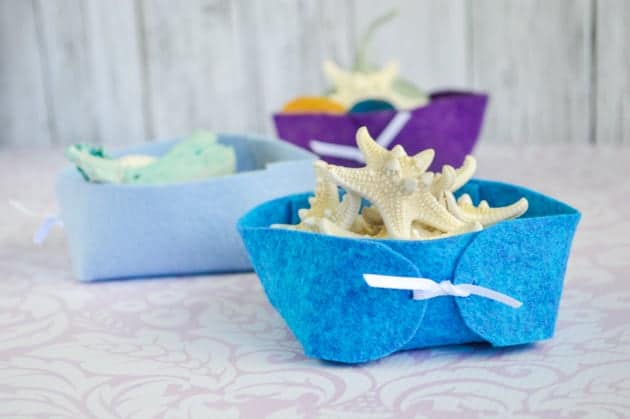
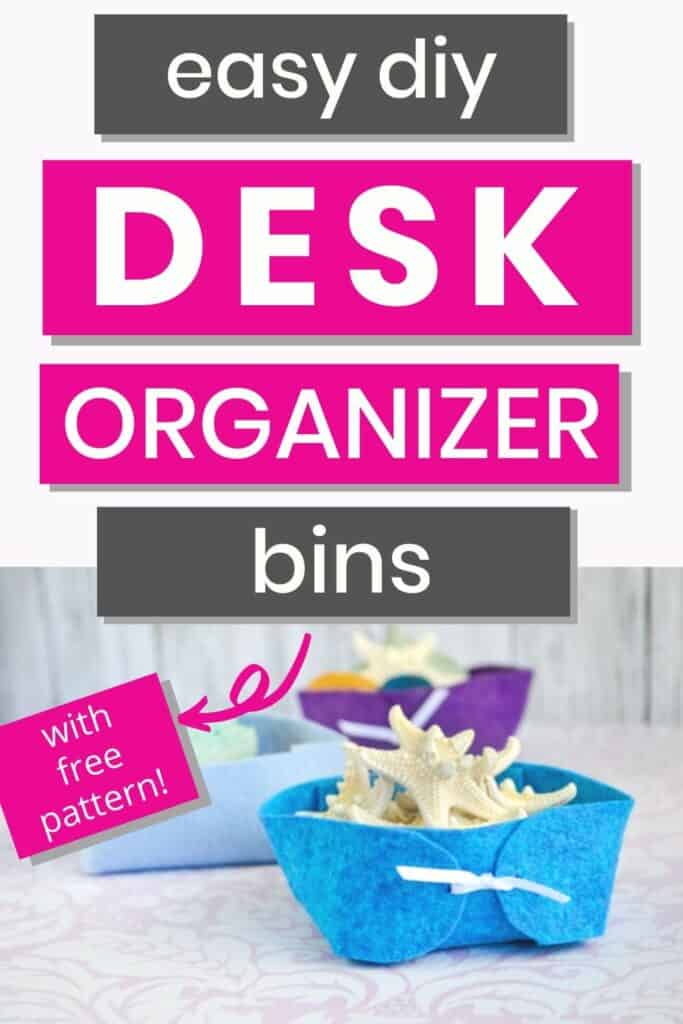
    These DIY folding felt bins are great as mini desk organizers or an easy catchall around the house

    Recently I was struck by a random idea that I knew I had to follow through on. Lots of paper sketches and scraps later, I came up with a super easy pattern to make your own folding felt bins. They're great as little desk organizers, a place to drop your keys, or just a fun accessory around the house!

    Easy DIY Folding Felt Bins Tutorial (with Printable!)

    Even though I demonstrated making the bins with felt for this tutorial, they also work with cardstock or even watercolor paper. How cool would watercolor bins look on your desk?

    DIY Mini Desk Organizers

    This post may include affiliate links, which means I may make a commission on purchases made through these links at no additional cost to you. 

    No matter what you decide to use them for, these bins are way super quick and easy. Once you get the pattern cut out the first time, you should be able to make one in under 5 minutes. Pretty cool, huh?

    As mentioned above, this tutorial shows felt, but you can use scrapbook paper, cardstock, watercolor paper, leather, or whatever else makes you happy.

    I left the crease lines on the downloadable paper pattern so you know where to make your folds if you're not using felt.

    When using my pattern un-scaled, your bins should be about 3" across and have sides about 1.5" tall. You can simply scale the sheet when you print it if you'd like to change up the size.

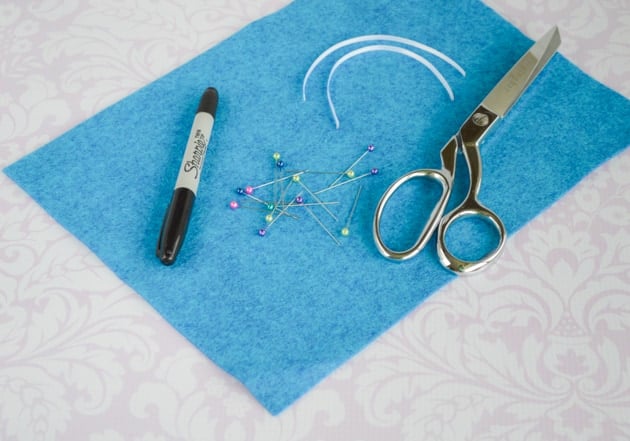
    Materials for DIY mini desk organizer bins

    • A sheet of felt (I use wool felt because it's sturdier and more durable)
    • Scissors
    • Either sewing pins or a fine tip permanent marker
    • About 12" of ribbon, twine, or yarn cut into two 6" pieces
    • Folding felt mini bin pattern free printable 
    15 Easter 9'X12' Merino Wool Blend Felt Sheets Collection - OTR felt
    15 Easter 9"X12" Merino Wool Blend Felt Sheets Collection - OTR felt
    • 35% Wool/65% Rayon - Made in USA
    • 15 Sheets - One of each color shown (Computer Screens can Vary to actual color)
    • Approx 2mm Thick - Hand Cut, allow for a variance of 1-2cm
    Check current price

    supplies for making felt bins

    Steps for making your own mini bins

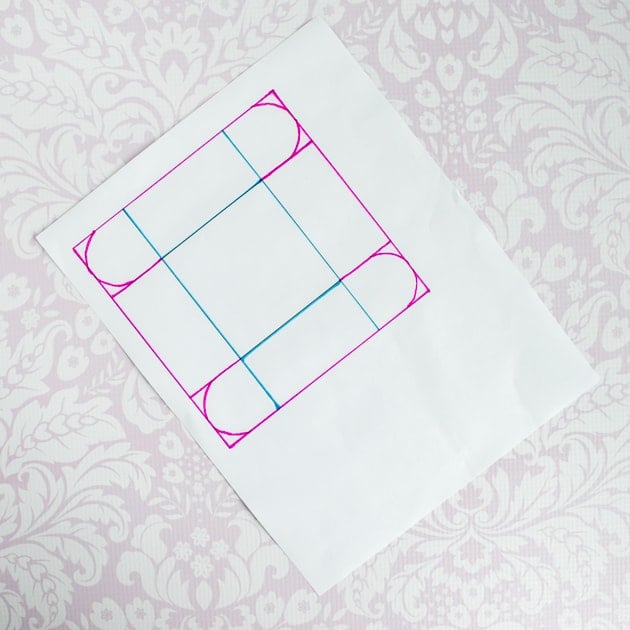
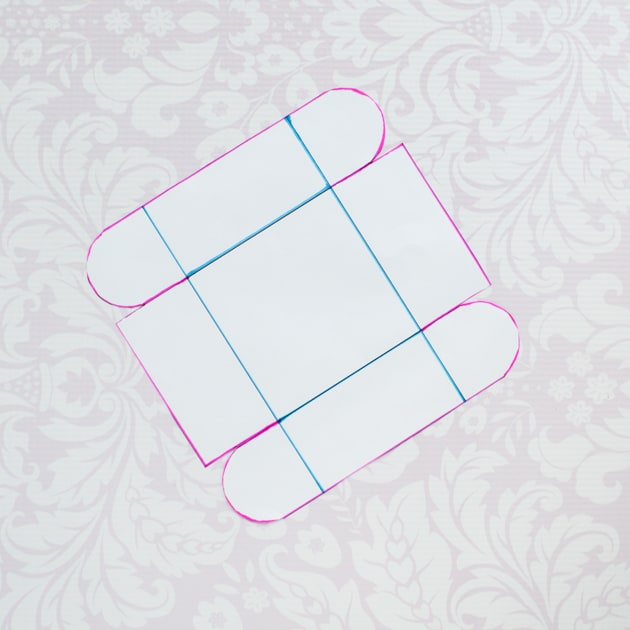
    1. Print out the bin pattern. Download the felt bin pattern here.

    2. Cut your pattern along the lines marked with the pink marker in the photo below.

    Your print out is black and white - I added colored lines on my copy instead of the digital version to save you some ink!

    I find it easiest to cut out the whole square, then the four slits in to make the tabs, and finally the curved end portions.

    If you don't feel comfortable cutting the curves, just leave the ends square. The blue lines show where you'd fold the finished box if making it from scrapbook paper, cardstock, etc. and can be ignored if you're working with felt.

    mini fabric bin pattern

    fabric bin pattern cutout

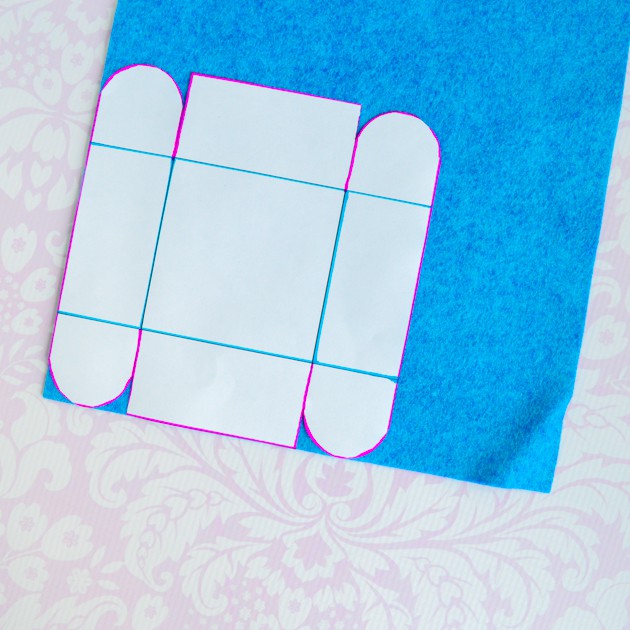
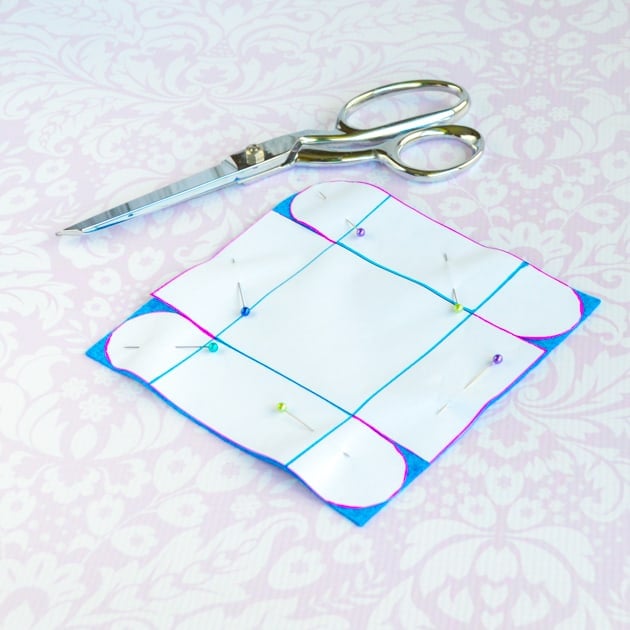
    3. Place your pattern on your felt and either trace it with a permanent marker or pin it in place like a regular sewing pattern and cut the design out.

    Once again, I think cutting the square, slits, then tabs is easiest. If your felt has a nice square corner, just line the pattern up as shown and save yourself a few cuts!

    place the pattern

    cut out the square

    cut out fabric bin

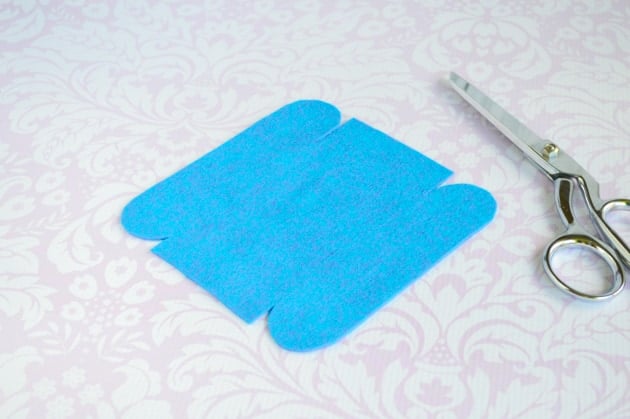
    4. Use your scissors to snip a small hole at the end of each tab.

    5. Now it's time to thread your ribbons!

    Tuck one of the rectangular tabs to the "inside" and then thread one end of a ribbon piece through the hole in one of the neighboring round tabs. Thread the ribbon from "inside" to "outside" and repeat with the other end of the ribbon and the hole in the opposite tab. It's difficult to explain in words, but very easy to do - just look at the photo below!

    thread the ribbons

    6. Repeat step #5 with the other side of the bin.

    7. Tighten the ribbons down until tabs are touching and then secure them. I like to use a square knot, but you could use a bow. Trim away extra ribbon, if you'd like.

    tie the ribbons

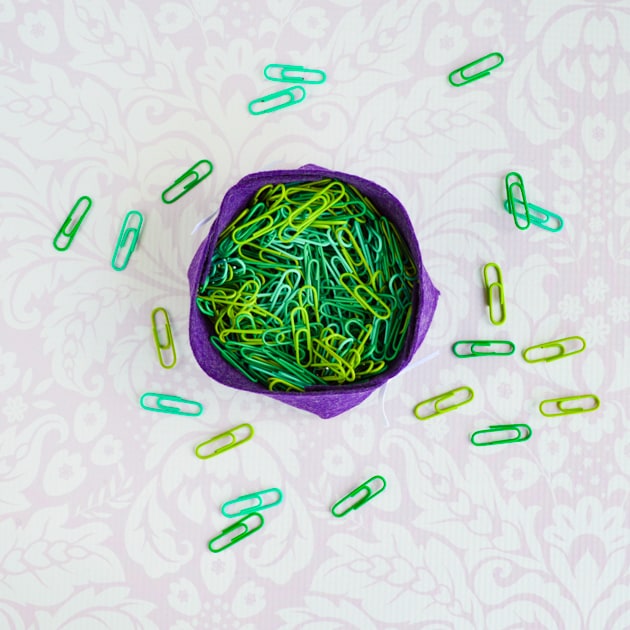
    8. Enjoy using your awesome new bin!

    Easy DIY Folding Felt BinsI can think of a lot of fun uses for these little guys. What will you use them for?

    Remember to pin this DIY felt bin tutorial to your favorite board now so you don't lose track of it!

    DIY felt bins with free printable pattern

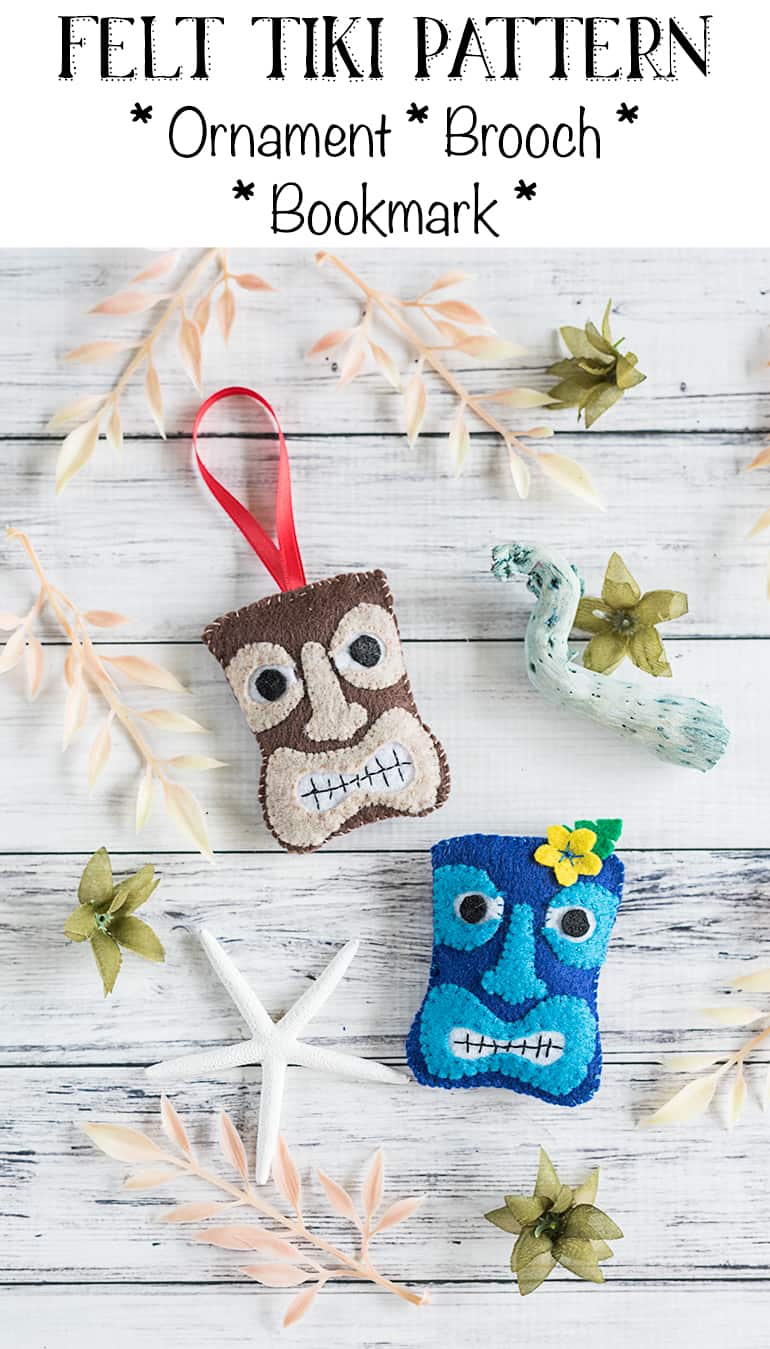
    More felt craft tutorials

    Felt fillable Easter eggs

    eco-friendly fillable Easter eggs made from wool felt

    Felt tikis

    Felt TIki Ornament Brooch and Bookmark Tutorial and Pattern

    Felt heart hand warmers

    DIY Felt heart hand warmers with pattern!

    text "easy DIY desk organizer bins with free pattern!" with a picture of home office organization bins made out of felt

    More Printables

    • text "free printable spring dot marker pages with vocab" and a preview of three dot marker coloring sheets
      Free Printable Spring Dot Marker Pages with Vocabulary
    • text "free printable st patrick's day bold and fun coloring pages" with a preview of three coloring sheets
      Fun St Patrick's Day Coloring Pages
    • text "free printable St Patrick's Day easy coloring pages" with a preview of three coloring sheets for kids
      Easy St Patrick's Day Coloring Pages
    • text "free printable st Patrick's ay bold and cute coloring pages" with a preview of three coloring sheets
      Cute Pun St Patrick's Day Coloring Pages
    3909 shares
    • Share
    text "access hundreds of printables now"

    Reader Interactions

    Comments

    1. Duni

      October 09, 2014 at 9:39 pm

      So sweet! And useful too!
      I haven't worked with felt in quite some time - your tutorial makes me want to 🙂

      Reply
      • Natashalh

        October 10, 2014 at 7:18 am

        I bought a few pieces a couple months ago, but before that I hadn't used it in years, either. It's so much fun to use, especially when you get wool felt instead of that nasty acrylic stuff!

        Reply
    2. Judy Nolan

      October 09, 2014 at 5:57 am

      Cute idea! These could also be done in fabric--admittedly a couple layers of fabric for body. What to put inside: pins if you sew, candy, paper clips, coin change . . . the list goes on. Great post!

      Reply
      • Natashalh

        October 09, 2014 at 6:23 am

        I actually almost made one with two layers of felt and a piece of lightweight fusible interfacing. It would be so easy and then you'd have a cool, two-tone bin!

        I don't know why I hadn't thought of change. We have too much change in random places - it's time to put one of these to work!

        Reply
    Newer Comments »

    Leave a Reply Cancel reply

    Your email address will not be published. Required fields are marked *

    This site uses Akismet to reduce spam. Learn how your comment data is processed.

    Primary Sidebar

    Text "Hello! I'm Natasha!" with an image of a woman a blue shirt

    Hi, I’m Natasha! I'm so glad you're here.

    I'm a former classroom teacher with a Masters of the Arts in Teaching turned homeschooler. I share educational & planner printables for busy parents and teachers. Simplify your life when you discover how to instantly access 700+ printables here!

    More about me →

    Popular

    • text "no prep spring activity placemats" with a preview of four spring themed activity placements
      Free Spring Activity Placemats
    • txt "free printable pi day coloring pages" with a preview of three coloring sheets for pi day
      Free Printable Pi Day Coloring Pages
    • text "free printable pi day a tiivty placements" with a preview of three activity sheets
      Free Printable Pi Day Activity Placemats
    • text "free printable year of the horse worksheet" with a preview of a printable worksheet with coloring and handwriting
      Free Printable Year of the Horse Worksheet

    The Artisan Life is a participant in the Amazon Services LLC Associates Program, an affiliate advertising program designed to provide a means for sites to earn advertising fees by advertising and linking to Amazon.com.

    The Artisan Life also uses affiliate links for other sites. For a full look at my policy, please visit its page here.

    Footer

    ↑ back to top

    About

    • Privacy Policy
    • Disclaimer

    Save Time

    • Join the Learning Center for quick & easy access to hundreds of printables

    Contact

    • Contact

    If you have any questions feel free to contact me directly here: natashalh(at)stalkingthewildsnark(dot)com. I do not accept guest posts and will not respond to unsolicited requests for guest posts or links. Stock images by Depositphotos

    COPYRIGHT © 2012 – 2025 The Artisan Life · ALL RIGHTS RESERVED