• Skip to main content
  • Skip to primary sidebar
The Artisan Life
  • Dot Marker Pages
  • Learning Center
  • Seasonal Printables
    • Winter Printables
    • Valentine's Day printables
    • St. Patrick's Day printables
    • Earth Day
    • Easter printables
    • Mother's Day
    • Fall printables
    • Thanksgiving Printables
    • Christmas Printables
  • Printable Calendars
  • Preschool + K
    • Alphabet Tracing Worksheets
    • Dot Marker Pages
    • Cut & Paste Crafts
    • Preschool Math
    • Fine Motor Practice Pages
    • Spanish Preschool Pages
  • Coloring Pages
  • Shop
  • Recipes
    • Healthy dessert recipes
menu icon
go to homepage
  • Dot Marker Pages
  • Free Printables
    • Preschool worksheets
    • Free Printable Coloring Pages
    • Printable journals & planners
  • Learning Center
  • Shape Templates
  • Coloring Pages
  • St Pat's Printables
  • Desserts
  • Dot Marker Bundle
  • Shop
    • Instagram
    • Pinterest
  • search icon
    Homepage link
    • Dot Marker Pages
    • Free Printables
      • Preschool worksheets
      • Free Printable Coloring Pages
      • Printable journals & planners
    • Learning Center
    • Shape Templates
    • Coloring Pages
    • St Pat's Printables
    • Desserts
    • Dot Marker Bundle
    • Shop
    • Instagram
    • Pinterest
  • ×
    Home » Uncategorized

    Easy Fork Bow Tutorial & Frosted Beach Glass Ornaments

    Published: Dec 4, 2014 · Modified: Mar 2, 2025

    282 shares
    • Share

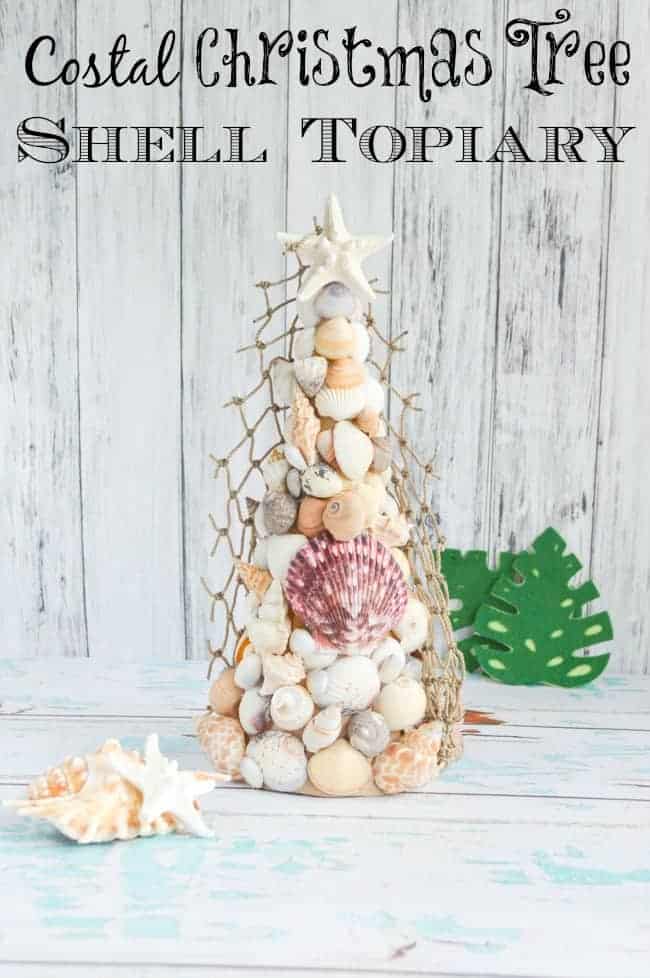
    As everyone knows, I love nautical and beachy decor!

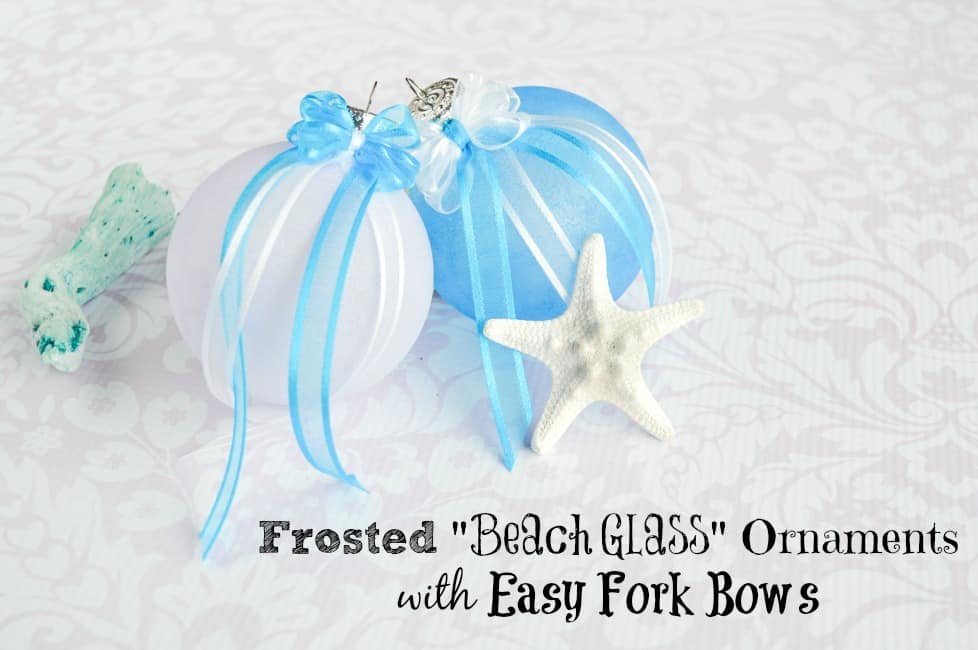
    This tutorial shows you how to make frosted (looking) "beach glass" ornaments using those clear glass ball ornaments and then decorate them with cute little bows.

    My mom is a bow magician, but I didn't inherit her amazing bow skills. I have to rely on tricks to make bows!

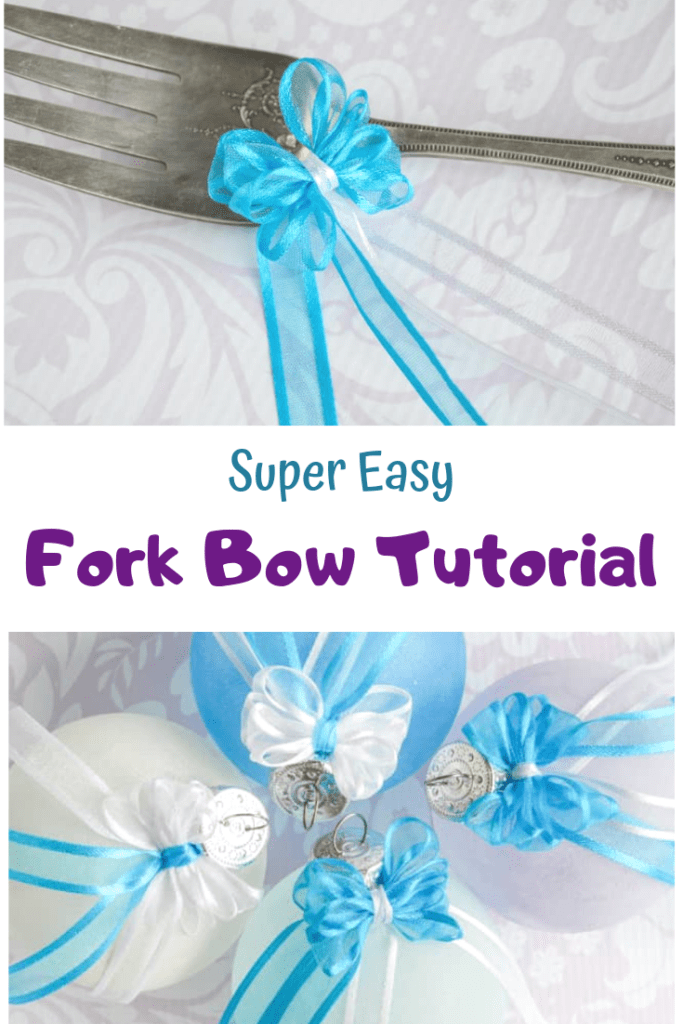
    This tutorial shows you how to scale up the wonderful fork bow tying trick to make them on a serving fork and them attach them to your sea glass globes. Cool, huh?

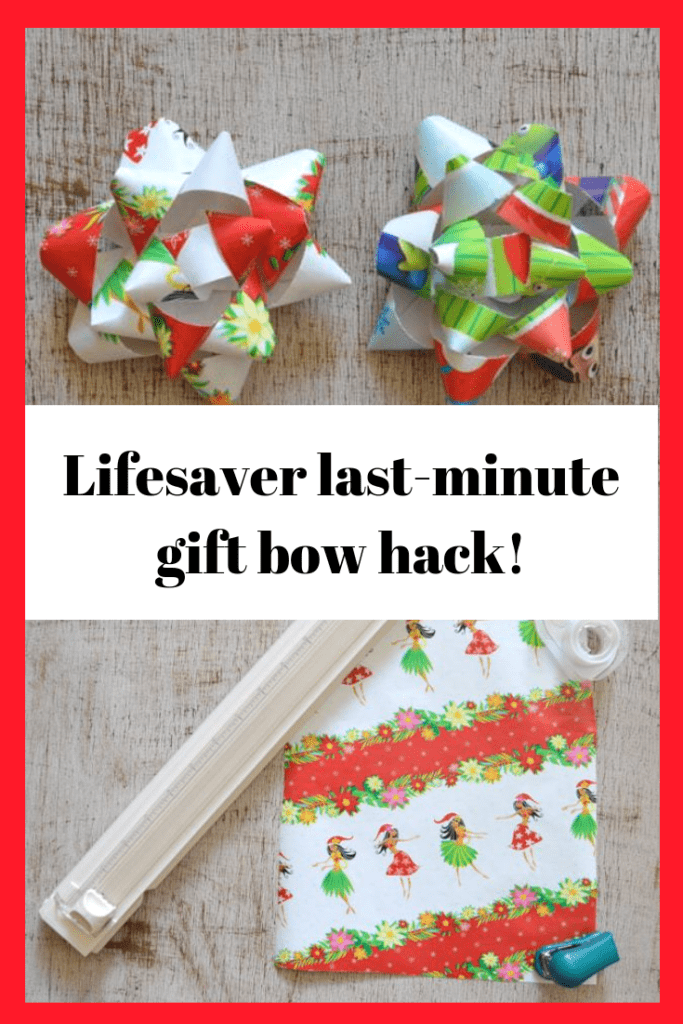
    Who's ready to make a super easy fork bow??! They're seriously a lifesaver whenever you need a tiny, perfect bow, not just on these ornaments!

    super easy fork bow tutorial

    Frosted Beach Glass Ornaments w Easy Fork Bows

    This post may include affiliate links, which means I may make a commission on purchases made through these links at no additional cost to you. 

    I'm sorry if the lighting is funky-looking in any of these photos. It has been raining for the last week and I gave up on waiting for a sunny day to take photos! I'll have to figure something out because it's going to rain most of the time for the next four or five months. That's just how it is on the Windward side of Oahu in "winter!"

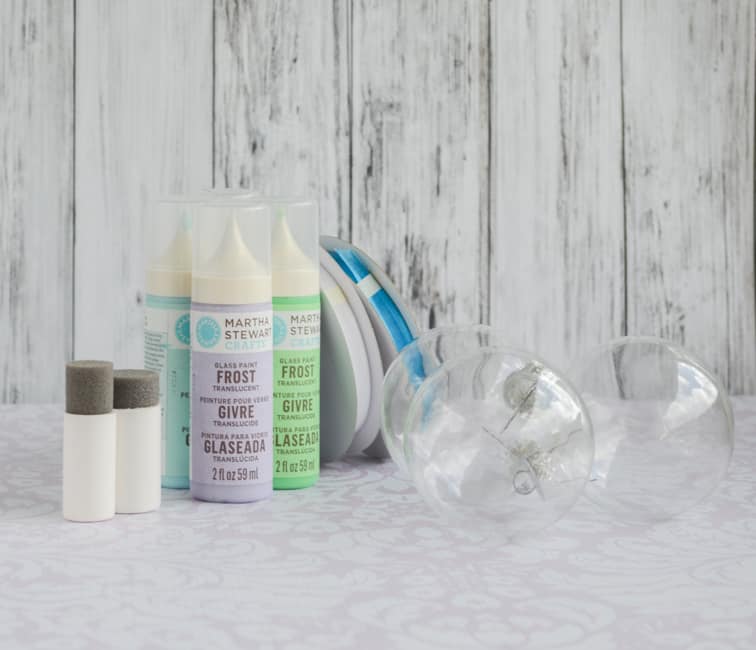
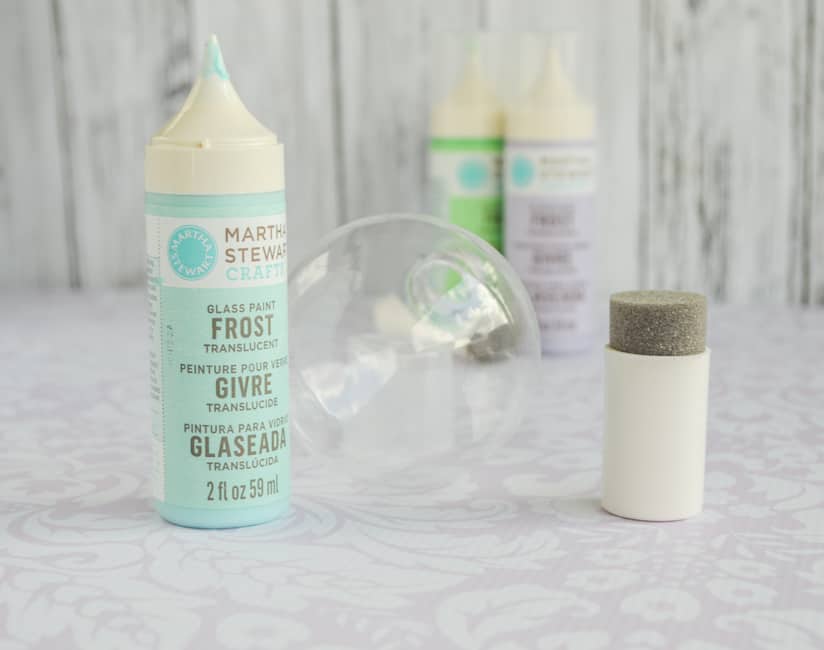
    I used Martha Stewart Frost Glass Paints, but if you have a different brand of a similar product go ahead and use it. I've discovered that multiple thin coats work way better than one thick coat, so just pounce it on a little at a time and then add layers until you're satisfied with the depth of color.

    Edit: Unfortunately, it seems like the exact "frost" glass paints I used are not currently available, but there are different Martha Stewart beach glass translucent paints now. Hooray! For a while I couldn't find either, so this is exciting news!

    Supplies for frosted beach glass ornaments with an easy fork bow

    • Plain/clear glass ornament balls
    • Frosted glass paint
    • Sponge brushes or pouncers
    • Ribbons - I used â…œ" ribbon in two colors
    • A large serving fork, preferably with an even number of tines
    • Scissors

    supplies for beach glass ornaments

    How to make your own beach glass ornaments and fork bows

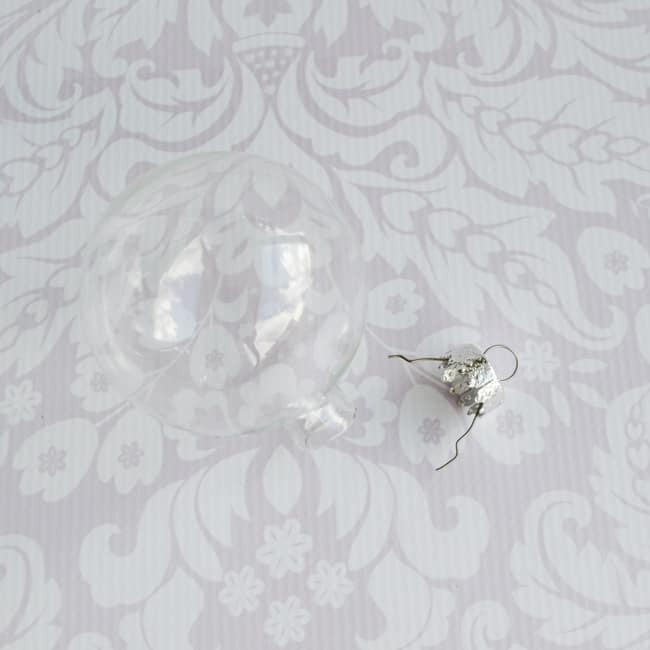
    1. Carefully remove the metal tops from your ornaments and set them aside.

    remove metal tops

    2. Pounce paint on your ornaments in light layers. Allow the paint to dry between coats and keep layering until you're happy. I put three layers on most of my ornaments.

    ponce paint on

    3. Once the ornaments are completely dry, put the metal tops back on. Be careful not to scratch the paint with the metal prongs.

    4. Cut your bow ribbons. I like to cut about 2 feet of my primary color and 10 inches of my secondary color.

    serving fork and ribbon

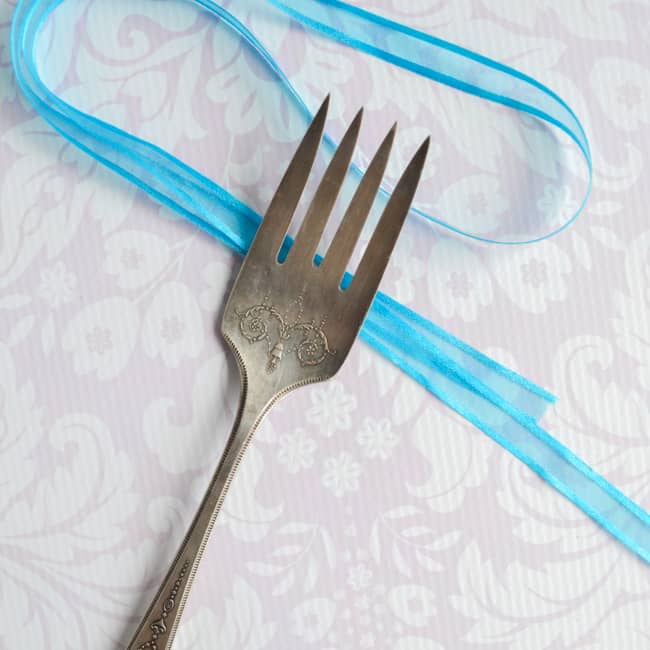
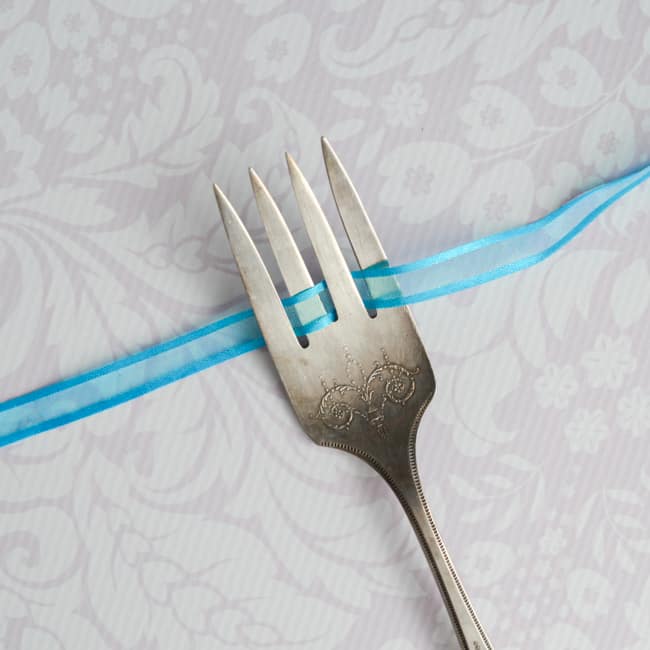
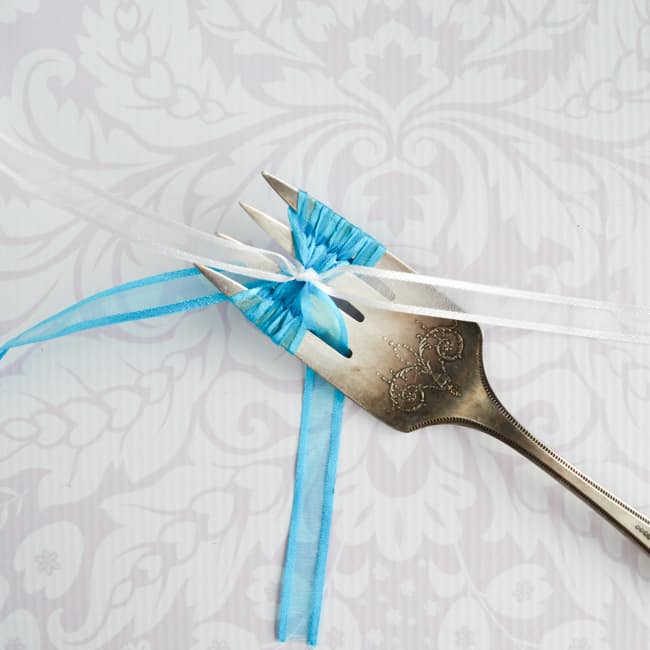
    5. Leaving about a 6" tail to the left of the fork, weave your ribbon through the fork's tines.

    thread ribbon through tines

    6. Continue looping the ribbon around the fork, as shown. I like to make 4 or 5 passes, but you can make however many you want/your fork allows. Each pass equates to one loop on the bow. Make sure your loose ends come out opposite sides (as shown below) or your finished bow will look funky!

    continue wrapping fork

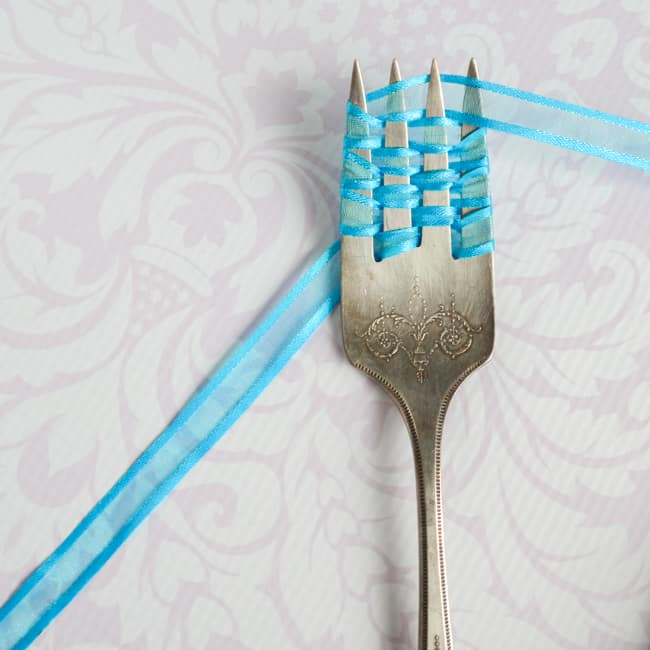
    7. When you're satisfied with the number of loops you've made for your bow, scrunch the ribbon up towards the middle. I had to bring the right end of the ribbon back across to hold everything in place for photos, but don't do this. Keep it sticking out to the right, like in the photo above. Pull your shorter piece of ribbon down through the hole in the bottom between the two middle tines and then back up over the top of all the ribbon loops.

    add second piece of ribbon

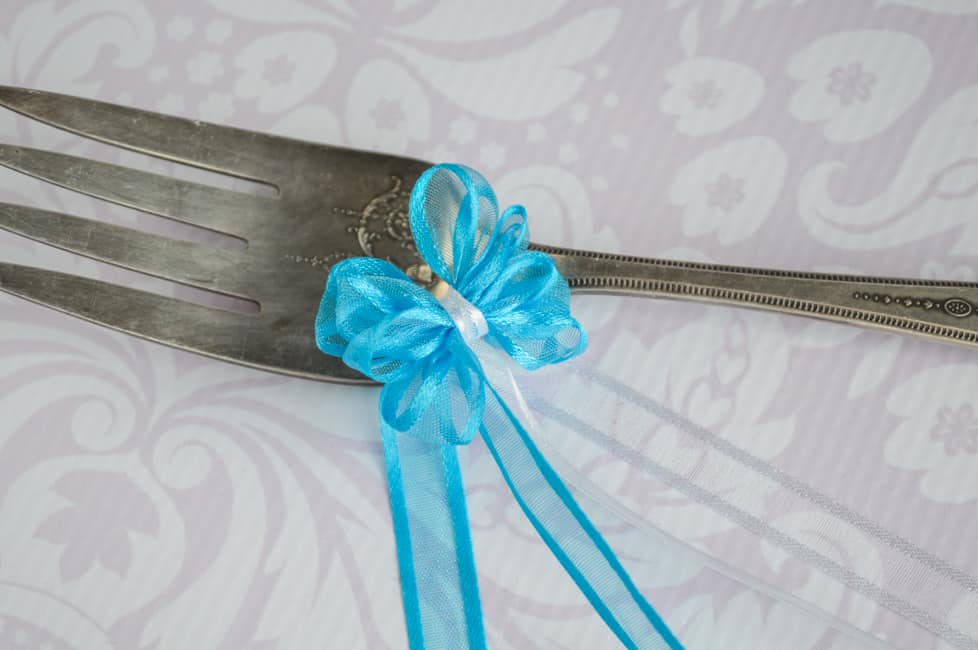
    8. Cinch the ribbon loops in and tie the shorter ribbon in a tight square knot. For an even tighter bow, make a single overhand knot (like you're tying your shoes) while the bow is on the fork and then tighten it down more and add the second loop after removing the bow.

    knot the ribbon

    9. Slide the ribbons off the fork and fluff the loops, as needed. Voila - it's a perfect, tiny bow!

    slide the bow off the fork

    10. Make as many bows as you need.

    10. Using hot glue or your adhesive of choice, attach the bows to your ornaments. You can also tie them in place, if you'd prefer.

    attach the bows

    11. Trim the ribbons. I like to cut the ends at a slant for a more finished appearance.
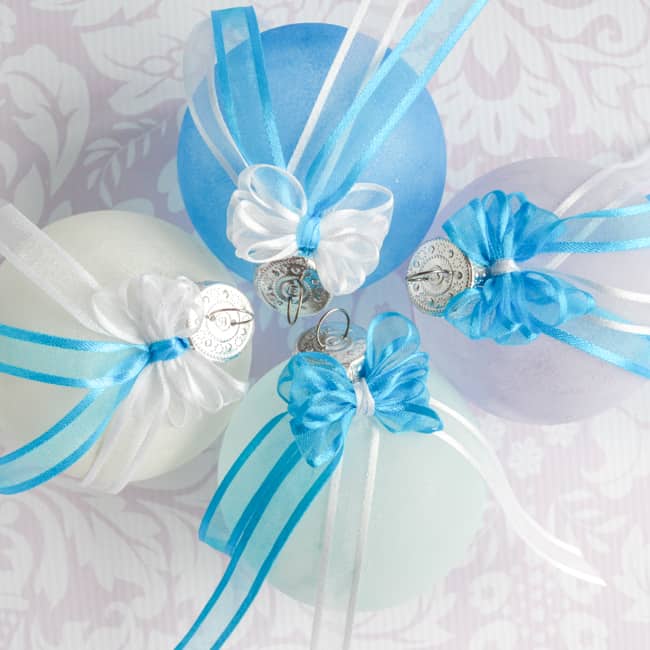
    Frosted Beach Glass Ornaments with Easy Bows

    12. Hang and enjoy!

    I've made so many ornaments in the past few weeks that our tree will have plenty of decorations waiting for it whenever we bring it home! We also need to get some wrapping paper because I have some gifts for Papi Chulo to wrap up and put under the tree. =)

    If you'er looking for more Christmas tutorials, you'll like these posts!

    Seashell Christmas tree

    How to make a bow with wrapping paper

    last minute gift bow hack

    In addition to making ornaments, I've also been busy making presents for family members. I'd love to share details, but people on my Christmas list are known to read my blog! How many of y'all are giving homemade this year?

    More Related Posts

    [pt_view id=“15d429e15n"]

    [catlist search="tutorial" number

    More Uncategorized

    • Text "free printable all about my teacher questionnaire" with a preview of a cute teacher questionnaire printable
      Free Printable All About my Teacher Questionnaire
    • Text "fine motor tracing worksheets" with a preview of seven fine motor tracing worksheets for preschoolers
      Free Printable Thanksgiving Prewriting Worksheets
    • Free Printable Beginner 4x4 Sudoku Puzzles
    • A preview of two printable November calendar pages for 2023
      Free Printable November Calendar 2023
    282 shares
    • Share
    text "access hundreds of printables now"

    Reader Interactions

    Comments

    1. Lana

      December 07, 2014 at 4:00 am

      So pretty and so you! This is will be on my list to try this year! Thanks Natasha!!!!

      Reply
      • Natashalh

        December 07, 2014 at 8:43 am

        Thanks! We should be getting our tree today and I can't wait to hang them!

        Reply
    2. Taira

      December 04, 2014 at 9:36 am

      Yup I live in Kaneohe! It's been gloomy lately- hard to get up and out of bed for work during this "cuddle weather" 🙂 Love the post

      Reply
      • Natashalh

        December 04, 2014 at 10:28 am

        No way! The crazy part to me is how some days it will be sunny over the mall but raining where we live. Recently it's just been gloomy all over, like you said.

        Reply
    « Older Comments
    Newer Comments »

    Leave a Reply Cancel reply

    Your email address will not be published. Required fields are marked *

    This site uses Akismet to reduce spam. Learn how your comment data is processed.

    Primary Sidebar

    Text "Hello! I'm Natasha!" with an image of a woman a blue shirt

    Hi, I’m Natasha! I'm so glad you're here.

    I'm a former classroom teacher with a Masters of the Arts in Teaching turned homeschooler. I share educational & planner printables for busy parents and teachers. Simplify your life when you discover how to instantly access 700+ printables here!

    More about me →

    Popular

    • text "free printable reading log trackers for kids" with a preview of two reading tracker printables
      Free Printable Reading Logs
    • text "free printable reading coloring pages" with a preview of three reading coloring pages for kids
      Free Printable Reading Coloring Pages
    • text "free printable reading log bookmarks' with a preview of two pages of printable reading bookmark
      Free Printable Reading Tracker Bookmarks
    • text "free printable emotions coloring pages for kids" with a preview of three emotions and feelings coloring pages
      Free Printable Emotions and Feelings Coloring Pages

    The Artisan Life is a participant in the Amazon Services LLC Associates Program, an affiliate advertising program designed to provide a means for sites to earn advertising fees by advertising and linking to Amazon.com.

    The Artisan Life also uses affiliate links for other sites. For a full look at my policy, please visit its page here.

    Footer

    ↑ back to top

    About

    • Privacy Policy
    • Disclaimer

    Save Time

    • Join the Learning Center for quick & easy access to hundreds of printables

    Contact

    • Contact

    If you have any questions feel free to contact me directly here: natashalh(at)stalkingthewildsnark(dot)com. I do not accept guest posts and will not respond to unsolicited requests for guest posts or links. Stock images by Depositphotos

    COPYRIGHT © 2012 – 2025 The Artisan Life · ALL RIGHTS RESERVED