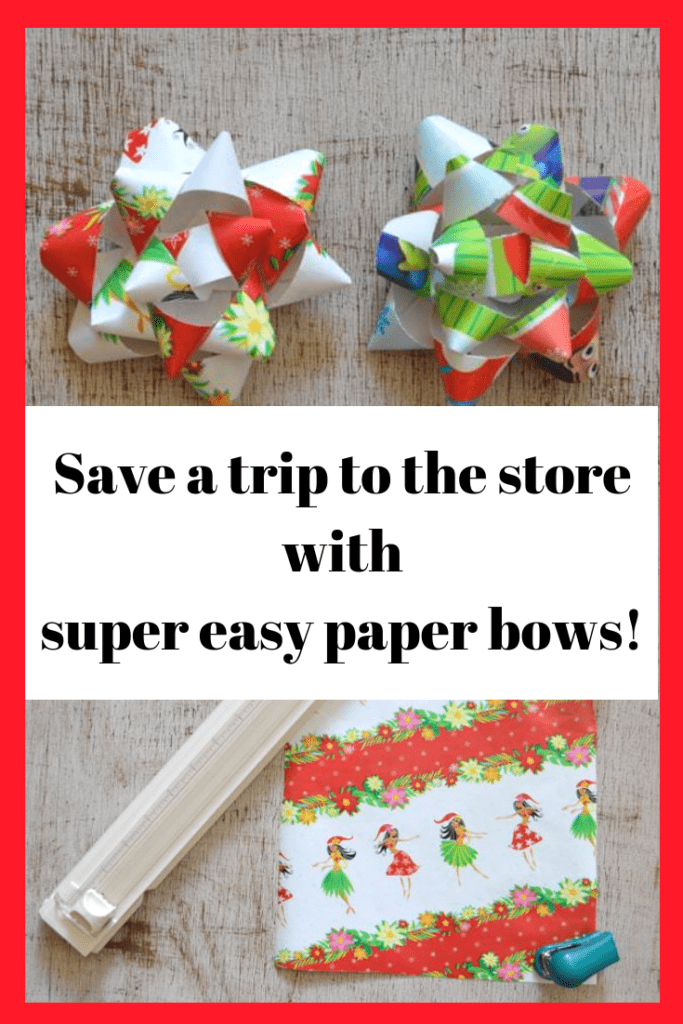
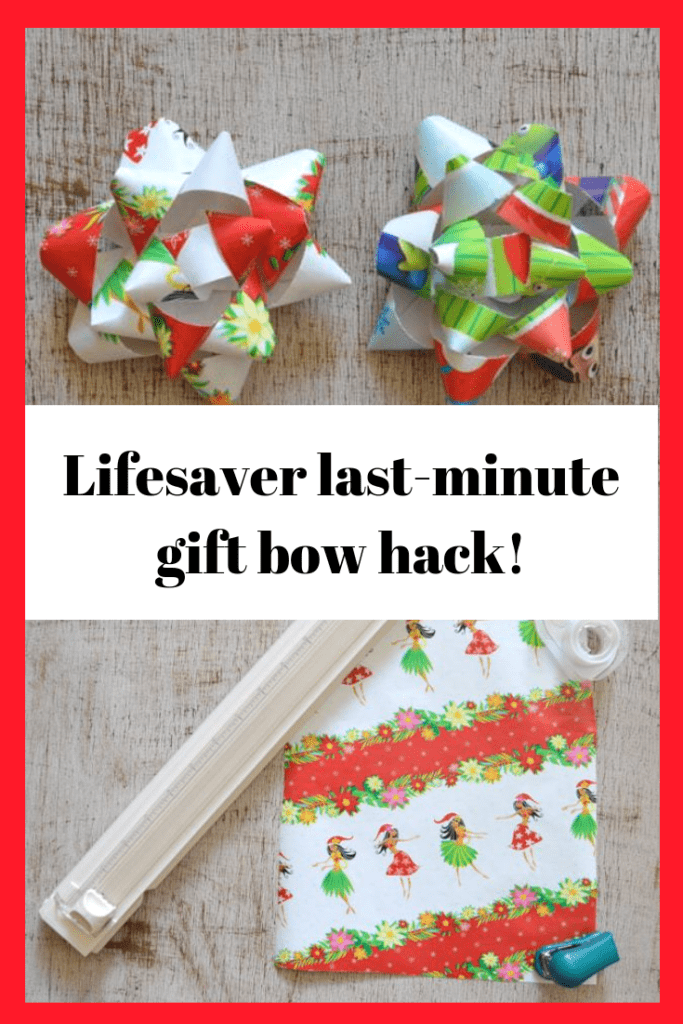
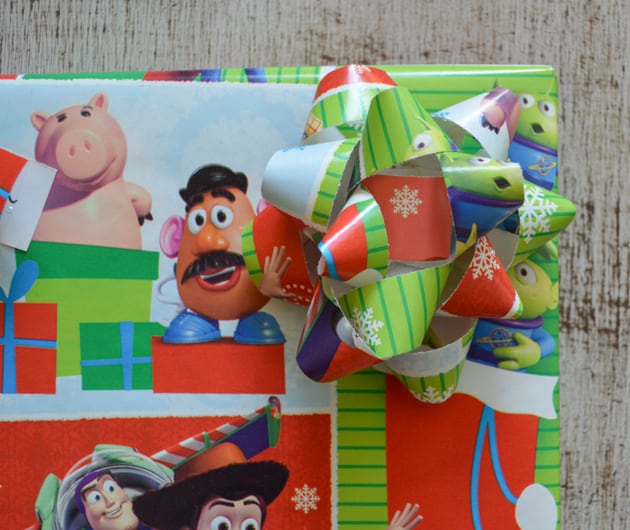
Learn this awesome hack for making your own gift bow with wrapping paper!
You know that point in time when you finally find the opportunity to wrap presents in seclusion and then discover that there are no more bows left? You don't want to go back to the store, but you also don't want family members to make fun of your presents for being the only ones without bows.
Whether you can't stand the thought of holiday traffic and store lines to buy more gift bows, want to add a homemade flair, or just want to save some money, making your own bows from wrapping paper is pretty quick and easy.
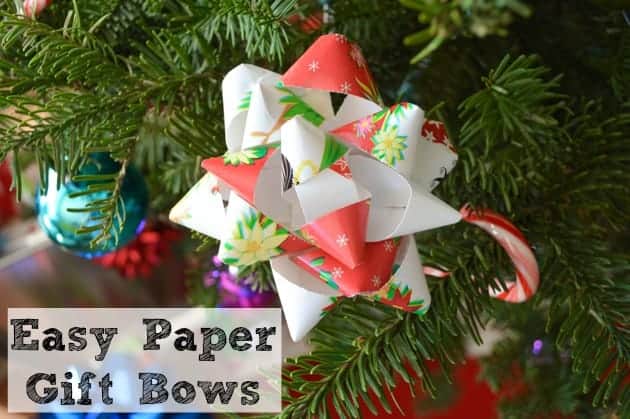
Plus, they look pretty cool and folks will wonder how you managed to make your own bows! I know my husband noticed immediately when a homemade bow appeared beneath our tree and wondered how on Earth I'd done it.
It takes less than 10 minutes and all you need is some paper, a paper cutter, and tape/a stapler. Yep, that's all! I hope you enjoy learning how to make a gift bow from wrapping paper with this quick and easy tutorial!
This post may include affiliate links, which means I may make a commission on purchases made through these links at no additional cost to you.
Supplies for homemade gift bows from wrapping paper
- Paper. Wrapping paper works wonderfully, but you can also use old magazines or catalogues, as long as the sheets are at least 9.5" long.
- A paper cutter. You can use scissors and a ruler, but it takes longer.
- Regular tape
- A stapler
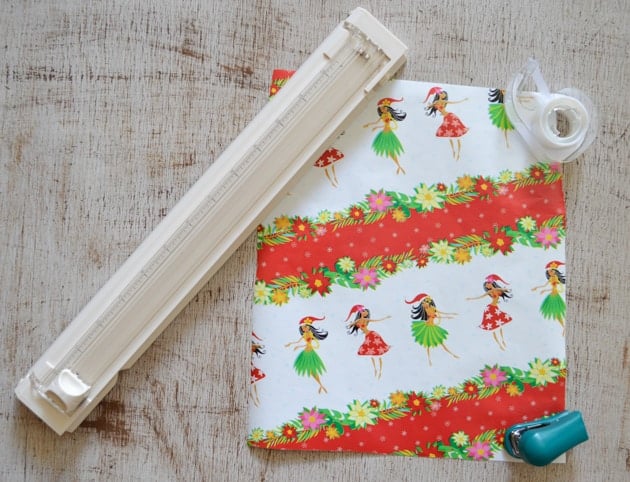
You don't actually have to have both a stapler and tape, but I think the bows are easiest to make with both. If you have to choose one or the other, just tape is better.
How to Make a Gift Bow from Wrapping Paper
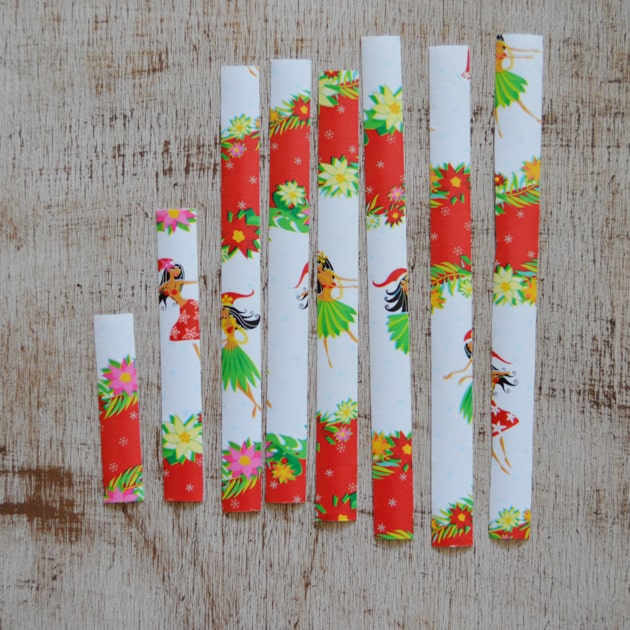
1. Cut your paper into 8 strips that are ¾" wide apiece. You can play around with the width a little, but I've experimented with strips all the way from 1" down to .5" and find ¾" works best for me.
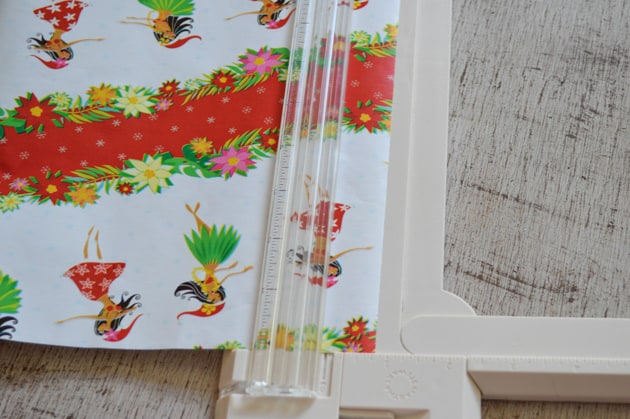
2. Cut three of your strips so they're 9.5" long, three so they're 8.5" long, one so it's 6.5" long, and one so it's about 2.5" long. You can, of course, make the strips longer to create a larger bow, but I've found that much smaller becomes difficult to work with.
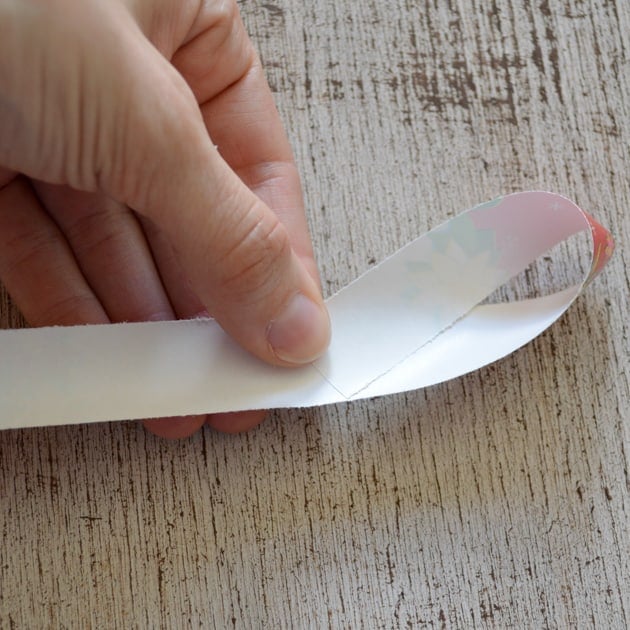
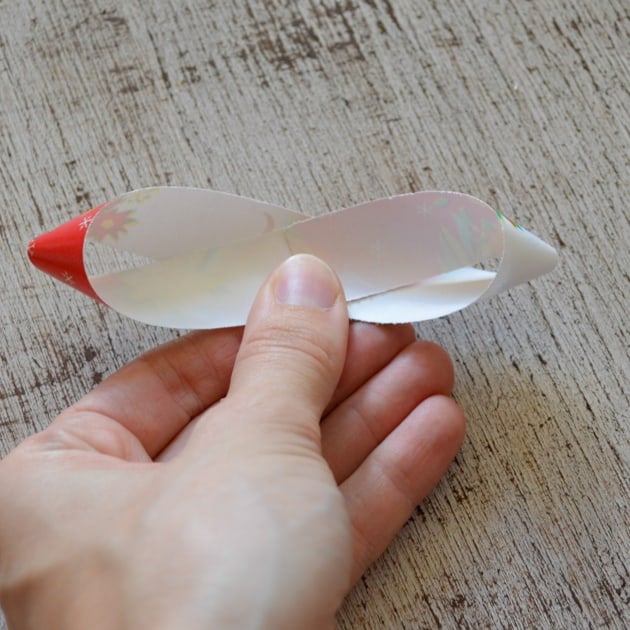
3. Take one of the longest strips and fold it into a figure 8, as shown below, and tape it in place. You can staple it, but you'll end up with so many staples in your bow it may look lumpy!
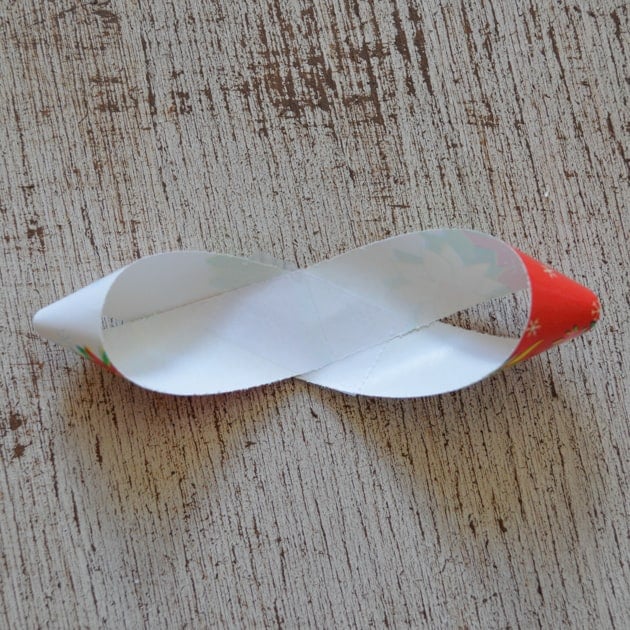
4. Repeat this process with the two remaining long strips.
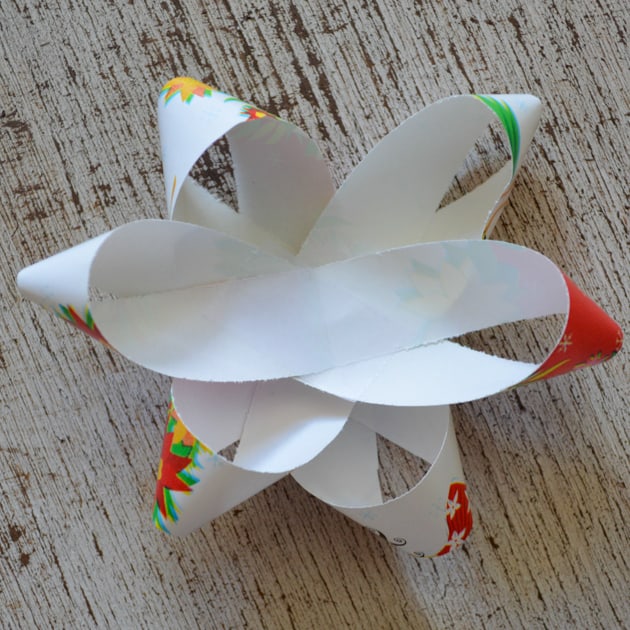
5. Arrange the three figure 8's so they, well, look like the beginnings of a bow! They should share a middle point and then fan out into a circle, as shown below. Staple all three together, or use double sided tape/loops of single sided tape to hold them in place.

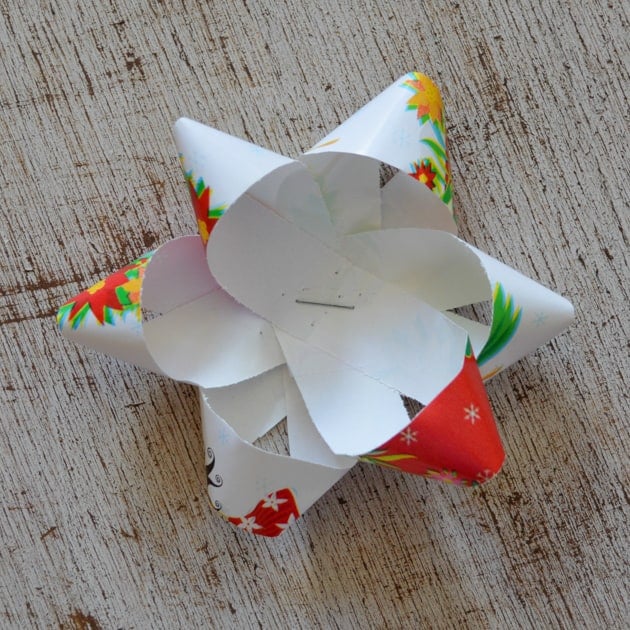
6. Make figure 8's from the next smallest set of three paper strips, position them on top of the bow base you created in step 5, and staple them together, too. Arrange the points in the second layer so they poke out between the points from the first layer, as shown below.
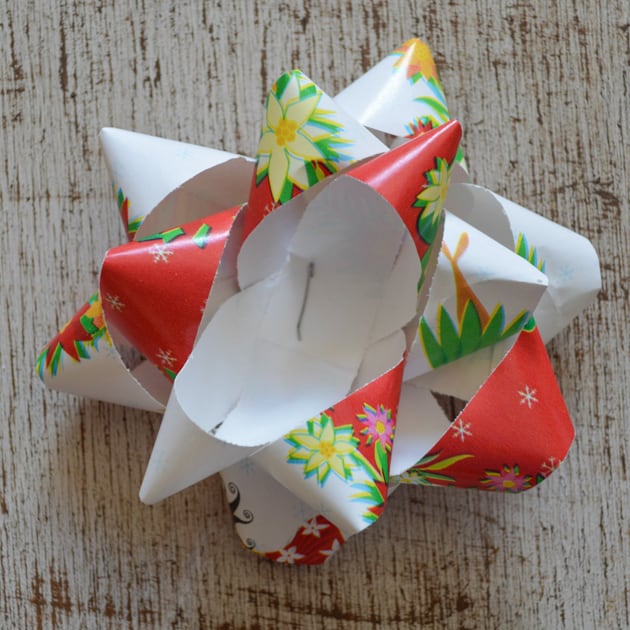
7. Create a figure 8 from your next to smallest strip and position it inside your bow. Depending on how wide and long you made your strips, you may decide you need a second figure 8 in the third tier - that's fine! It's your bow, so make it look how you want to. Staple or tape this final figure 8 in place.
8. Create a simple loop from your smallest paper strip, trimming it as necessary, that fills the remaining central gap in your bow and tape it in place.
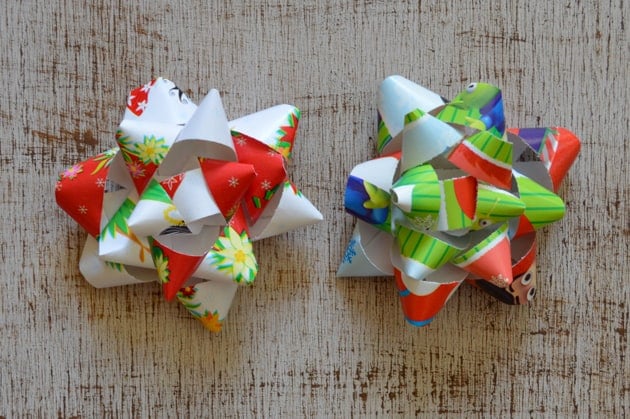
9. Decorate with your new bow!
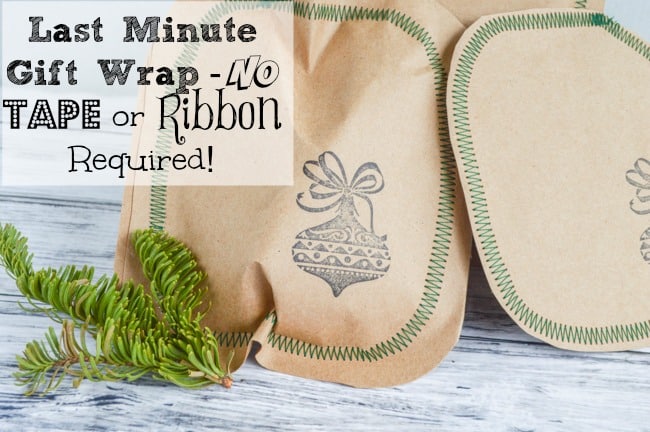
If you happen to run out of tape or wrapping paper, here's a quick and easy way to "wrap" small gifts without tape!
SaveSaveSaveSave
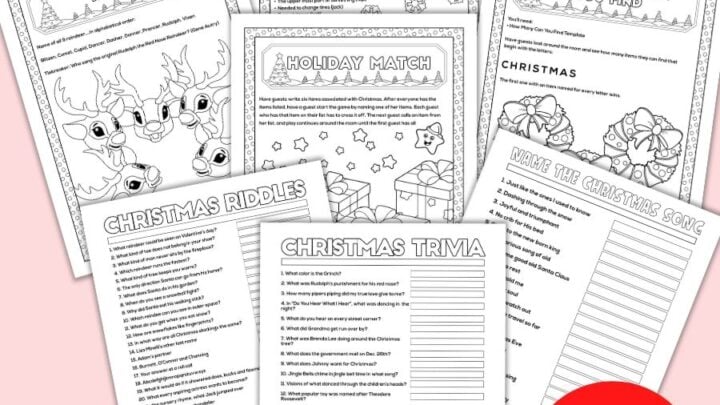
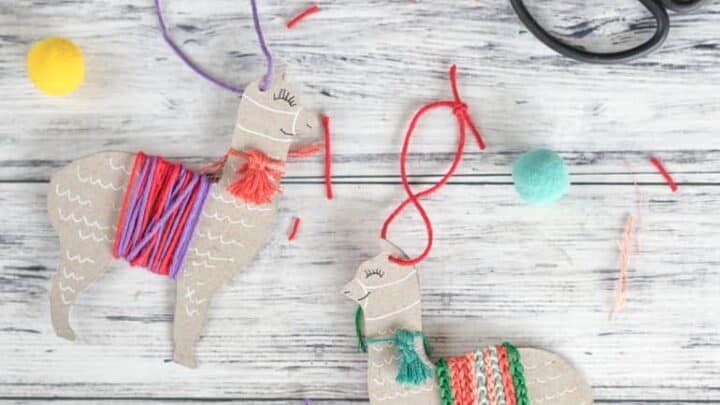
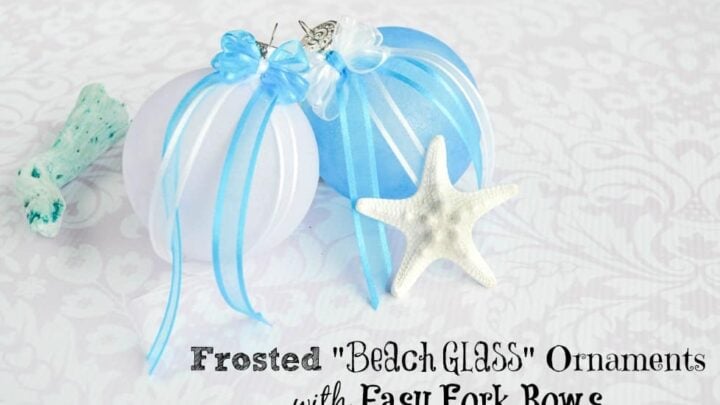
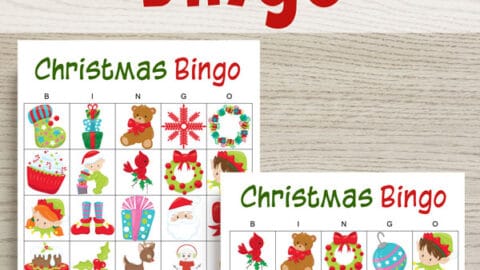
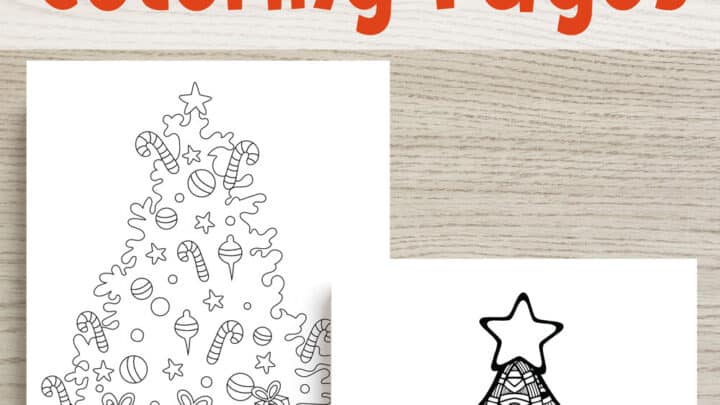
Christmas tutorials and printables
Looking for more DIY ornament tutorials or free printables for Christmas? You've come to the right place!


Whitney
Hot glue gun works even better!
Natashalh
I end up burning myself a lot with hot glue, and I don't like how it can peel away. It also adds bulk to the bow. It the bow doesn't need to last a long time or get shipped, and you prefer it or don't want to use tape, go for it. It just isn't my first choice. =)