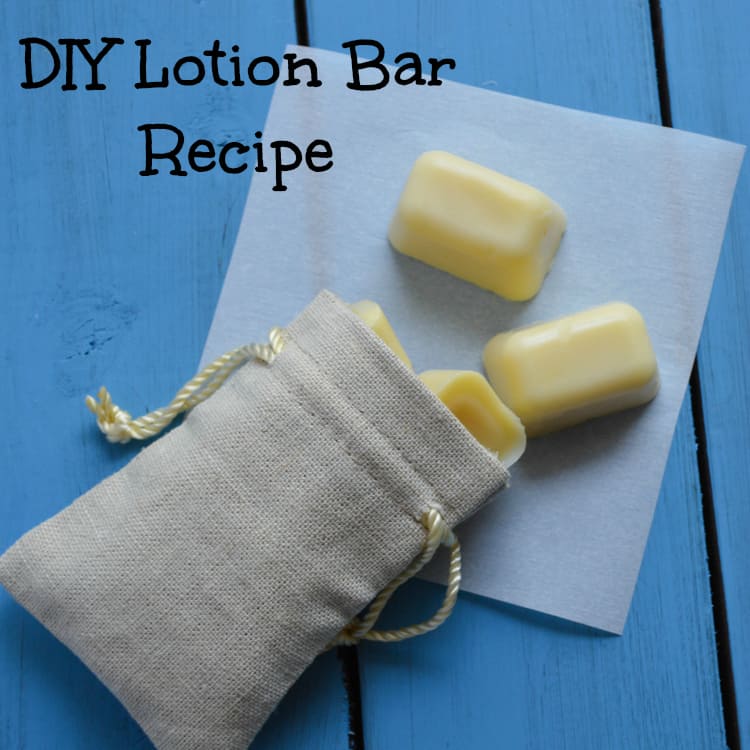
Welcome to another handmade gift idea tutorial! This tutorial is for DIY lotion bars and I like it because it can be unisex. I think it's generally more difficult to make gifts for men than for women, so I wanted to make sure I include some man-friendly ideas. In coming weeks, I'll actually have a few specifically masculine ideas. These lotion bars are great for women, too - just change up the essential oils you use to make these smell more feminine or masculine!
This post may include affiliate links, which means I may make a commission on purchases made through these links at no additional cost to you.
First off, let me explain what a lotion bar is. I actually hadn't hear of them until some time last year when my man introduced me to ClimbOn!, a product most rock climbers love. Lotion bars are are, literally, a bar of lotion. They usually have a beeswax base and may include vitamin E, lanolin, almond oil, coconut oil, and various essential oils. They're designed to be mostly solid, but melt slightly when rubbed against your skin. They're really excellent for very dry skin and damaged calluses - I've seen more than one person scoop out a chunk of lotion bar and pack it into a ripped callus! They're actually also very useful for treating dry dog paw pads. They also usually cost over $6 for a half ounce tin.
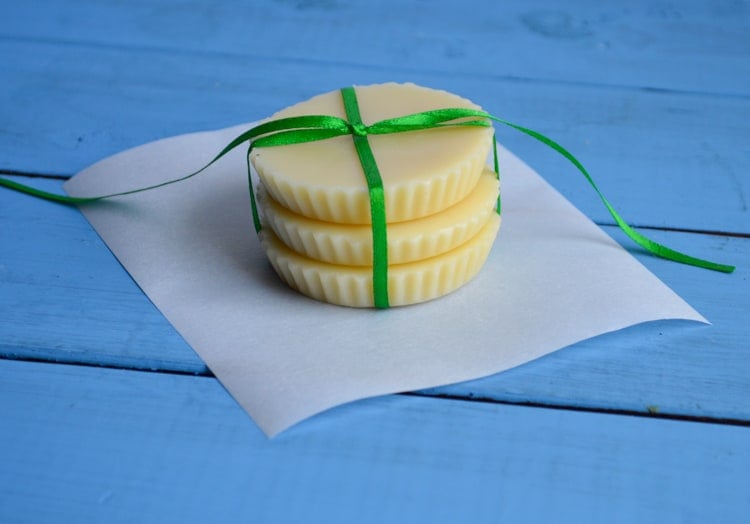
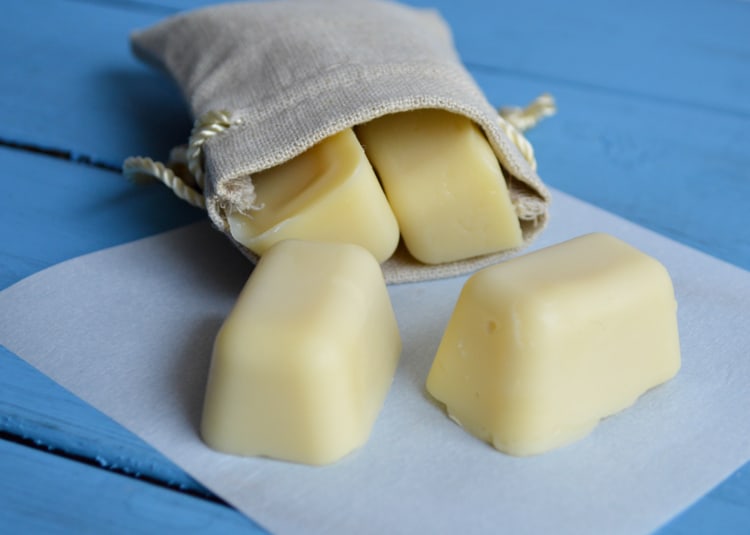
Okay, now that you know what a lotion bar is and how much one usually costs, how about learning how to make your own? It's amazingly easy and, if you have a Whole Foods/Earth Fare/other natural foods store in your area, you can pick up everything you need without ordering any special supplies. For packaging, you can reuse a tin or buy empty tins. Even though the bar ends up in a container, it works best when you can remove it from the tin for use instead of pouring the melted lotion directly into a container. This means you need some sort of mold, too. Use cupcake wrappers for lager bars, or for smaller bars you can just use an ice cube tray. For cute bars, use silicone molds! This recipe can fill an ice cube tray with a bit left over, or can make about 6 larger, ¾" thick bars in cupcake wrappers.
Ingredients and materials for DIY lotion bars
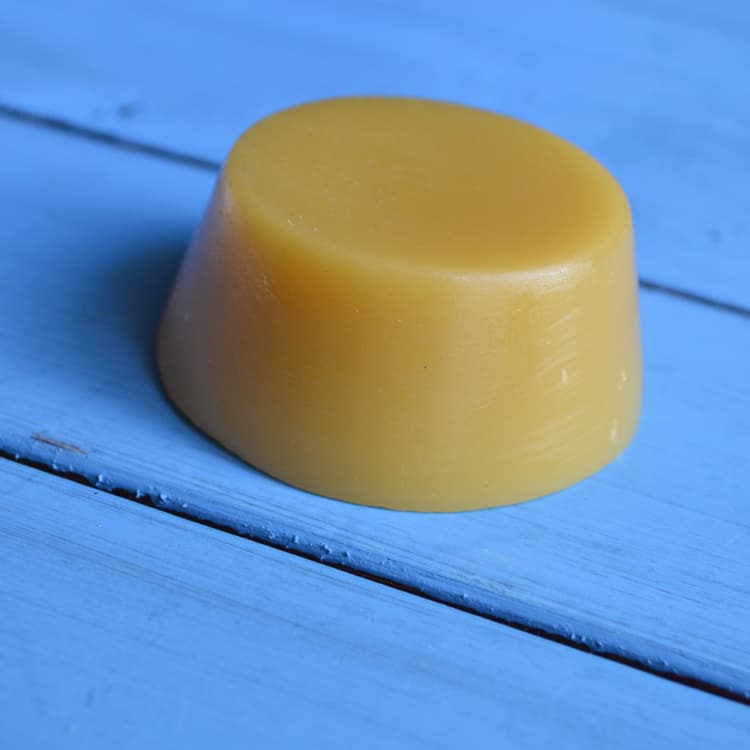
- 3 oz, by weight, of beeswax. Pellets are way easier to work with than blocks.
- 3 oz, about ⅓ of a cup, of coconut oil
- 3 oz, about ⅓ of a cup, of almond oil
- About 20 drops of essential oil, if desired (you can make your own scent combinations!)
- Cupcake wrappers or other molds
- Two pots, one small and one large enough for the smaller one to fit inside. This is to create a double boiler.
Update: If you're not into beeswax, check out this tutorial for a beeswax free lotion bar recipe!
You may need to modify the recipe slightly depending on the time of year/your climate. At the time of writing, it's September for me and still regularly in the low 90s, which really isn't unusual for where I live. The bars aren't melt-y, though, and work just fine when made according to the recipe. If you're making this for summer use or in a really warm climate, you may want to drop down to a scant ⅓ of a cup of the oils, or even just ¼ of a cup. Alternatively, you can add a tablespoon of kaolin or bentoninte clay.
How to make lotion bars
- If you're using a beeswax cake, you may want to grate the wax to make it melt quickly. If you're using beeswax pellets, this isn't necessary. You don't have to grate it, but it does dramatically reduce the amount of time needed to melt the ingredients.
- Combine the wax and oils in a small pot and set up a double boiler. To do this, place two or three inches of water in the larger pot, place the smaller pot in the water, and heat over medium-low. Creating a double boiler is very important whenever you heat oil!
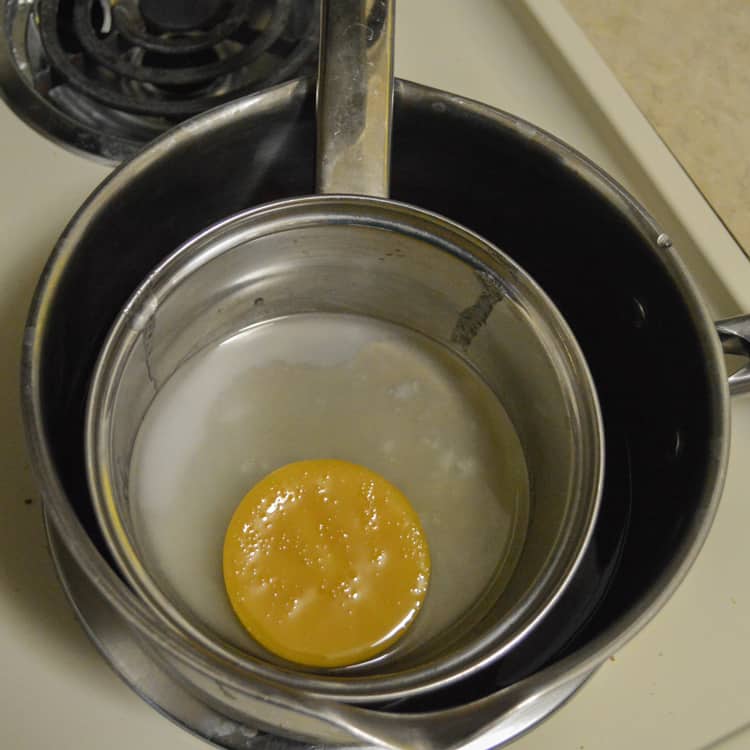
- Heat the oil/wax mixture, stirring to combine, until all the wax is melted. Turn down the heat if the water tries to simmer.
- Turn off the heat and stir in the essential oils. Twenty drops is an estimate - you may use more or less, depending on the strength of the oils. Also, if you'd like to add vitamin E, this is the time to do it!
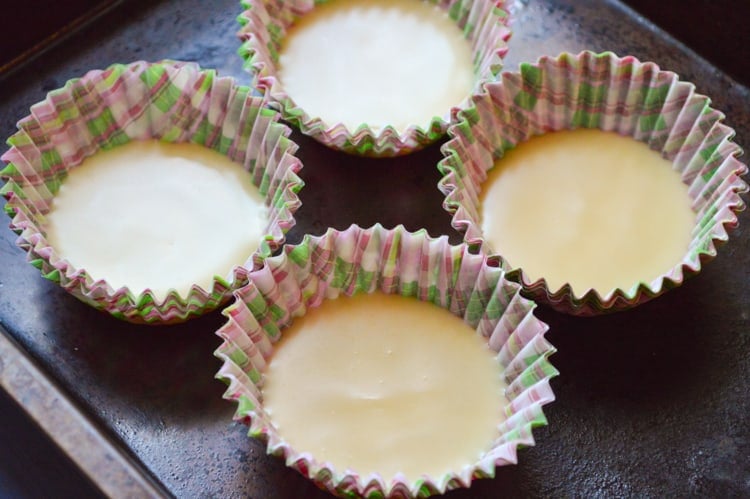
- Working quickly, pour the wax into your molds. I used both cupcake wrappers and an ice cube tray.
To clean the pot, reheat it in the double boiler and wipe out any excess wax. If there is still remaining wax or solidified coconut oil, rinse it with boiling water and everything should clean up pretty quickly.
The lotion should harden and cool fairly quickly, but I advise letting it rest overnight just to make sure it's cool all the way to the middle.
Once the bars are cool, test them to see if you like their consistency.
If they're too hard and won't rub off on your skin, remelt the bars and add in a little extra oil.
If they are too soft, remelt them and add in more wax or a tablespoon of kaolin clay.
Make sure to actually check the consistency - don't just look at them. They will look slightly shiny, but this is not from being melted. They may be more solid than you'd supposed!
Need some essential oil suggestions?
I used about 12 drops of citronella and 4 of cedarwood oil because both essential oils are known for their insect repellent powers. My lotion bars smell fresh and I can at least pretend they're helping keep bugs away! Update: Since I first published this lotion bar recipe, DoTerra added TerraShield, a pre-mixed bug repellant blend!
For an invigorating scent, trying going and mint, or for something calming try lavender and chamomile.
You can choose any combination you'd like, just make sure you use essential oils that are generally regarded as safe. Make sure the oils are labeled as safe for topical use and are pure essential oils, not fragrance oils.
In case you're lacking a local crunchy-type store, here are the essential items you need to make your own lotion bars:


More handmade gift ideas
How you do you feel about making your own personal care products? Have you ever made lotion, lip balm, body scrub, or something else? If you haven't, I hope you give it a try - it's fun and far easier than you might expect!


Donnalee
Oh, honey, I've made my own handcrafted soap for AGES. I love that I can switch up the ingredients (some) and make it smell amazing. It makes for awesome gifts too. If you use true essential oils, most people won't have an allergic reaction to it. The trouble comes when people "cheap out" and use fragranced oils. Stick to the real stuff and no one should have any problems.
Natashalh
Awesome! There's nothing as wonderful as real, handmade soap. =) I totally agree that real essential oils are the way to go instead of those scented things! Thanks so much for stopping by.
Matthias
This is great! Any suggestions for those allergic to almonds? I don't know the properties of almond oil.
Natashalh
I don't know if topical application would cause a reaction in people allergic to almonds. I'd guess it depends on the individual! My best suggestion is maybe some olive oil or jojoba oil.