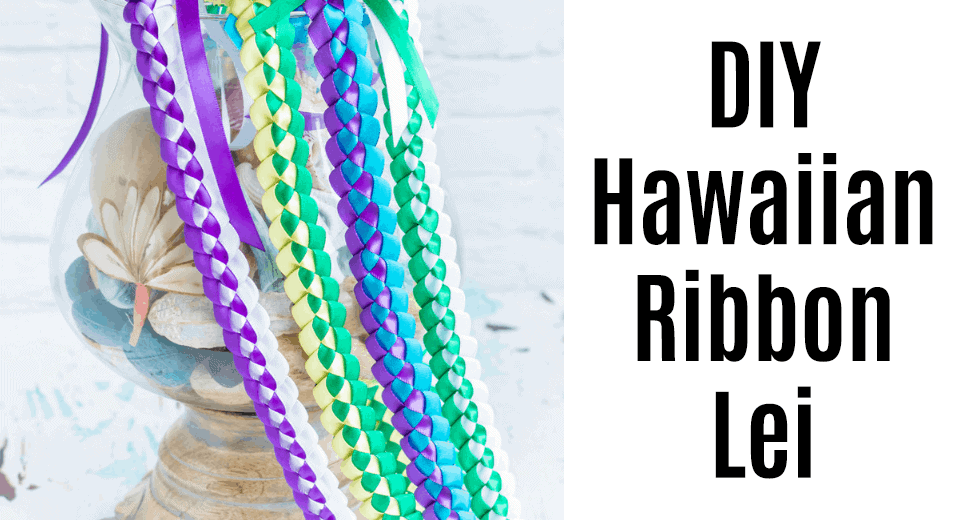
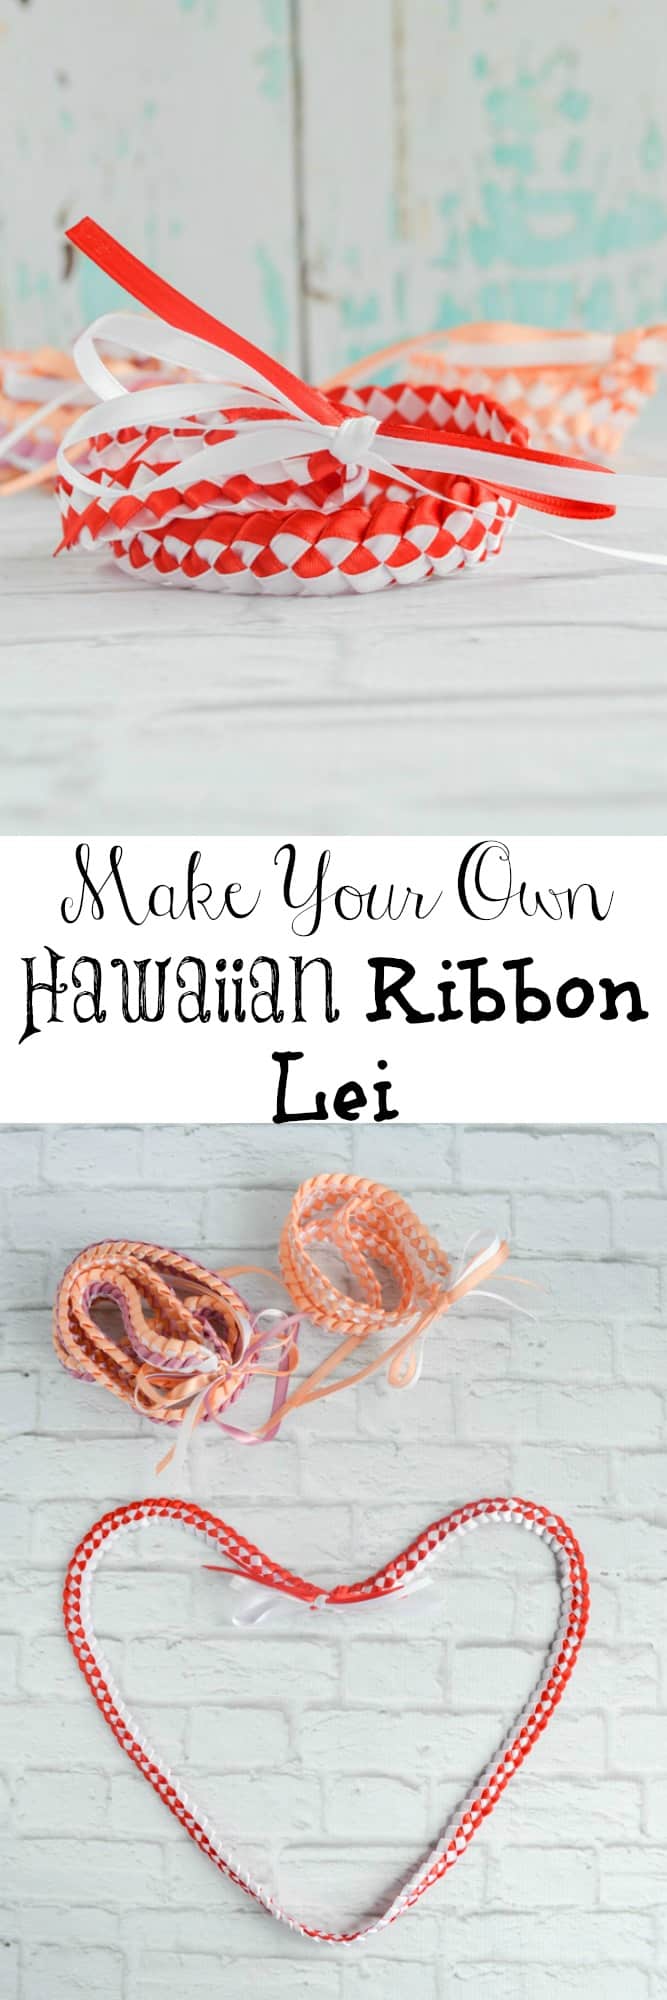
Learn how to make a braided Hawaiian ribbon lei with this step-by-step tutorial!
Lei is one of the most iconic symbols of Hawaii and Aloha. This tutorial will have you making your own ribbon lei in no time!
This post may include affiliate links, which means I may make a commission on purchases made through these links at no additional cost to you.
Even though flower lei are popular, and what people usually think of when the imagine a Hawaiian lei, they wilt quickly and are difficult to make at home if you don't have access to fresh flowers.
That's why ribbon lei are also popular, especially for graduations and holidays. This tutorial shows you how to make your own Hawaiian ribbon lei.
Ribbon lei are perfect for Valentine's Day, graduation, as favors for a DIY wedding, or "just because." The supplies are inexpensive and, once you get the hang of it, braiding the ribbons is quick and easy.
One of the neat things about making this basic ribbon lei is that you don't even need to cut the ribbon ahead of time.
You can work right off the spool, basically eliminating wasted ribbon.
For this tutorial, I used ¼" ribbon, which results in a finished lei that's about ¾" wide.
My favorite ribbon for lei is ⅜" satin ribbon. It's a bit larger than ¼" and makes a nicer, more substantial finished lei.
- Size: ⅜ inches wide ribbon, continuous 50 yards per spool without splices, to meet your creative ideas
- Double Faced: Made of 100% polyester
- Material: Smooth surface; elegant shine; washable; non-shrink; color-fast
With ¼" ribbon, I usually need about 3-4 yards of each color. This means you can buy two 10 yard spools for a dollar or two each and make three lei from them! That's pretty inexpensive. If you use wider ribbon, you will need more yardage.
With ⅜" ribbon, I typically use 5-6 yards of each color of ribbon. The braided portion takes about 4 yards and the extra is for trying off the ends and making a bow. The exact amount of ribbon you need depends on your ribbon width and how tightly you braid.
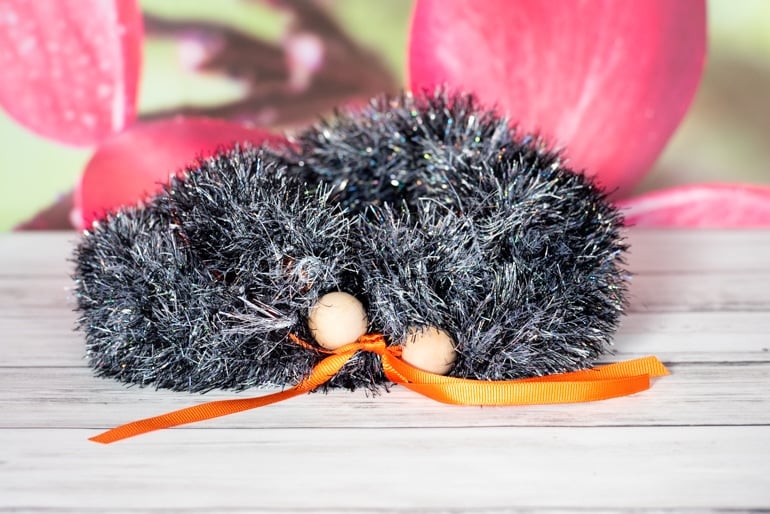
If you want to make a fluffy lei check out this post on the one straw eyelash yarn lei!
How to give a lei
In Hawaii, you don't need much of an excuse to give or wear a lei.
I've gotten a lei checking into a hotel, showing up at a party, and for no reason at all. People give them to sporting teams, classmates, and friends, and sometimes people wear a lei just because they felt like it that day.
Lei are very popular for graduation. Graduates will frequently have so many lei around their neck they can barely see over the pile!
If you've been thinking I'm making a lot of typos - technically lei is the plural of lei. The Hawaiian language has no letter s! People do frequently call them leis, though, so it's okay, too.
Lei are a symbol of aloha, so they are usually presented with a kiss on the cheek and a hug. The giver usually places the lei around the recipient's neck. If you're receiving a lei, it's poor manners to refuse so make sure to smile and accept it!

Materials needed to make a Hawaiian ribbon lei
- 5-6 yards each of two colors of ⅜" satin ribbon.
- You can use narrower or wider ribbon. Just make sure to use ribbons that are the same type and width.
- You may need more or less yardage, depending on your braid and how long you want the lei to be.
- Scissors
- Lighter, fray check, or white glue. Optional for sealing ends.
- Size: ⅜ inches wide ribbon, continuous 50 yards per spool without splices, to meet your creative ideas
- Double Faced: Made of 100% polyester
- Material: Smooth surface; elegant shine; washable; non-shrink; color-fast
Sometimes spools of ribbon are not one continuous length or you discover you need more ribbon than you anticipated. This is not a problem.
Overlay the last there or four inches of your "old" ribbon with the first three-four inches of your "new" ribbon. Use both strands together as one. The ribbons will stay in place without unsightly knots.
If you want to print the tutorial for easy reference or to give to a group to make homecoming lei, look further down in the post for a printable tutorial card!
How to make a Hawaiian ribbon lei
This is the simplest braided lei, but it can still take a minute to learn.
Don't get frustrated if you need to start over a time or two!
Before you know it, you'll be braiding like a pro. Plus, I created a quick little video showing the process in action, so you can check it out if you get stumped. =)
This is not a full-length tutorial, but it does show the tricky bits in action.
1. Pull at least 6-8 inches of each ribbon free from the spool.
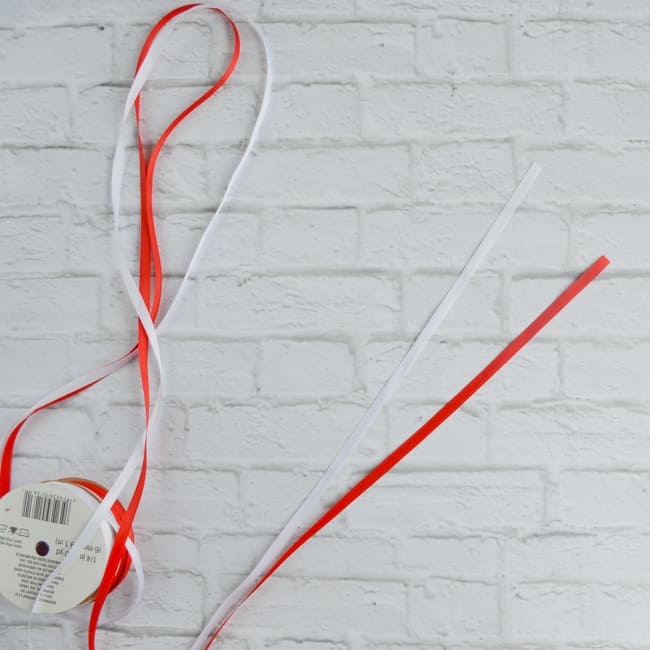
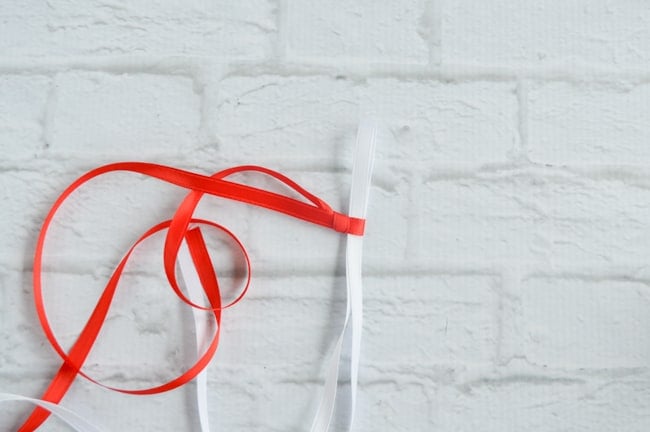
2. Decide which ribbon you'll start with. This is now ribbon one (red in the example). Make a slip knot in ribbon 1, 6-8 inches away from the end.
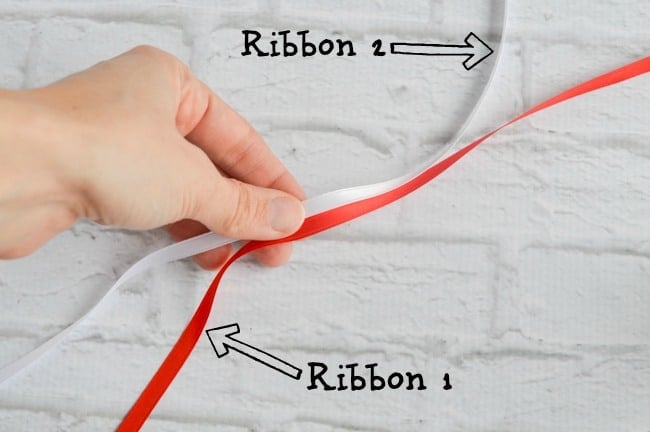
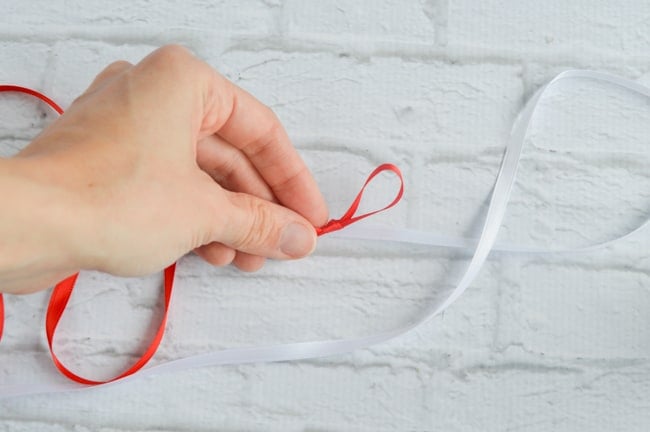
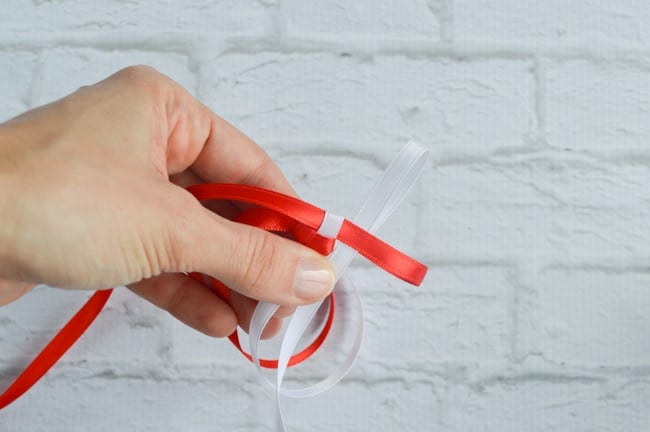
3. Make a little bunny ear-stye loop 6-8" along ribbon 2 (white in the example).
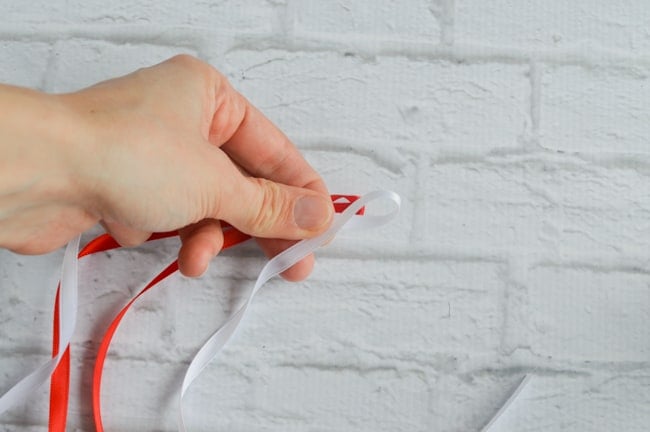
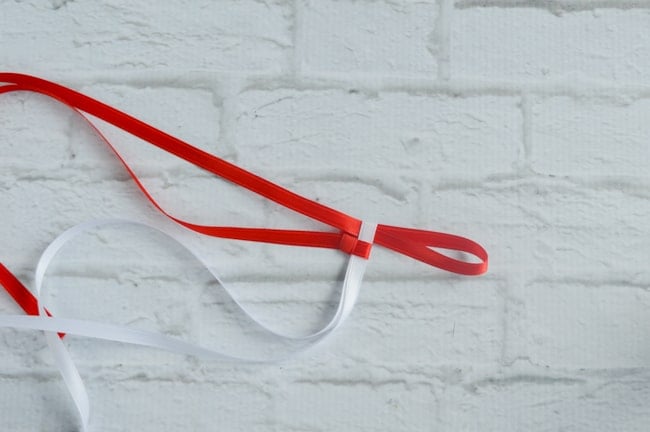
4. Insert loop 2 through loop 1.
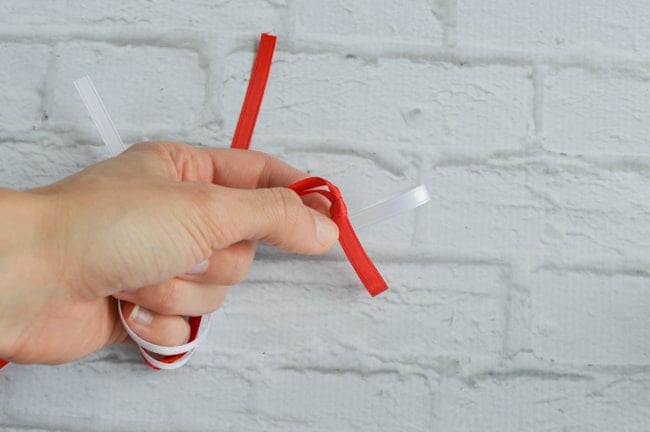
5. Pull loop one tight. It should be snug against loop 2, but not cause any puckering.
4. Using the longer, spool end of ribbon 1, make a loop. It doesn't matter if you fold it "forward" or "backward," just pick whichever way is easier for you and stick with it for the entire lei.
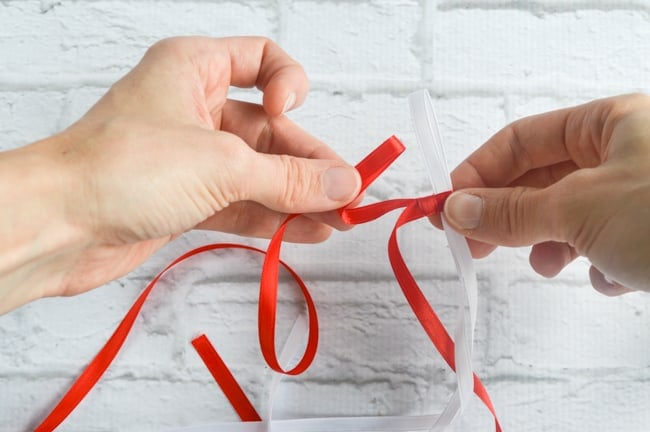
5. Insert this new loop through the loop in ribbon 2.
6. Pull ribbon 2 tight.
7. Fold a new loop in ribbon 2, insert it through the loop in ribbon 1.
8. Pull ribbon 1 snug. You should start to see a checkerboard pattern developing!
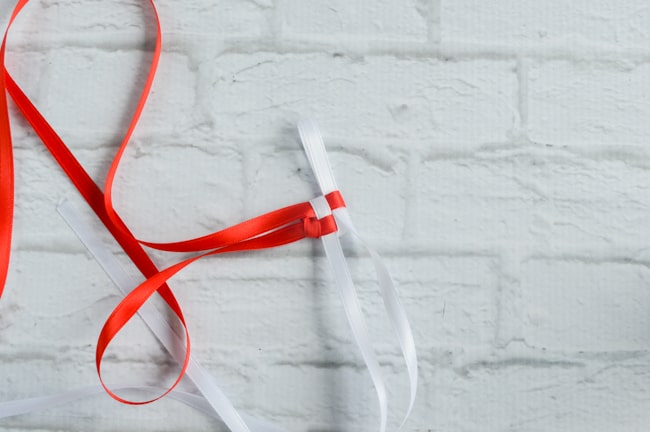
9. Repeat...
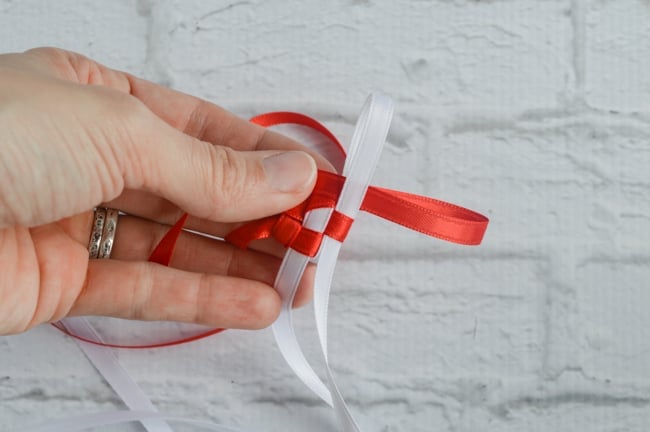
10. And repeat...
11. ...Until it's as long as you want!
As you go along, try to minimize gaps as much as possible. It makes the finished lei much nicer looking. You can make the lei as long or short as you'd like.
Super short ones can make pretty bracelets and slightly longer ones can be headbands, if you don't feel like making a "necklace" lei. Most lei are about a yard, 36", long, but some are longer.
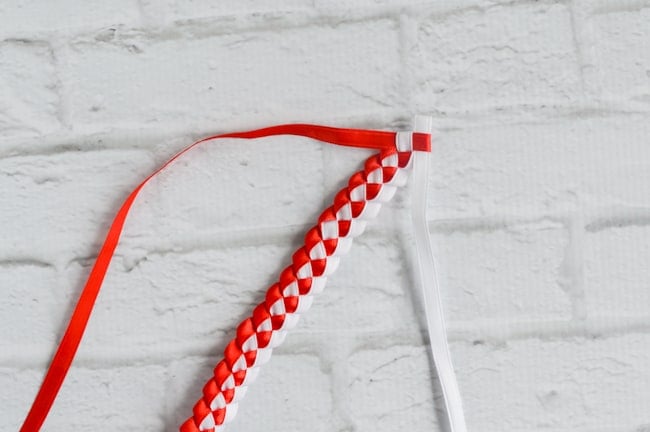
12. When you're happy with the length, cut your ribbons. Once again, leave at least 6-8" free, or more if you'd like an elaborate bow.
Once the ribbons are cut, pull the tail end of the last loop all the way through to finish off the braid.
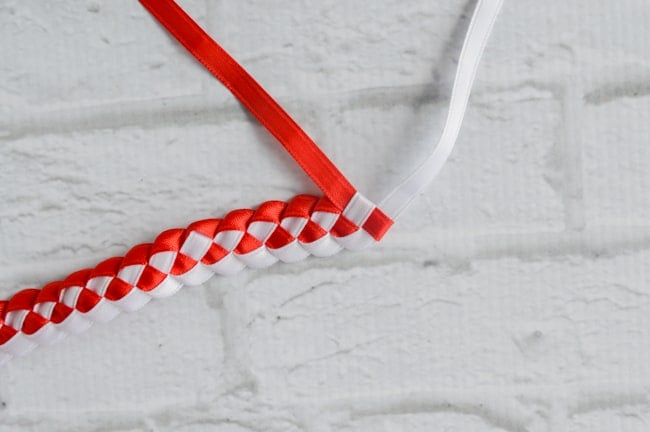
13. Tie the lei's two ends together.
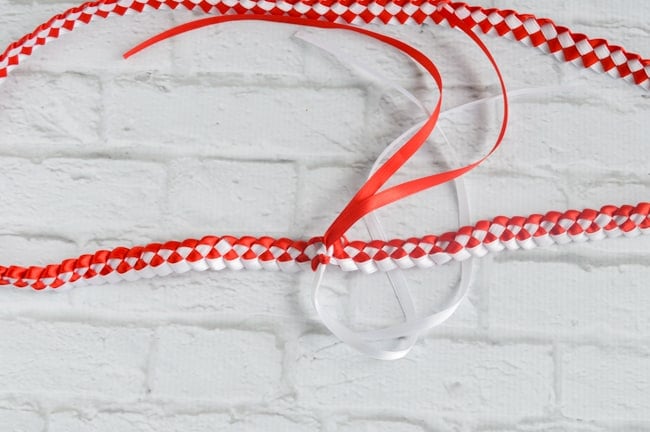
14. And finish it off with a bow, if you want.
To make it super nice, trim the ends and then heat seal (singe them lightly) with a lighter to prevent fraying.
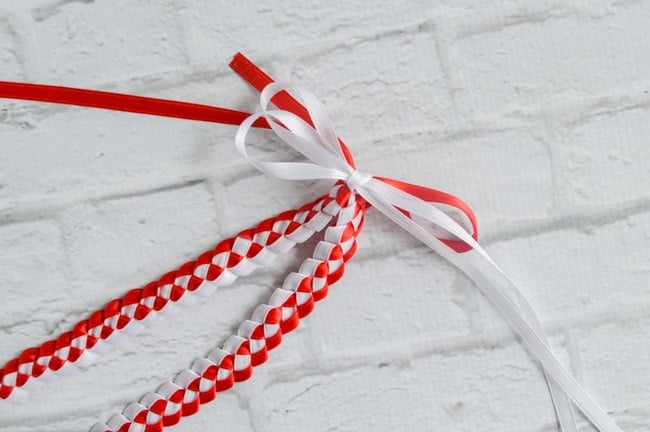
15. Wear or gift your handmade lei with pride!
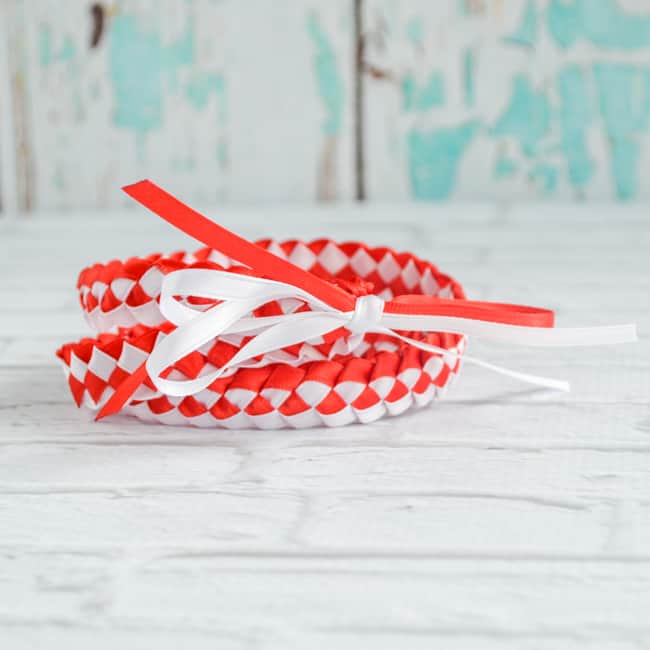
Braided Ribbon Lei
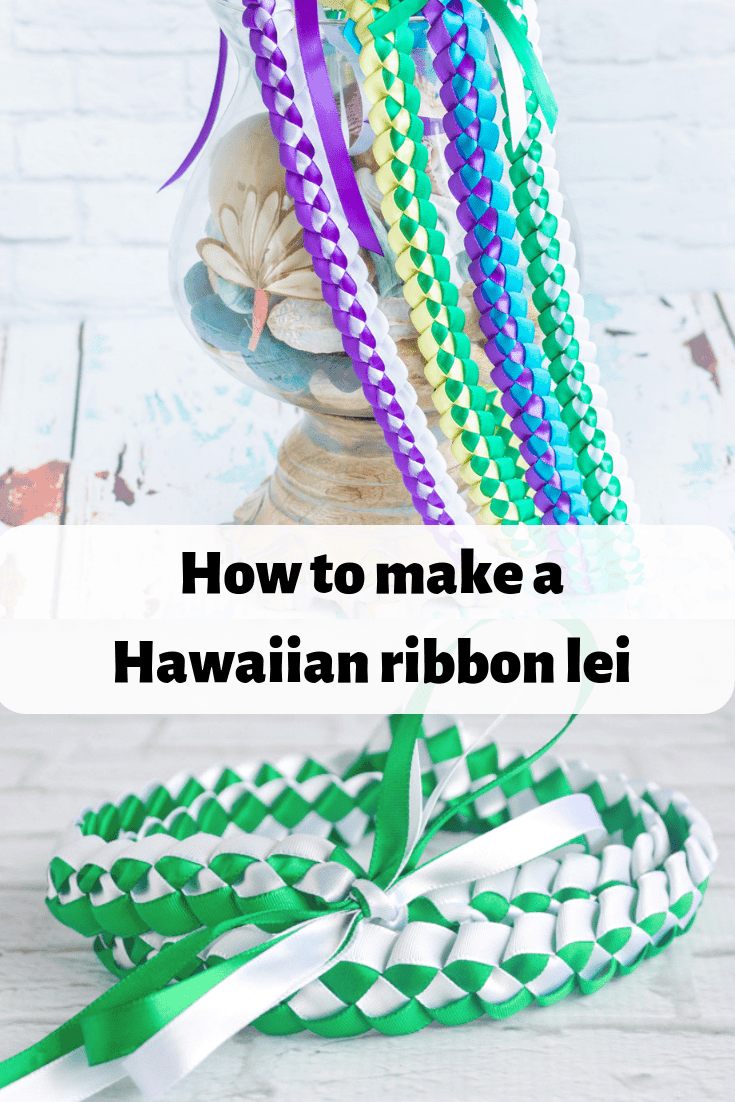
Learn how to make your own Hawaiian ribbon lei for graduations and holidays!
Materials
- 7-9 yards each of two colors of ⅜″ satin ribbon (other widths work, too!)
- Scissors
Instructions
1. Pull at least 6-8 inches of each ribbon free from each spool.
2. Decide which ribbon you’ll start with. This is now ribbon one (red in the example). Make a slip knot in ribbon 1, 6-8 inches away from the end.
3. Make a little bunny ear-stye loop 6-8″ along ribbon 2 (white in the example).
4. Insert loop 2 through loop 1.
5. Pull loop one tight. It should be snug against loop 2, but not cause any puckering.
4. Using the longer, spool end of ribbon 1, make a loop. It doesn’t matter if you fold it “forward” or “backward,” just pick whichever way is easier for you and stick with it for the entire lei.
5. Insert this new loop through the loop in ribbon 2.
6. Pull ribbon 2 tight.
7. Fold a new loop in ribbon 2, insert it through the loop in ribbon 1.
8. Pull ribbon 1 snug. You should start to see a checkerboard pattern developing!
9. Repeat…and repeat until the lei is as long as you'd like. Most lei are about a yard long, but you can make yours longer or shorter.
As you go along, try to minimize gaps as much as possible. It makes the finished lei much nicer looking. You can make the lei as long or short as you’d like.
12. When you’re happy with the length, cut your ribbons. Once again, leave at least 6-8″ free, or more if you’d like an elaborate bow.
Once the ribbons are cut, pull the tail end of the last loop all the way through to finish off the braid.
13. Tie the lei’s two ends together and finish with a bow, if you'd like. I reccomend sealing the ribbon ends with Fray Check or singeing them with a lighter.
14. Wear or gift your handmade lei with Aloha!
More lei tutorials
If you want a more elaborate lei, stop by these other lei tutorials on The Artisan Life!
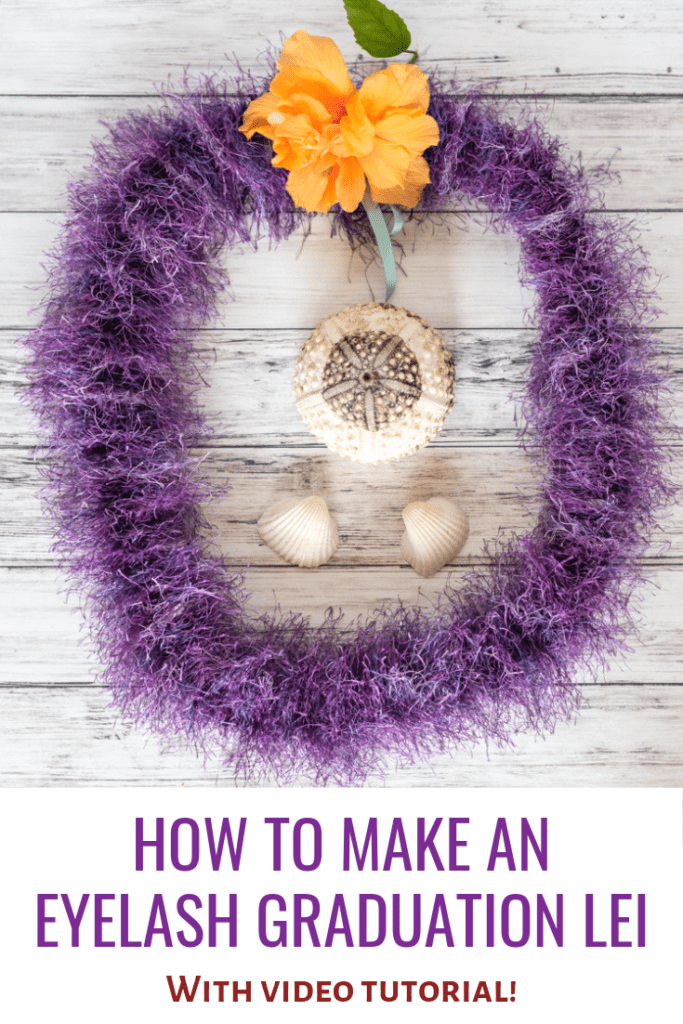
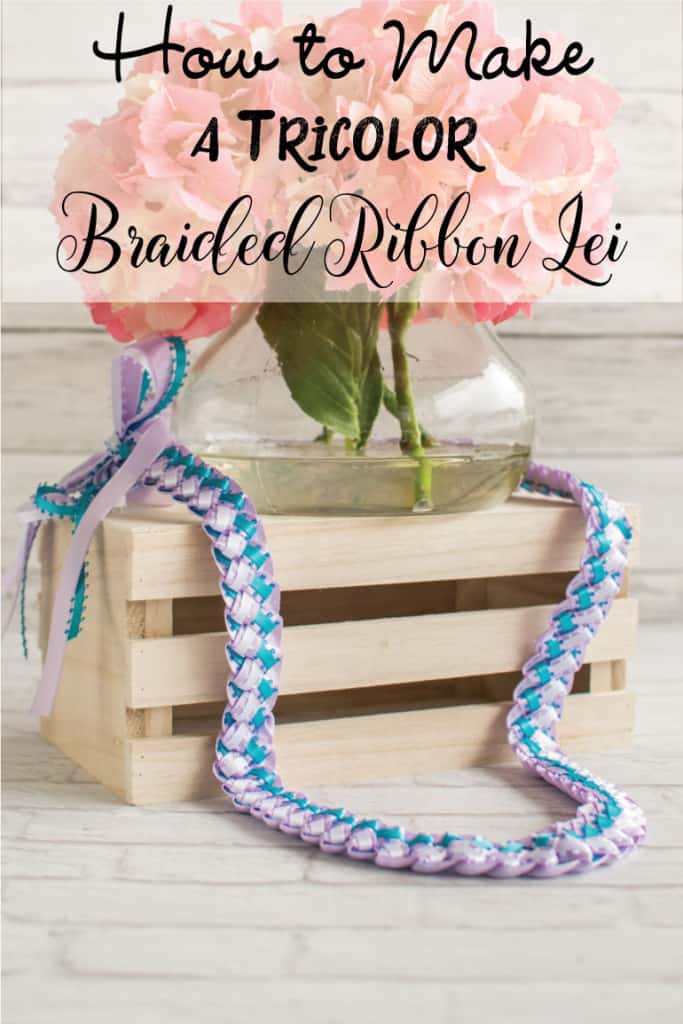
Learn how to make a tricolor braided ribbon lei:
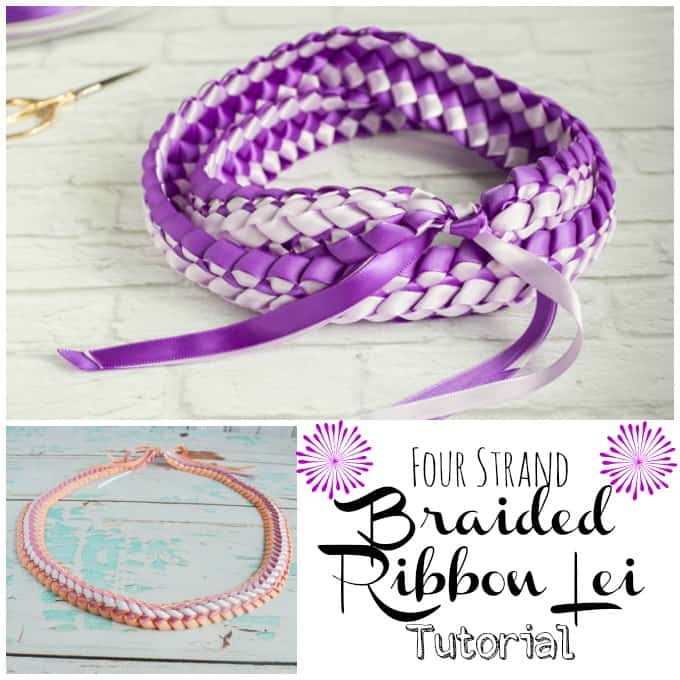
double braided (four strand) lei:
Have you ever received or given a lei? What was the occasion?




ssyoutube
I love this DIY braided Hawaiian ribbon lei tutorial! The video made it so easy to follow along, and I can't wait to try it for my next luau party. Thanks for sharing such a beautiful and fun craft!