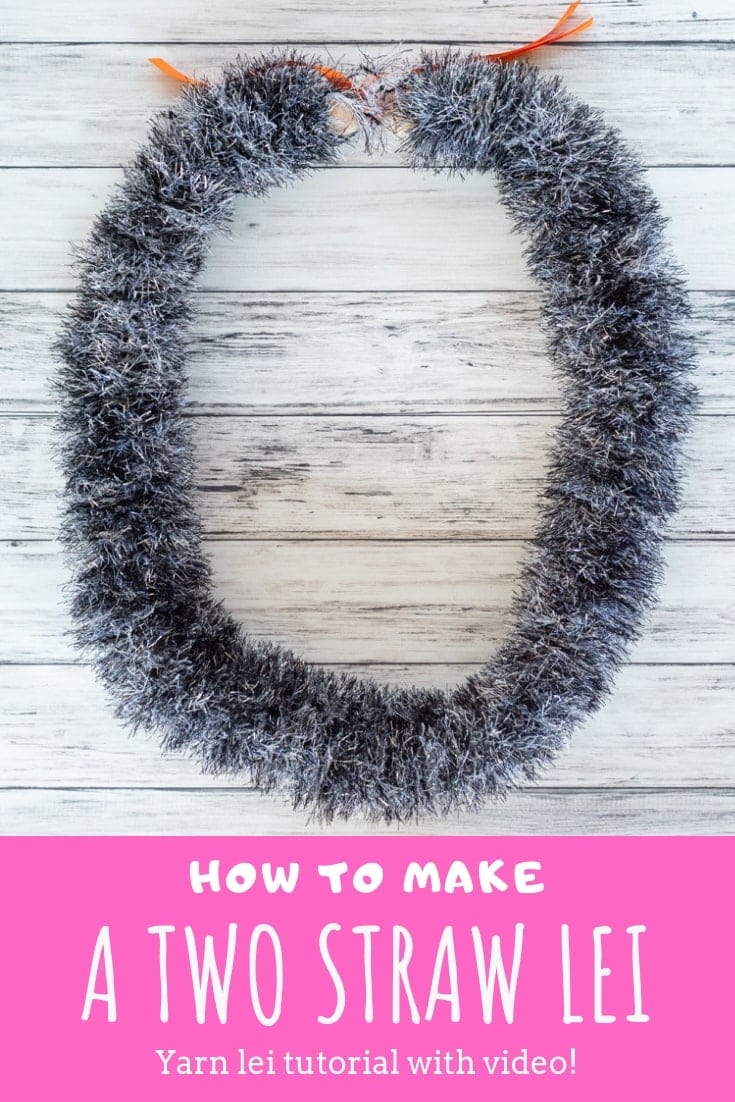
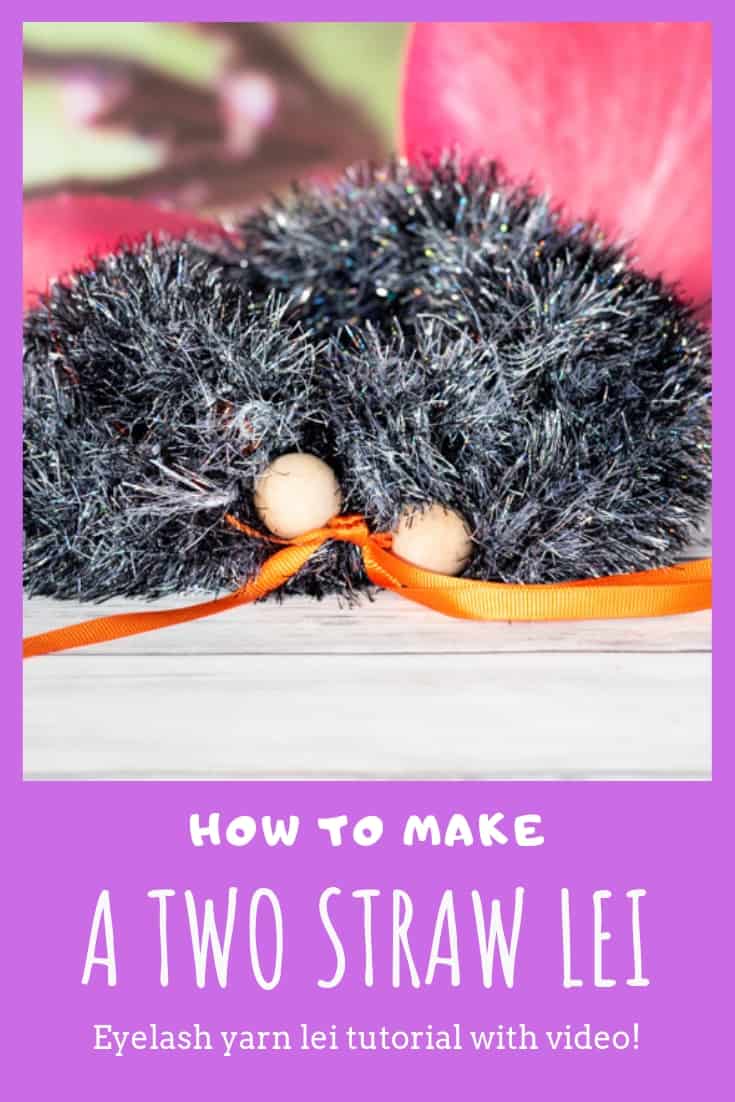
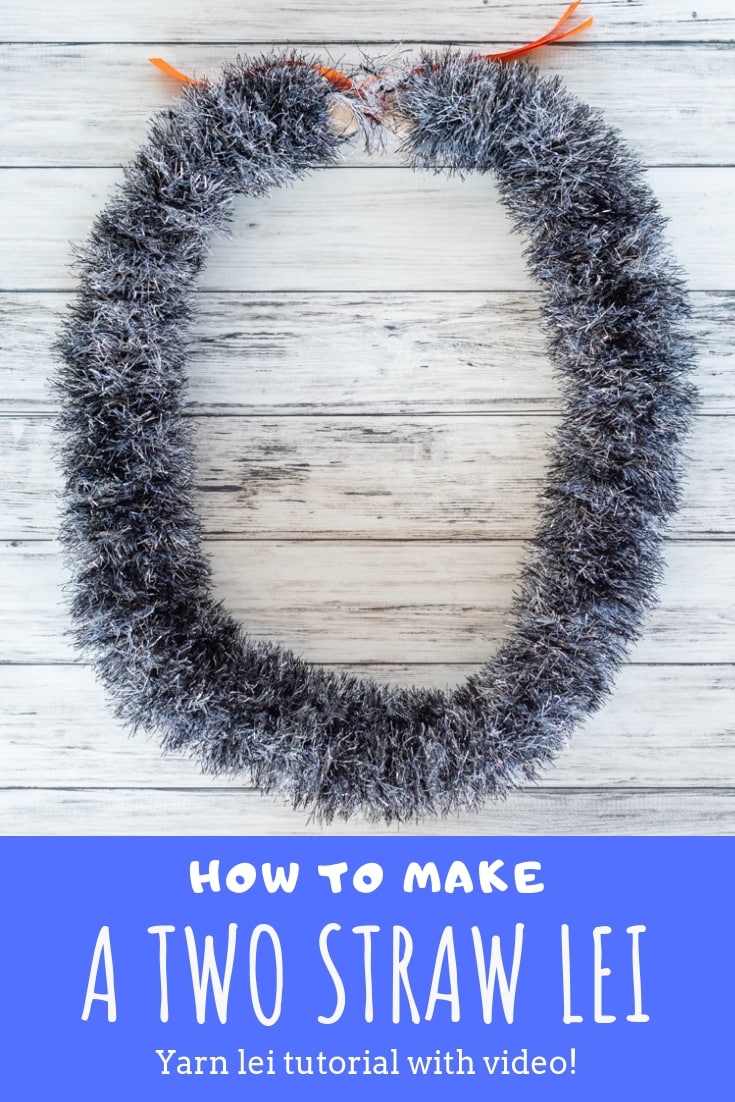
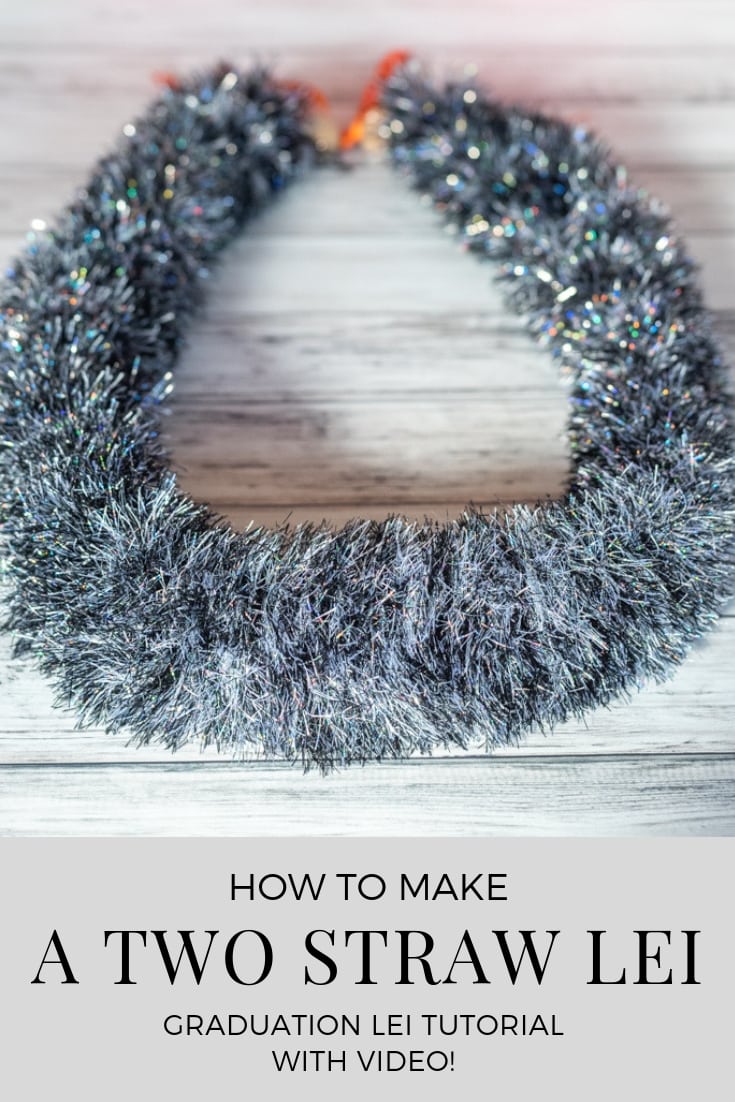
I recently shared a one straw eyelash yarn lei so now it's time for the even bigger, fluffier two straw lei! I hope you enjoy learning how to make this two straw eyelash yarn lei!
In addition to a photo tutorial, this post also has a video showing how to make the two straw lei.
I also share my favorite tip for threading large beads, like kukui nuts, onto ribbon without using floral wire or an "easy beader." It's such an easy trick using something you already have at home!
When to give a lei
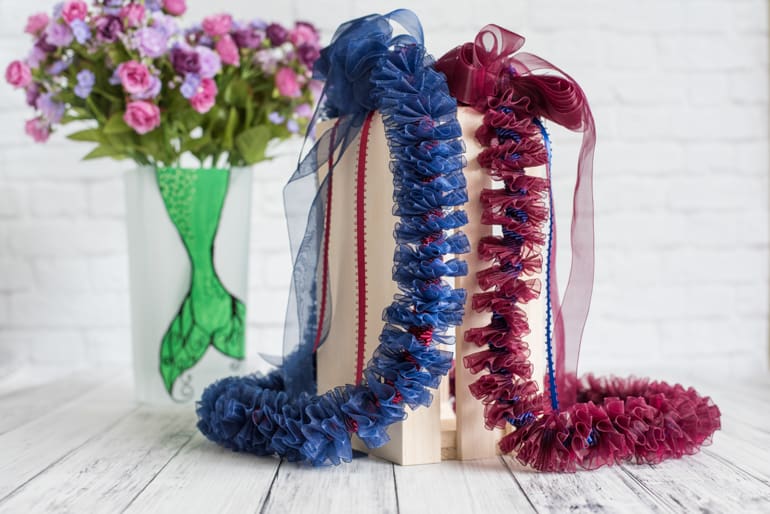
This two straw lei is nice and fluffy, and it looks great in two or three colors, so it makes a fantastic graduation lei!
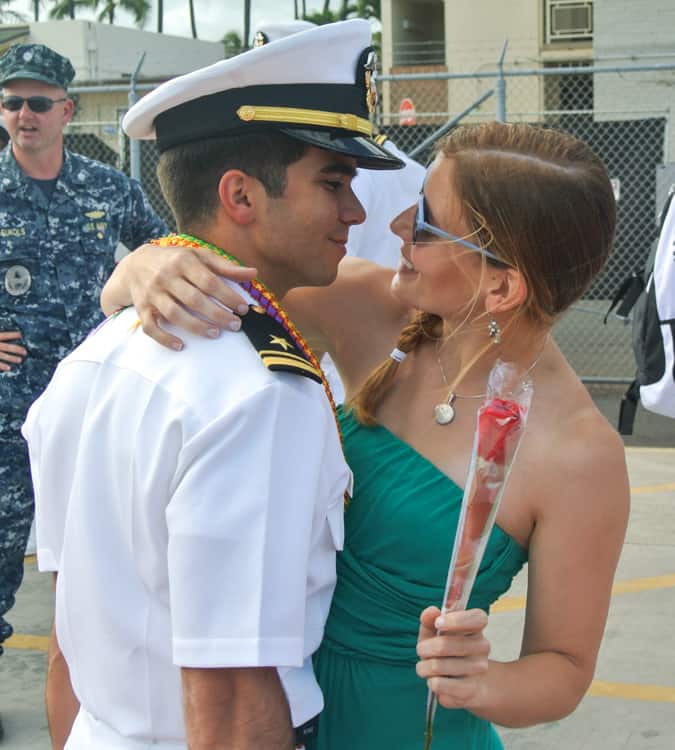
Leis (or, technically, just "lei") are very popular for graduation. Graduates in Hawaii frequently have so many lei around their neck they can barely see over the stack!
Although people frequently associate leis with graduation, they're also popular for military homecomings, weddings, birthdays, greeting visitors, sporting events, or even just because! Lei are frequently used to celebrate, but you don't need a special occasion to gift or wear a lei.
How to give a lei
Lei are typically presented with a warm embrace and a kiss on the cheek! It's bad manners to refuse a lei, so make sure to accept it with a smile and a thank you if someone gives you a lei. 🙂
This post may include affiliate links, which means I may make a commission on purchases made through these links at no additional cost to you.
Materials needed to make a two straw eyelash yarn lei
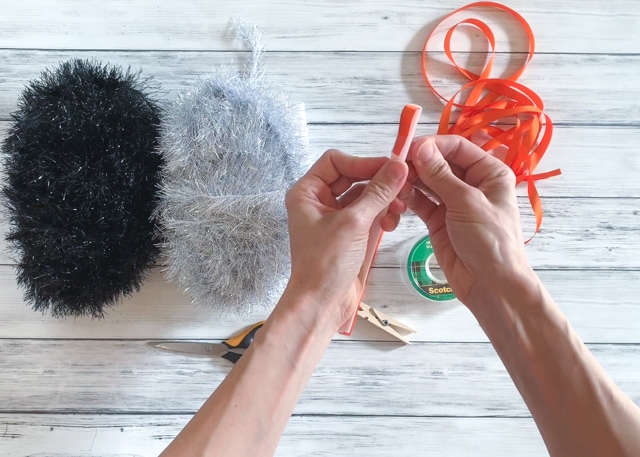
- Eyelash yarn - also called fun fur yarn. You will need at least 45/50 yards.
- I used about 50 yards each of two colors.
- Some smaller skeins are only 45 yards. That's okay, but do look for longer ones!
- One, two, or three colors of yarn can work for this lei!
- Two large straws (bubble tea or milkshake straws work best)
- 10-12 feet of ⅜" grosgrain ribbon (allow more if you want a large bow)
- Scissors
- A piece of tape
- A clothespin or binder clip
Optional: Large beads or kukui nuts and floss! Dental floss is perfect, embroidery floss works, too.


How to make a two straw eyelash yarn lei
Here's an overview of how to make a two straw lei. If the photos aren't quite enough, make sure to scroll down for a complete video tutorial!
Cut two pieces of ribbon that are each 5-6 feet. Add more if you'd like to tie a bow. I like to make separate large bows and then just tie them in place.
- I used orange ribbon so you could see it easily - I recommend going with something that matches a bit better!
Thread a piece of ribbon through each straw, fold it over by an inch or two, and tape it down.
Binder clip or clothespin the opposite ends of the ribbon together about 10-12" away from the end. This will keep your yarn from falling off the end and will give you enough ribbon to tie your lei together once it's finished!
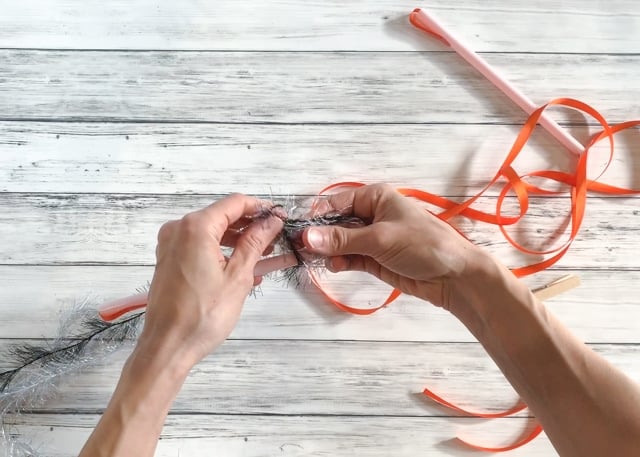
If you're using multiple strands of yarn, hold them together and treat them as one throughout the process. Tie your yarn around a straw - you only need to tie it to one straw, not both. Tie it loosely enough that it can slide.
Hold your two straws in a V shape with one hand, as shown.
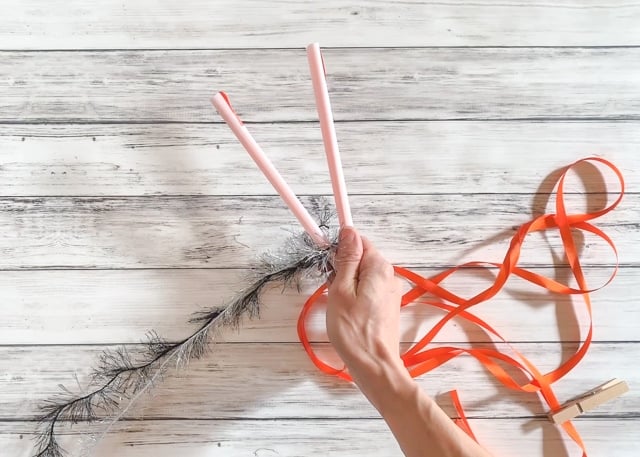
Wrap your yarn in a figure 8 pattern around the straws. It's best to watch the video to see this part in action!
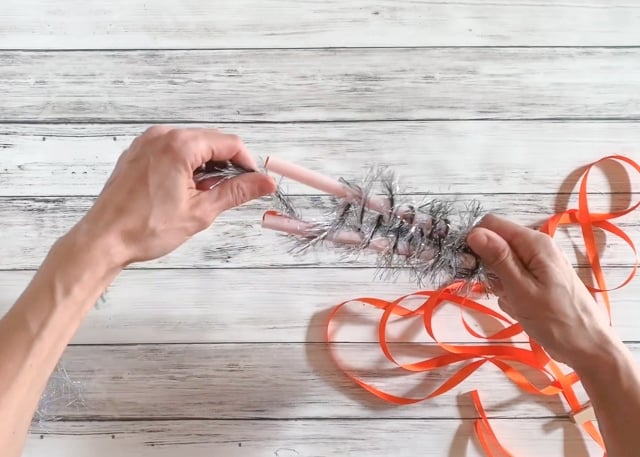
Keep wrapping until your straws are full, then slide the yarn down. Push a few loops off onto the ribbon, but keep at least one set of loops on the straws.
Wrap, wrap, wrap! Keep bunching and sliding the yarn as the straws fill.
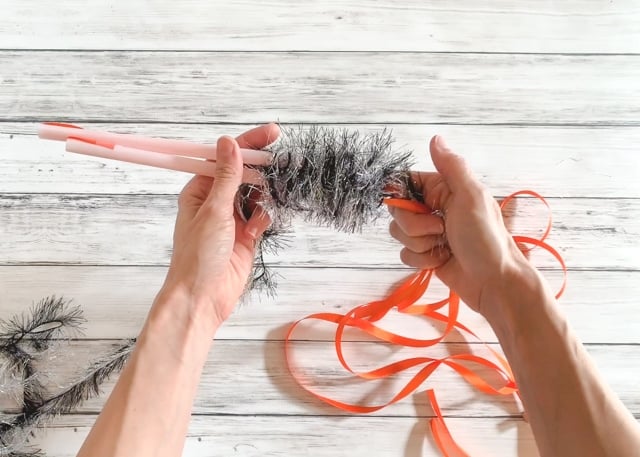
Keep going until your lei is long enough. Most lei are about a yard long, but you may want to make yours smaller if it's for a child. If you have a 45/50 yard skein of yarn, go until you run out of yarn. If you have more yarn, you can make the lei as full as you'd like.
Once you're happy with your lei's length, remove the tape (or just cut the ribbon) and slide the ribbons out of the straws.
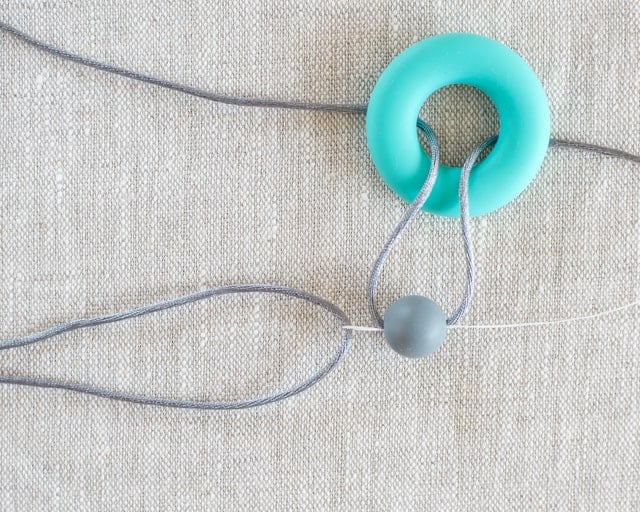
If you'd like to add kukui nuts or other large beads, grab a 10" piece of dental or embroidery floss. Dental floss is easier to use (I show embroidery floss in the video because it was easier for me to grab in the time my baby allowed me to film!)
Fold the floss in half and thread the looped "eye" through your bead.
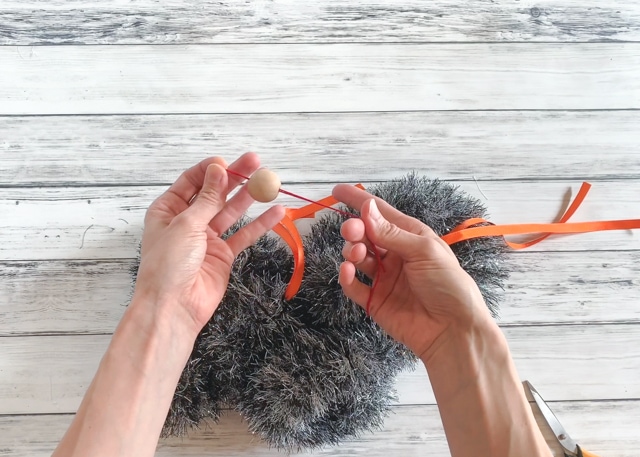 Insert the ribbon through the loop, then pull the floss back through the bead. It will bring the ribbon along! I was able to pull both strands of ribbon through my bead, but you may have to do them one at a time.
You can see this process in the video, but here's a picture from this post on how to make your own nursing necklaces.
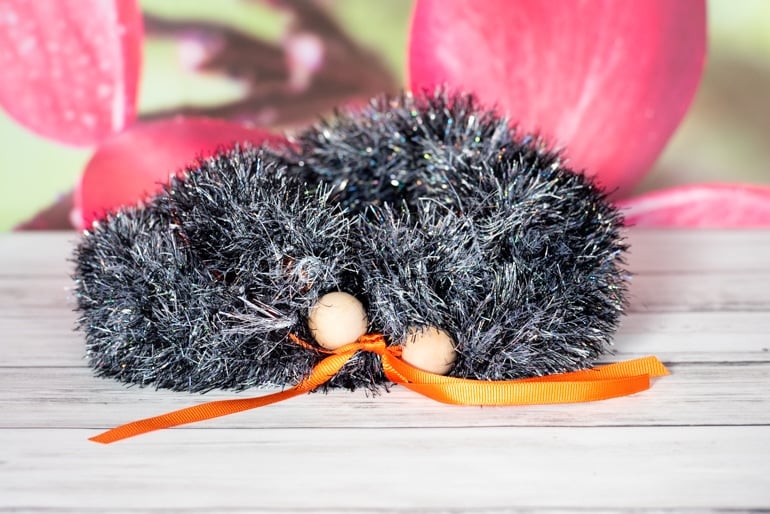
Repeat on the opposite side.
Knot the two ends of the lei together. Tie a bow or add on a large bow and your lei is almost ready to give! I highly recommend carefully heat sealing the ribbon's ends to help prevent fraying. Eyelash lei are a keepsake!
If you'd like to see how to make a very easy large, fluffy bow, check out the second video below!
Two straw lei video tutorial
Here's a tutorial from my spiral ribbon lei class on how to make a fluffy bow!
And there you have it! A lovely, fluffy, keepsake two straw lei!
Ribbon Lei Tutorials
If you're eager for more lei tutorials, you've come to the right place!
How to make a braided Hawaiian ribbon lei. This is the easiest type of lei to make and a great place for beginning lei makers to start!

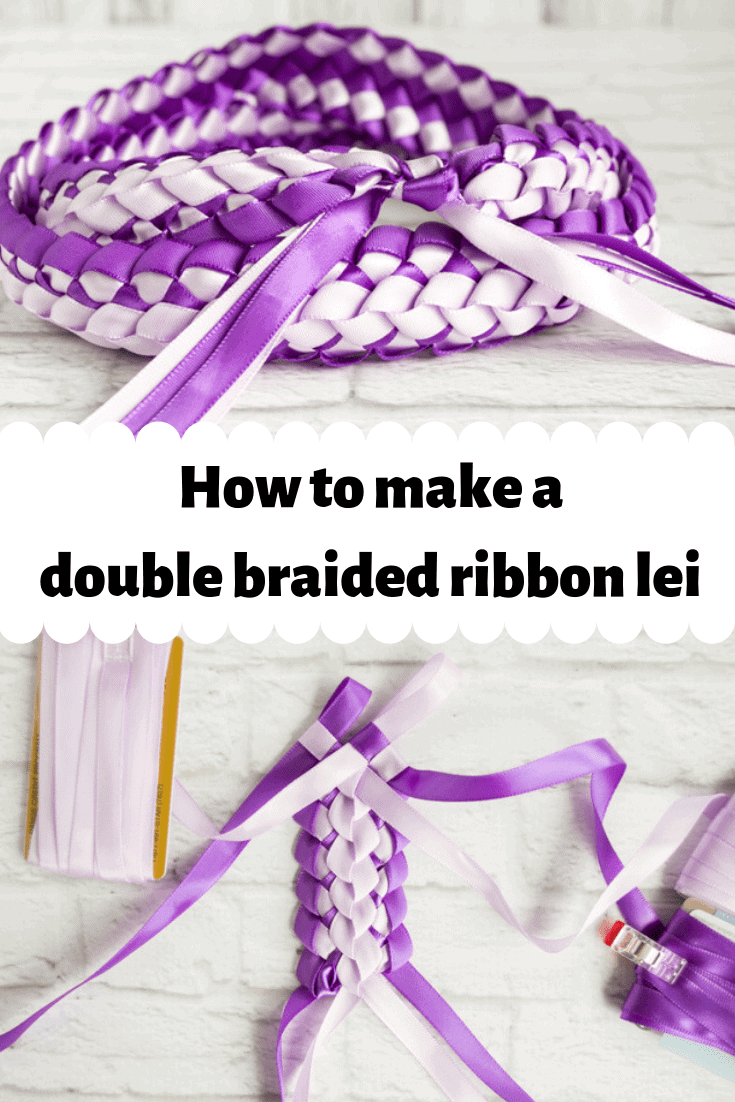
How to make a double braided lei with four ribbons.
How to make a spiral lei with ribbon.
What lei tutorials would you like to see next?


carmen
Easy and lovely!
Natasha
Thank you! Your recent cake recipe looks delightful!