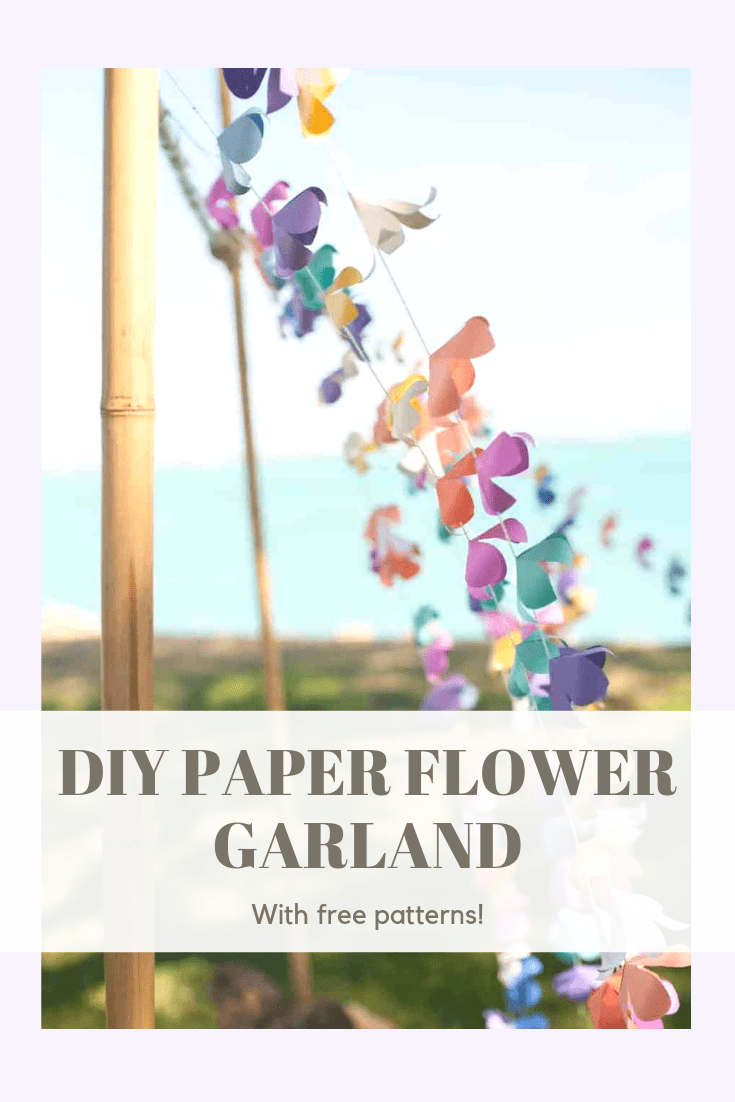
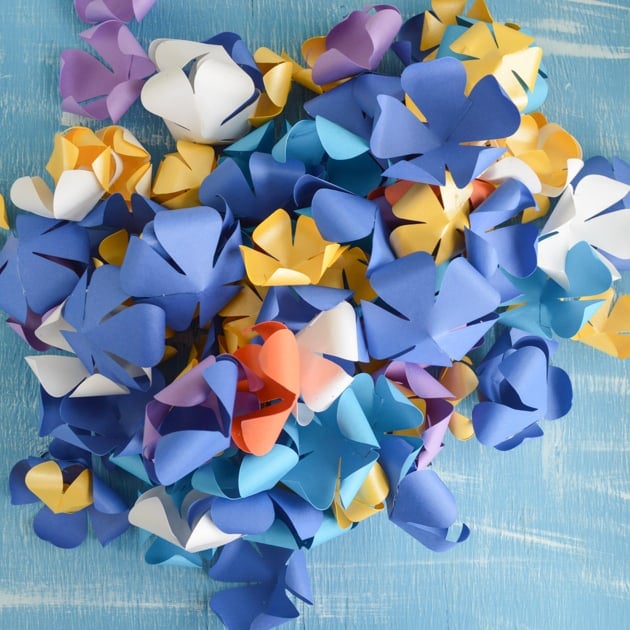
Why wouldn't you want a colorful flower garland? It's great for weddings, showers, parties, or even just home decor (wouldn't it look super cute draped around a fireplace in spring or summer?). Discover how to make a DIY paper flower garland with free printable templates!
This post may include affiliate links, which means I may make a commission on purchases made through these links at no additional cost to you.
This paper flower garland can be a little time-consuming to make a lot of, but it makes up for this by being easy and inexpensive. I cut several garland's worth of flowers by hand before purchasing a Silhouette machine, so this tutorial includes free downloadable PDF and Silhouette files for the two sizes of plumeria flower. Grab your colored cardstock and let's get going!
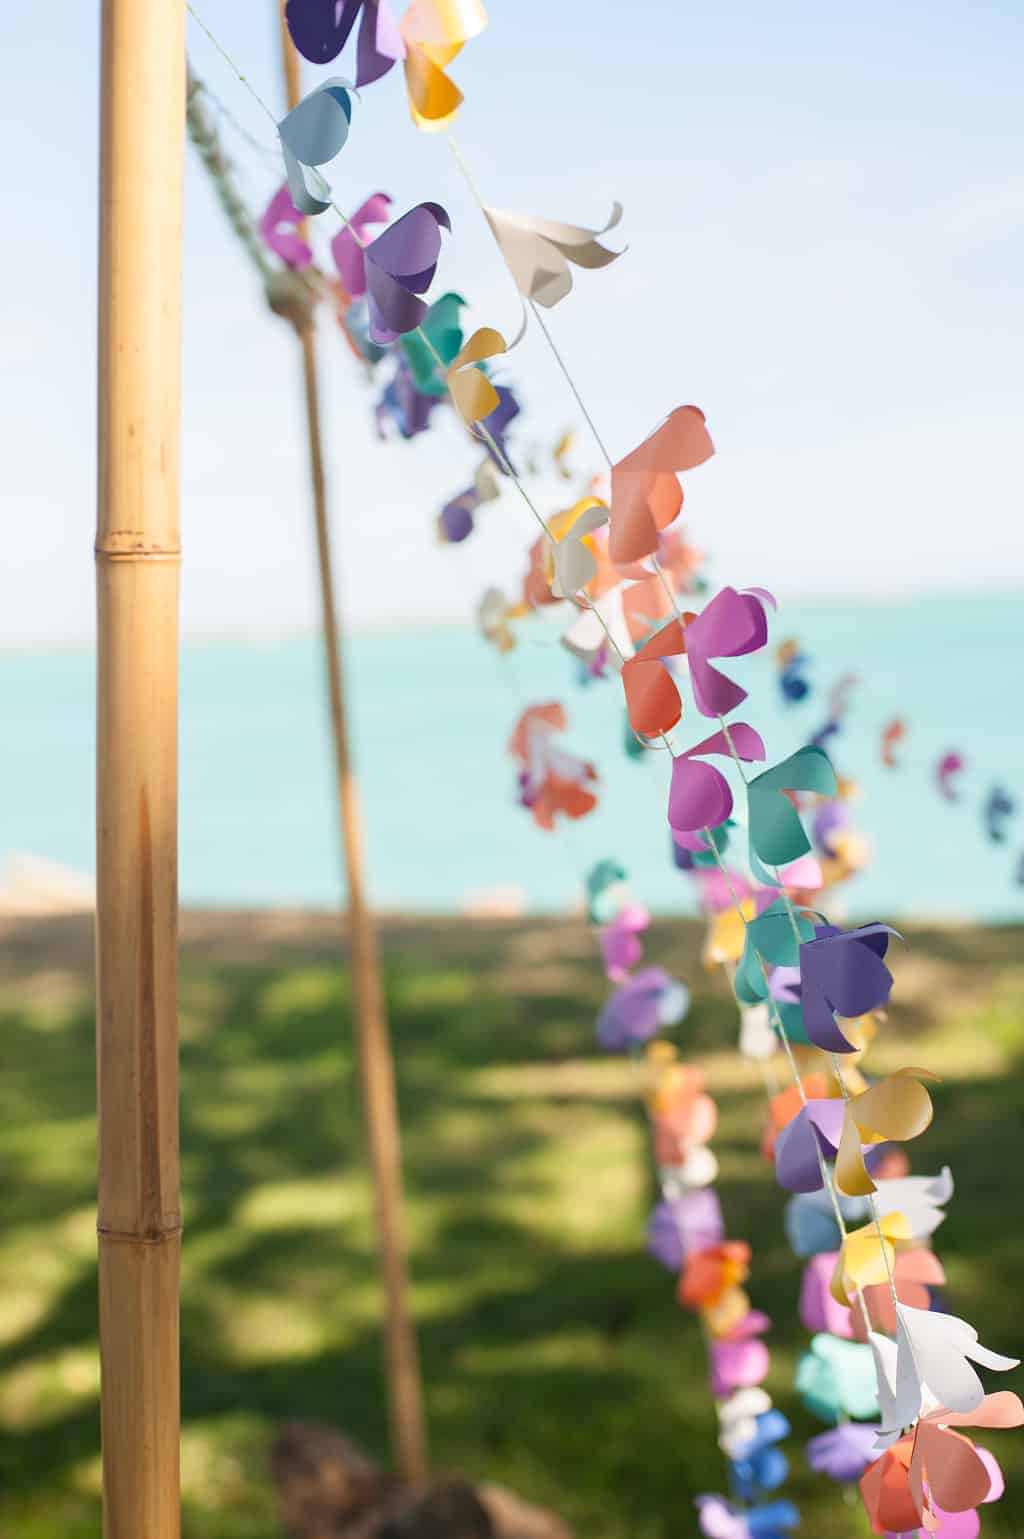
I used these garlands to create our wedding arch. I also made way, way more flowers than I ultimately used because I had this idea about fitting the weighted flowerpot supports with additional flowers. Instead, it was so windy that my cousins ended up using large chunks of cement to hold the arch in place! Ah, well. The flowers still looked nice. =)
Materials for DIY paper flower lei garland
- Colorful cardstock
- Twine - I used baker's twine
- A large darning needle
- Plumeria flower templates
- A pair of scissors
- hot glue gun tips & tricks!)
- A round pencil or pen
- White glue or tape (optional)
- A measuring tape (also optional)
Large Flower Garland Template (PDF link)
Large Flower Garland Template (Silhouette link)
Small Flower Garland Template (PDF link)
Small Flower Garland Template (Silhouette link)
1. Figure out how much garland you want to make. You don't want to cut 200 flowers only to discover all you needed was 50!
I liked how the flowers looked about 4" apart, but anywhere between 3" and 6" can look nice.
If you're looking to make, say, 10 feet of garland, then you'll probably need at least 30 flowers.
Since my flower templates have 6 to a page, this means you'll need to print and cut at least 5 pages. I used two different sizes of flowers to mix things up a bit, but you can use whichever size(s) you like best.
2. Get printing! If you have a Silhouette, you can skip this step. =)
3. Cut, cut, cut! If you're doing it all by hand, I suggest just doing a couple sheets at a time so your hand doesn't get too tired. Try to cut along the line so that as little black is showing as possible.
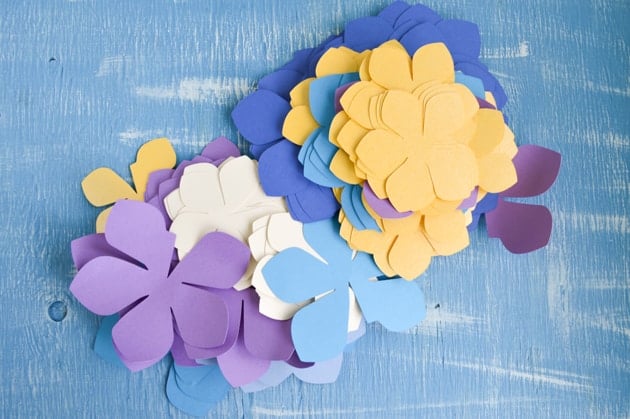
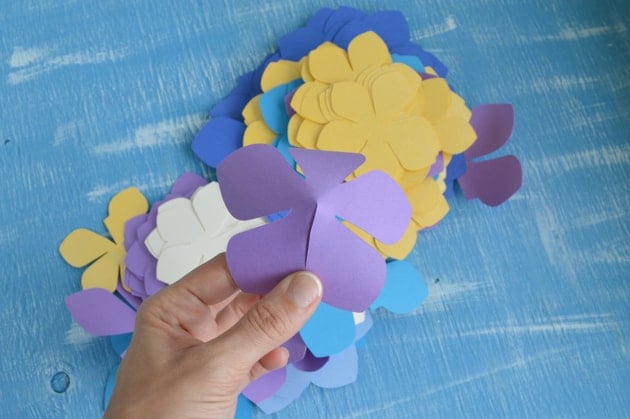
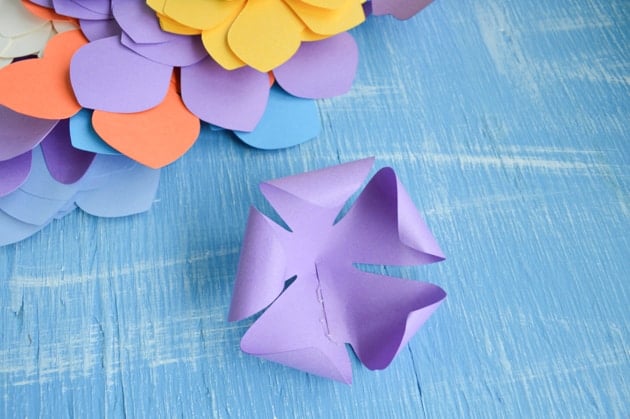
4. Once you have all your flowers cut out, you're ready to get gluing! Take a flower, bend its little 'tab' and dry fit the flower together. The finished product looks best if tab lies along the flower's 'inside.'
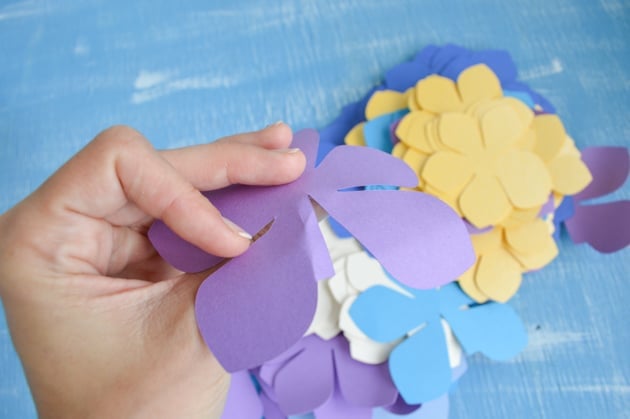
5. Carefully apply hot glue to the tab and then glue the flower together.
I always let the glue cool for a second or two before sticking the tab down so that any extra glue that squished out wasn't super hot! Hold the bond together for a few seconds, until the glue has cooled enough to hold the flower in place.
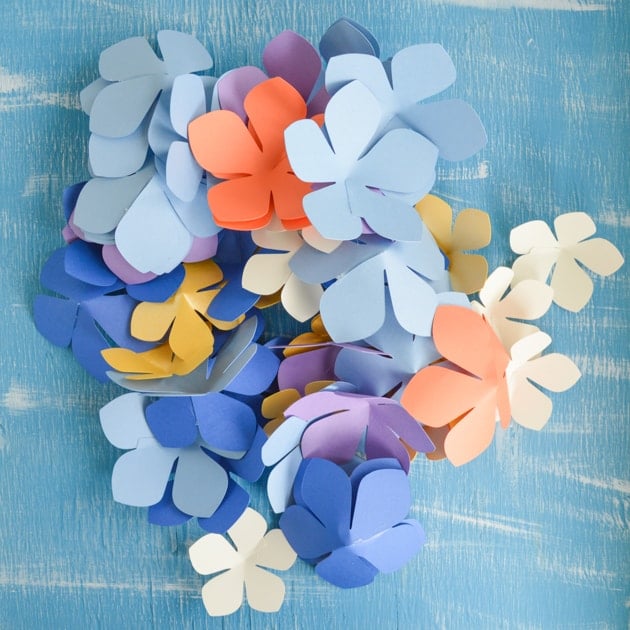
6. Keep gluing until you're done with all the flowers (or at least done for now!). Putting them together in an assembly line-style ultimately takes less time than competing each one by itself.
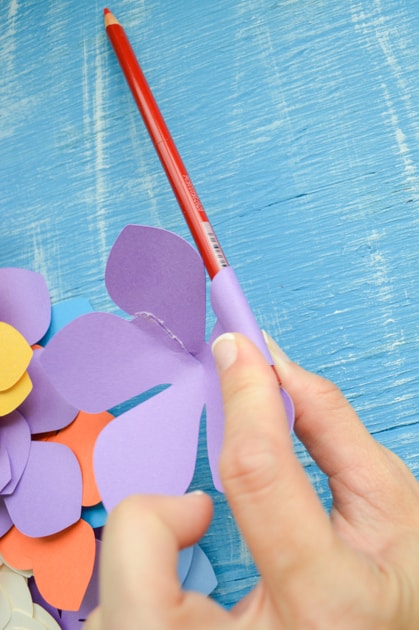
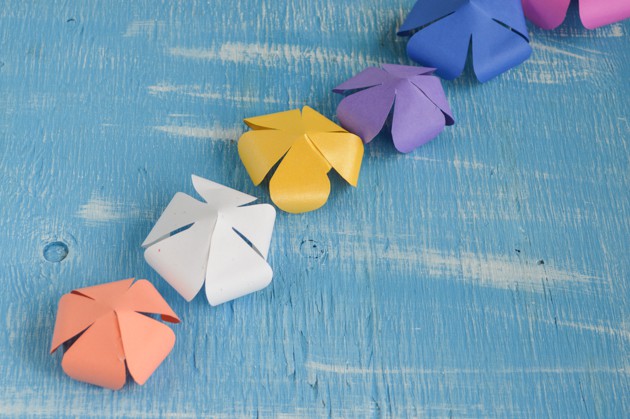
7. After your flowers are glued up, you can curl the petals. I did this by turning each petal's tip down around a colored pencil. I experimented, and you can to, but I think curing the petals down/under looks better than curling them out.
8. After you've curled all the flowers, you're ready to plan out the garland! I decided I wanted a sort of orderly appearance and planned out a rough color sequence. If you want something totally random, you can skip this step.
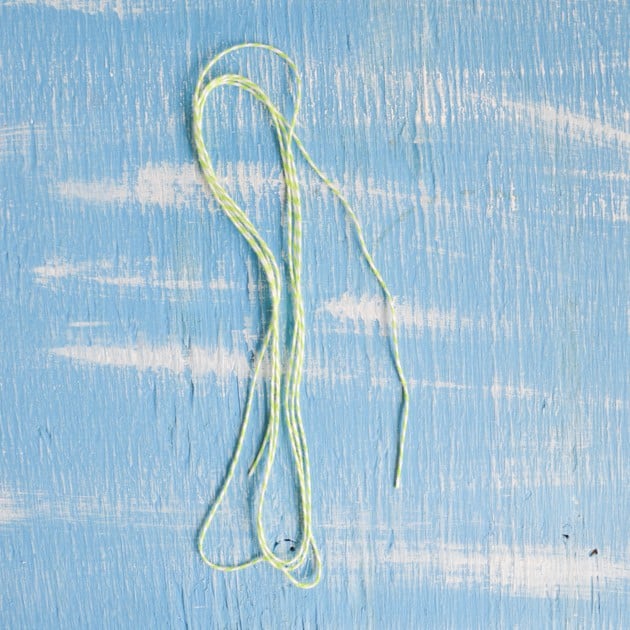
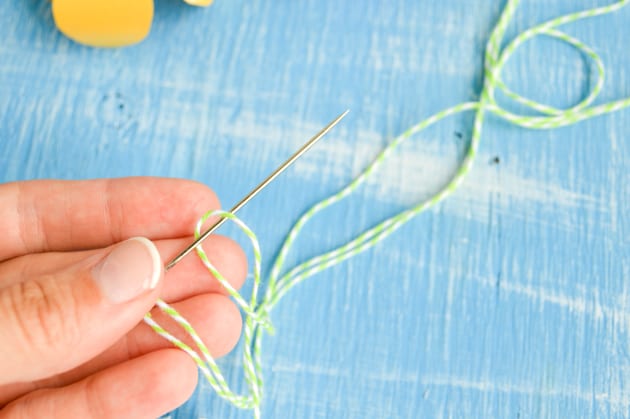
9. Measure out a length of baker's twine, making sure to add enough to tie the finished garland off, if desired, and an additional 6" or so to compensate for all the knot's you'll be tying.
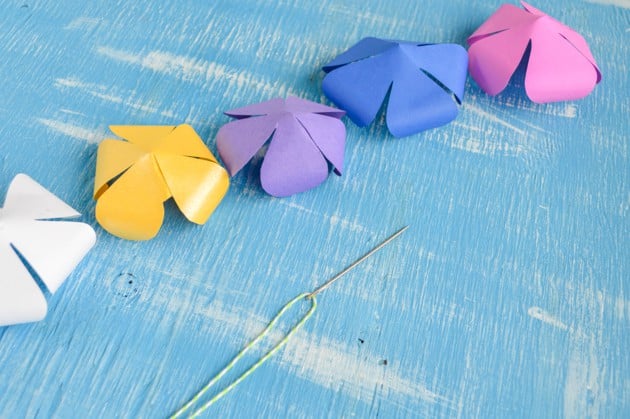
10. Thread one end of the twine through your darning needle and then use a piece of clear tape, or a dab of white glue, to secure the twine's ends and keep them from unraveling while you work. This is optional, but highly recommended!
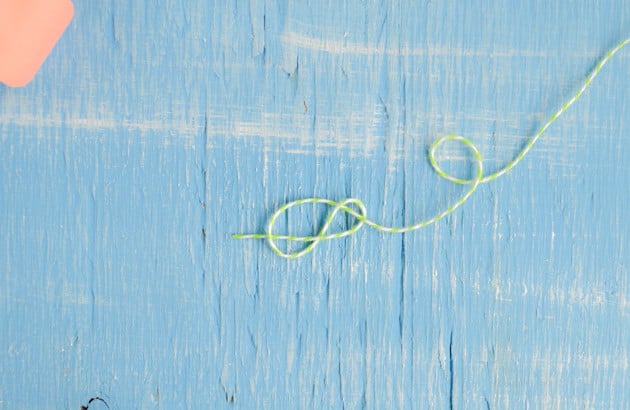
11. Tie a figure eight knot all the way at the 'bottom' of your twine, opposite from the needle.
You can also tie a basic overhand knot (that little pretzel looking guy), but it usually ends up slightly smaller and, therefore, is more likely to let flowers slip down.
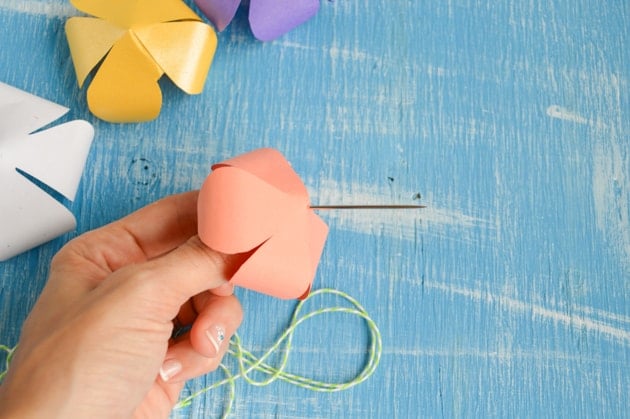
12. Thread your first flower, making sure the petals are pointing 'down.' You can either go through any small remaining gap in the flower's center or use your needle to create a new hole. Just remember your holding knot has to be larger than the hole so the flower won't fall off!
13. Keep tying knots and adding flowers until your garland is as long as you want it.
If you're going to hang it horizontally, or drape it so that both ends hang down, you may want to add a second knot on the opposite side of the last flower to hold it in place.
14. Use and enjoy!
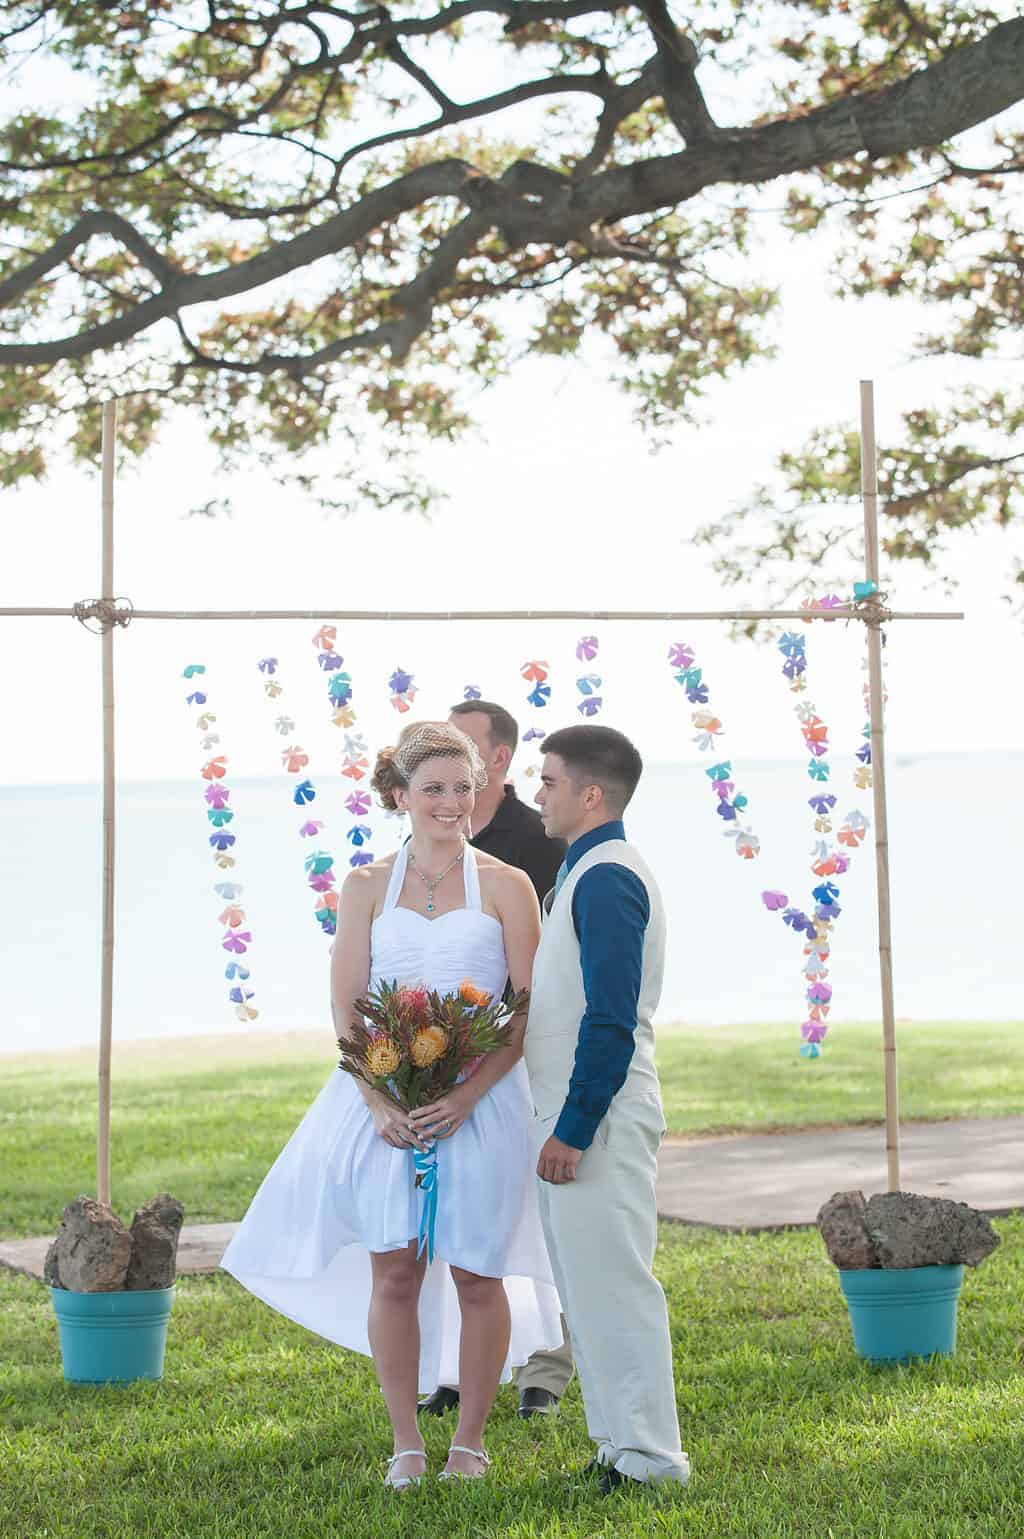
Aren't those chunks of cement attractive? Who'd have guessed it would be so windy that 60 pounds of Quickcrete hidden inside the flower pots wouldn't hold the arch up! Yes, it was seriously that windy, but it all worked out in the end. =)
DIY wedding resources
If you're looking for DIY wedding ideas and tutorials, you've come to the right blog! I did virtually everything for our wedding (except for my dress and his suit) so I have soooo many tutorials to share with you! Here are a few to get you started:
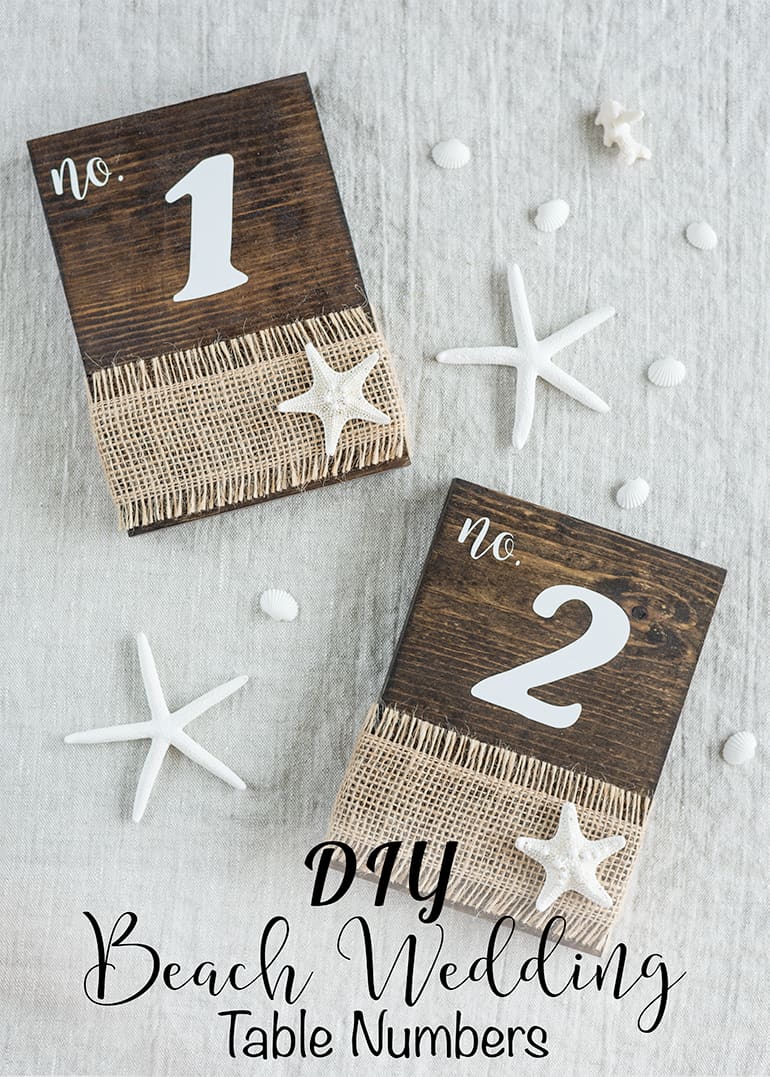
DIY beach wedding table numbers
More Related Posts
[pt_view id=“15d429e15n"]


marieken
Love how the different colours go together perfectly. And your dress is gorgeous. I'm a big fan of say yes to the dress and tv shows like that, so I've seen lots of dresses 🙂
Duni
Did I mention before that I simply LOVE your wedding DIY ideas? The flower garland is such a pretty backdrop. Despite the wind your hairstyle remained intact 🙂 Is that a little daisy on your ring finger? How cute!
Natashalh
Thank you!
I did get professionally-done hair and makeup. She did such a fantastic job! Thanks for reminding me that I need to leave her a review.