Everyone associates St. Patrick's Day with drinking alcohol, but the Irish love tea. Ireland drinks more tea per capita than any other nation
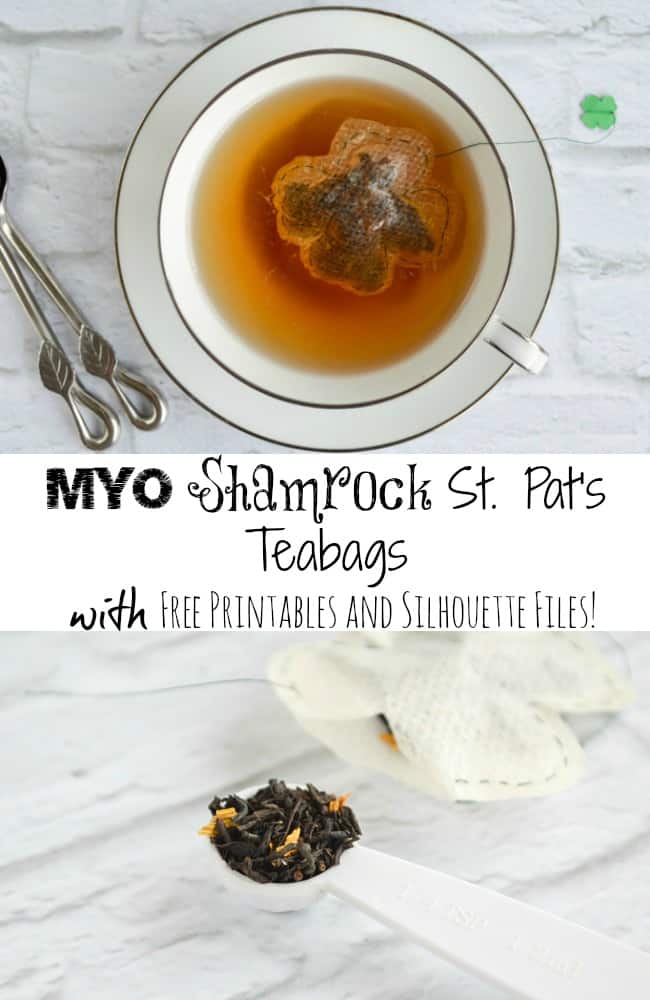
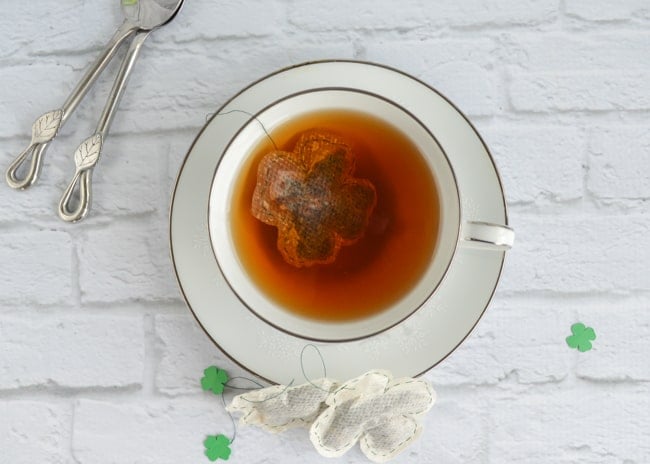
This tutorial celebrates the popularity of tea in Ireland by showing you how to make your own shamrock tea bags for use with your favorite loose leaf tea.
Oh, and if you found this post because you'er looking for shamrock cut out templates, please check out this post of over a dozen printable shamrock patterns!
The Irish tend to favor their own particular, strong blend of tea and have their favorite brands (Lyons is apparently the most popular and has been in Dublin since 1902), and even have preferred pots for brewing. If you're really curious, you can read a bit more about Ireland's tea habit here.
This post may include affiliate links, which means I may make a commission on purchases made through these links at no additional cost to you.
I enjoy most teas, with the exception of the really...pungent offerings like lapsang souchong. I think that stuff tastes like a freshly paved road smells. For this project, I used some mango peach black tea I purchased at Teavana, but you can use your favorite blend.
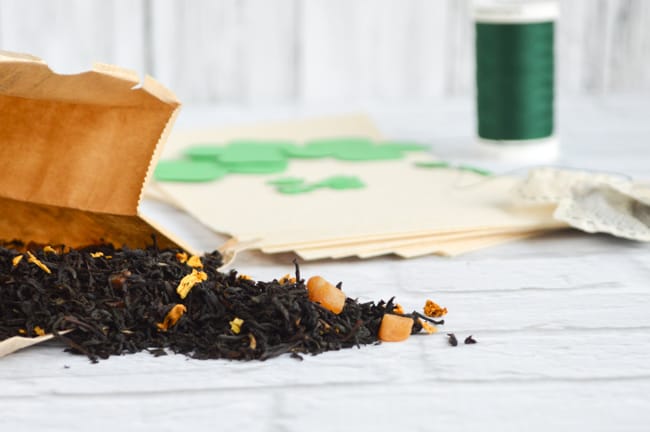
Although you could try opening up some tea bags and transferring the contents, it might not work out well for you - most pre-bagged teas are ground pretty small and wouldn't stay inside these handmade bags very well.
Materials for St. Patrick's Day Shamrock Teabags
- Shamrock teabag templates, either from the printable or the Silhouette Studio file (linked below)
- Small shamrocks for "tags," from the same files
- Single use fillable teabags - I used these unbleached large ones. You could also use coffee filters, in a pinch
- Thread - I vote for green!
- A pin
- A needle
- Scissors
- Non-toxic glue - I used regular white glue
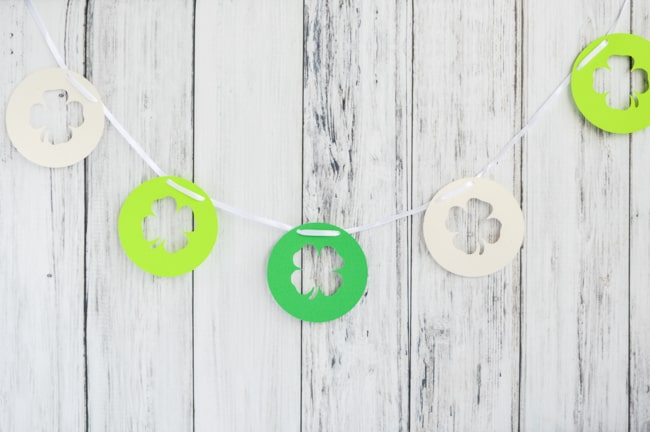
Plus, a bonus for anyone with a Silhouette machine! Here's the file to make the cut out garland seen in the background of some of the photos. Just cut it out and string it up on ⅛" ribbon and you'll have a "pinch proof" garland. Get your free cutout shamrock garland file here.
How to make Shamrock Teabags
I tried making these several different ways, and the process I give here is what I like best.
I tried the sewing machine (too easy to perforate the filter material and rip it to pieces), cutting then sewing (kind of annoying to work with), and even different starting/ending positions for the stitching.
I chose to sew around the template instead of tracing it because I wasn't sure about having ink or pencil on a teabag I was going to actually use! With all that in mind, this is the quickest, easiest way I've found to make yourself some shamrock teabags.
1. Either print and cut your shamrock templates and tags or cut them on your Silhouette machine. I just went ahead and used green cardstock for both, but you could use plain paper for the teabag template. If you wanted to make a lot of teabags, green, orange, and white tags could be cute! You'll need two smaller "tag" pieces for each teabag, but you can reuse each template several times.
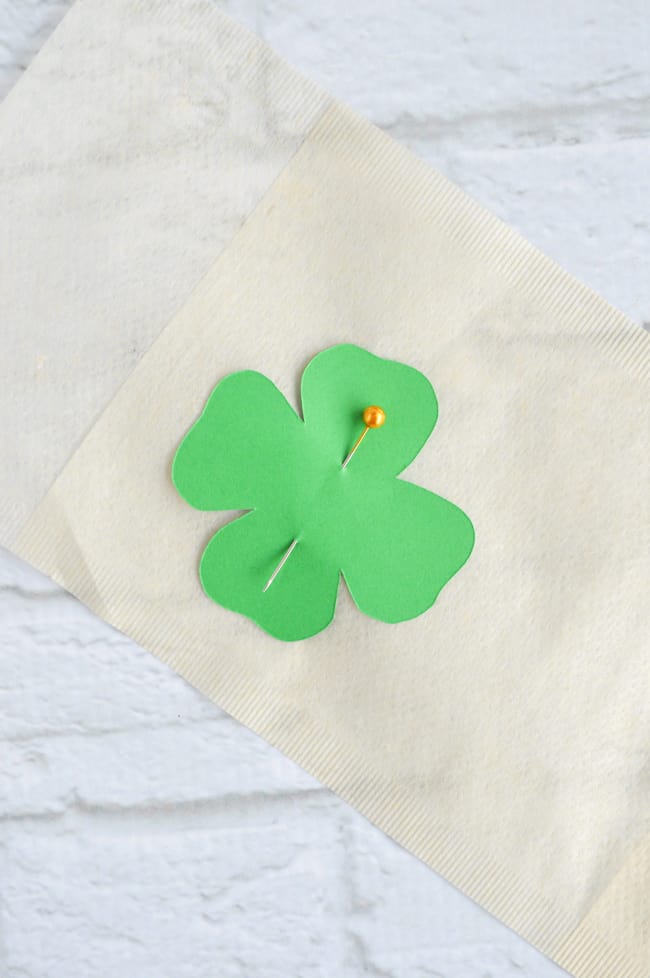
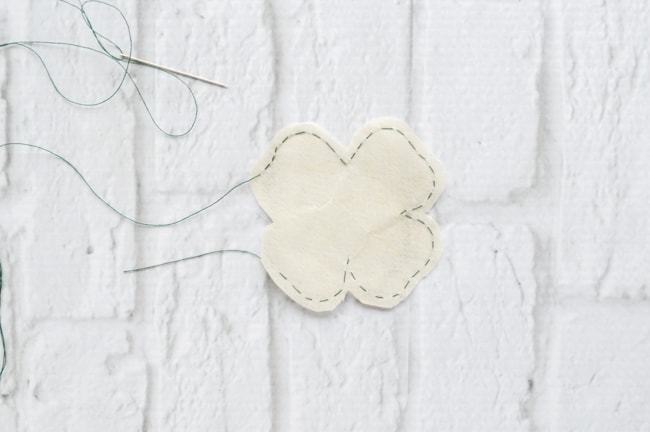
2. Pin a teabag template in place on one of your fillable teabags. A single pin through the middle is usually sufficient.
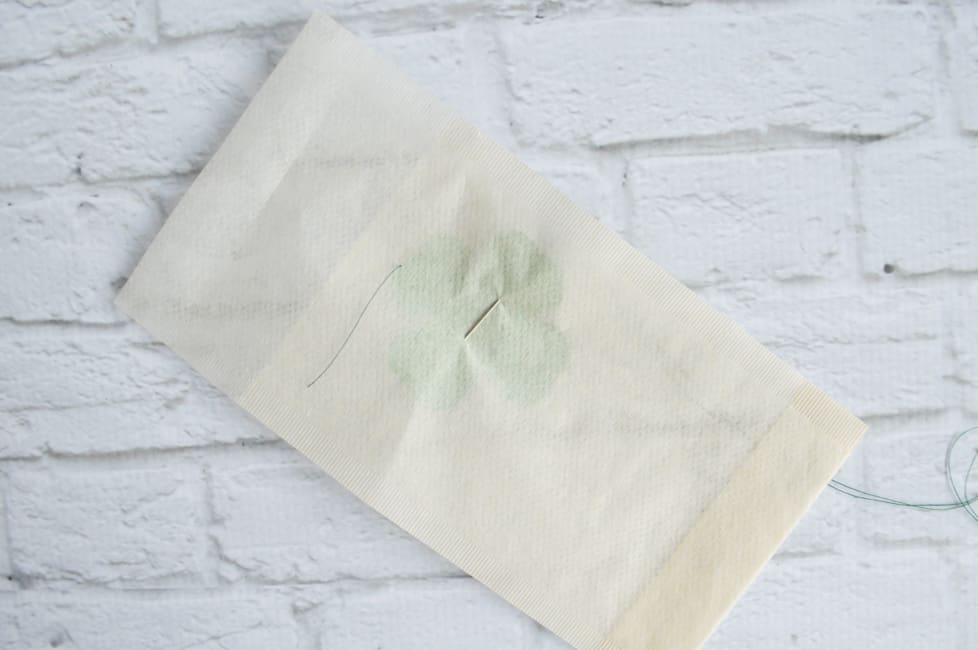
3. Cut about 18" of thread and thread your needle, but do not tie a knot.
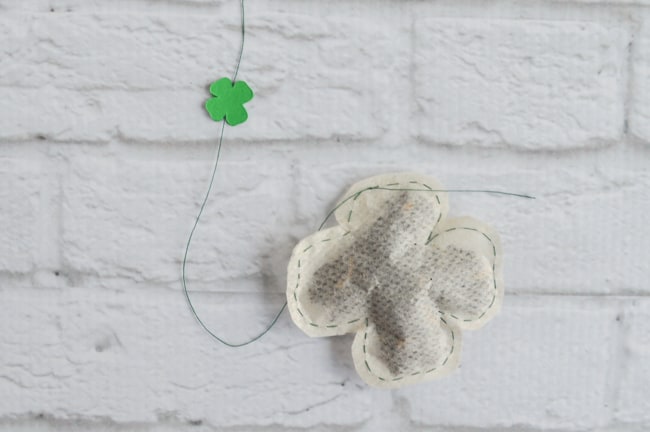
4. Start sewing near the edge of one shamrock lobe. The bag is easiest to fill through a gap in the space between lobes, not when you leave one of the lobes open. Leave a couple inches of thread tail behind and simply hold on to it as you sew to keep all the thread from pulling through.
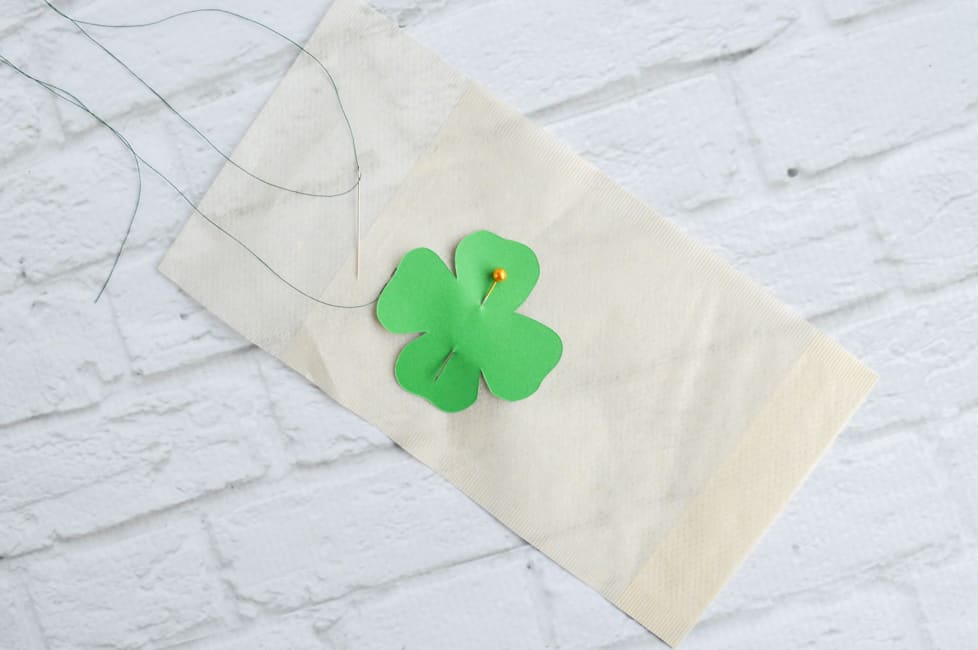
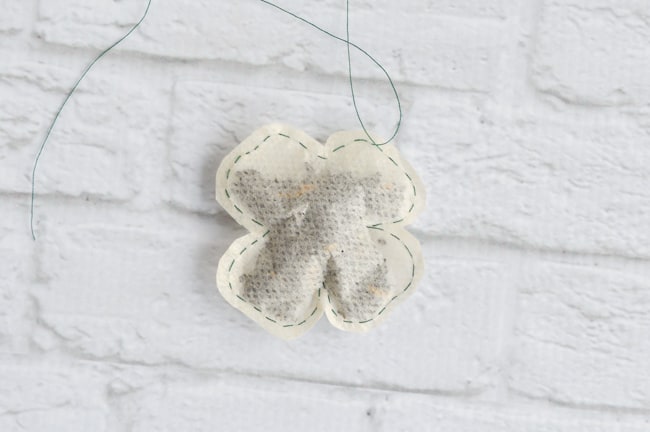
5. Keep sewing around the shamrock. Make sure to leave a healthy-sized gap in the sewing between two lobes. This is where you're going to add the tea!
Normally I'd sew clockwise, so if this counterclockwise sewing looks a little funny to you, here's a tip: flipping this project upside down makes it easier to sew.
When you flip the tea filter over, then the shamrock template is pressing against the pin and stays in place much better than when the teabag is pushing away from the template as you sew. It's easy enough to see through the teabag material, so you don't have to worry about tracing the pattern out!
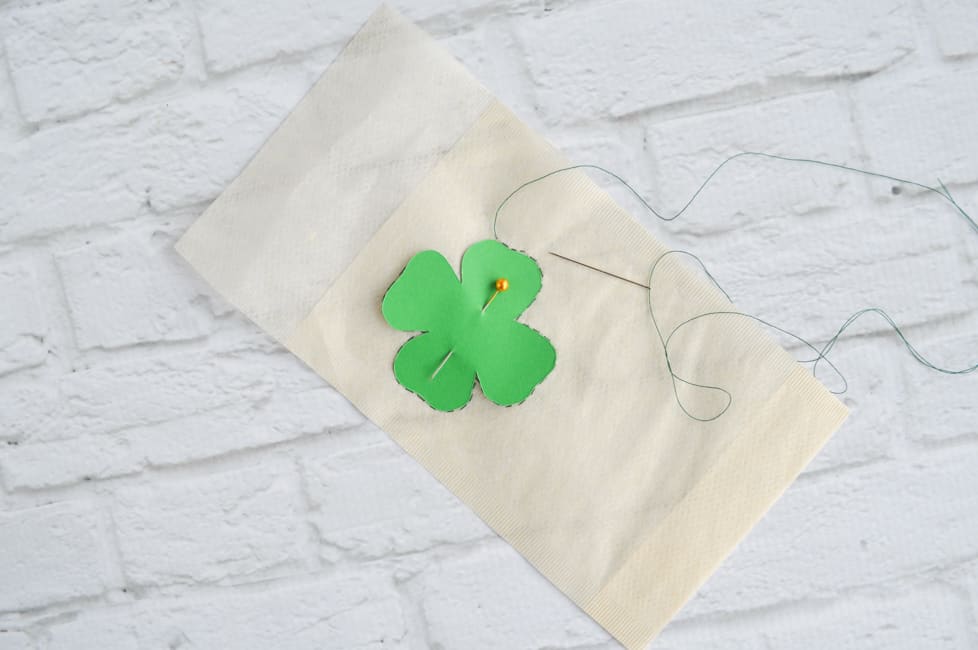
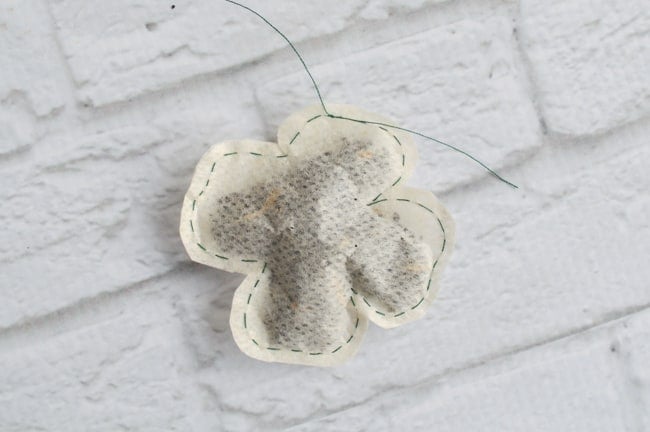
6. Once you've sewn most of the shamrock's outline, trim the teabag down to size. Cut a little bit outside your stitching, and make sure not to cut the threads you're still working with! This includes that tail at the starting point - you still need that, too.
7. Fill your teabag! I find it easiest to use a quarter teaspoon to add the tea because trying to just dump it in there usually makes a mess. make sure you get some tea in all the lobes, but don't over-stuff it because you still have to close up the gap.

8. Once you're happy with your teabag's fullness, hold the open edges together and then stitch the gap closed. Make sure you end with the thread coming out the back near your starting point tail. You can go ahead and un-thread the needle now.
9. Tie the two ends together, as close to the teabag as possible.
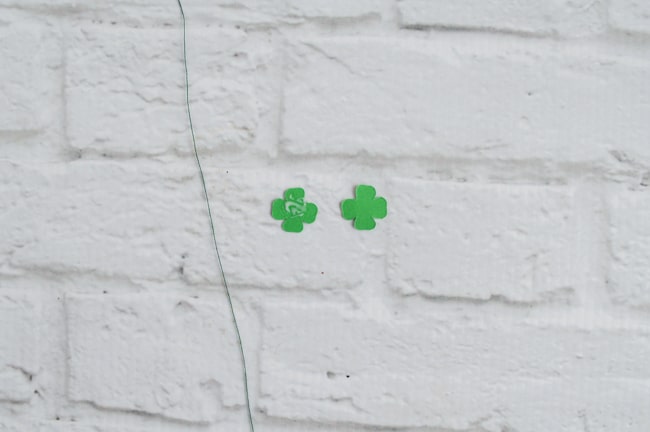
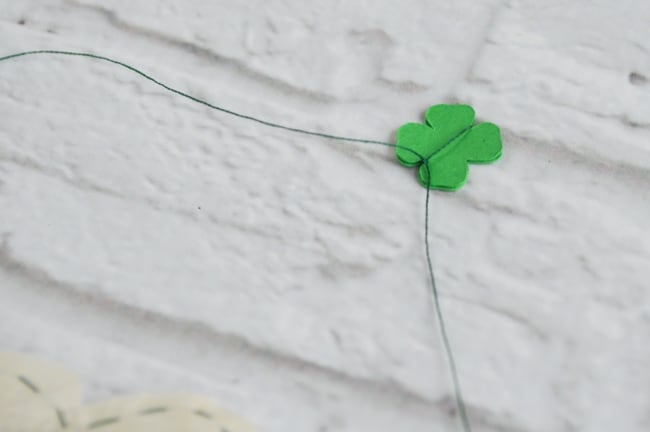
10. Take two of your small shamrock tags and figure out how they line up - the shamrocks are not totally symmetrical. Place a small dab of glue on one and then sandwich the long end of thread between the two shamrocks (making sure the glued side is facing in, of course!). I generally like to leave about three inches of space between the teabag and the tag.
11. For extra security, you can knot the thread at the bottom of the shamrock tag.
12. Trim all the extra lengths of thread.
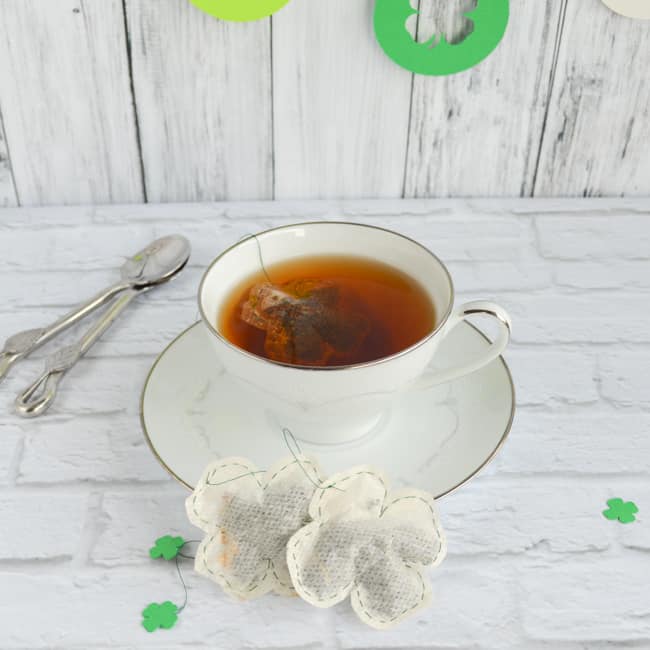
13. Enjoy!
St. Patrick's Day Free Printables and Crafts
If you're looking for St. Patrick's Day printables, you've come to the right place!
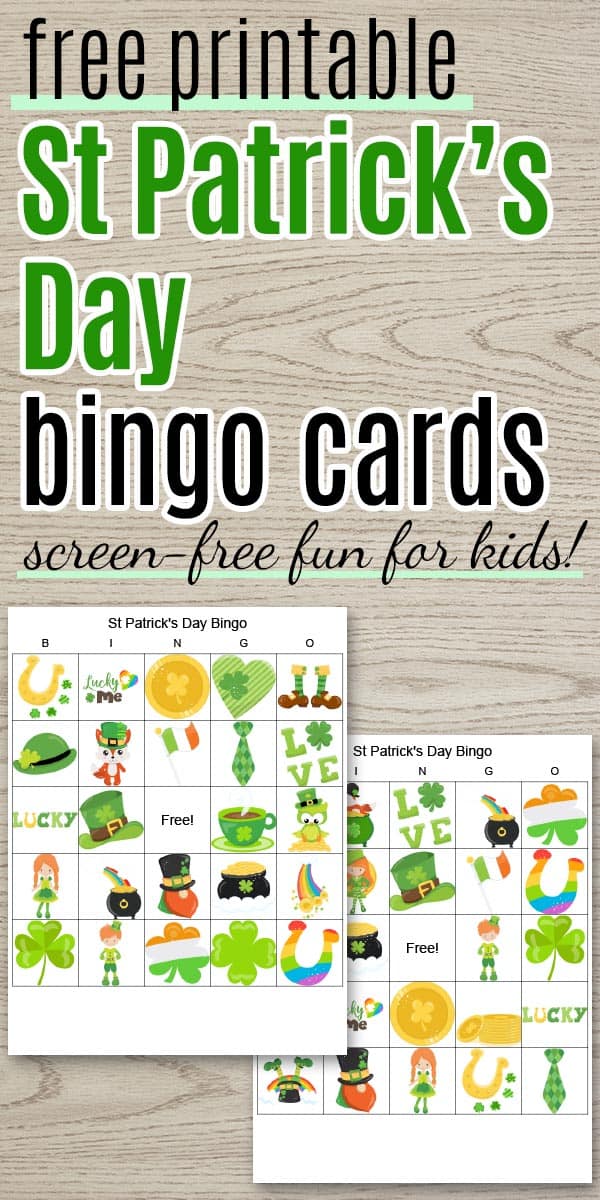
Grab free printable bingo cards for St. Patrick's Day for screen free family fun!
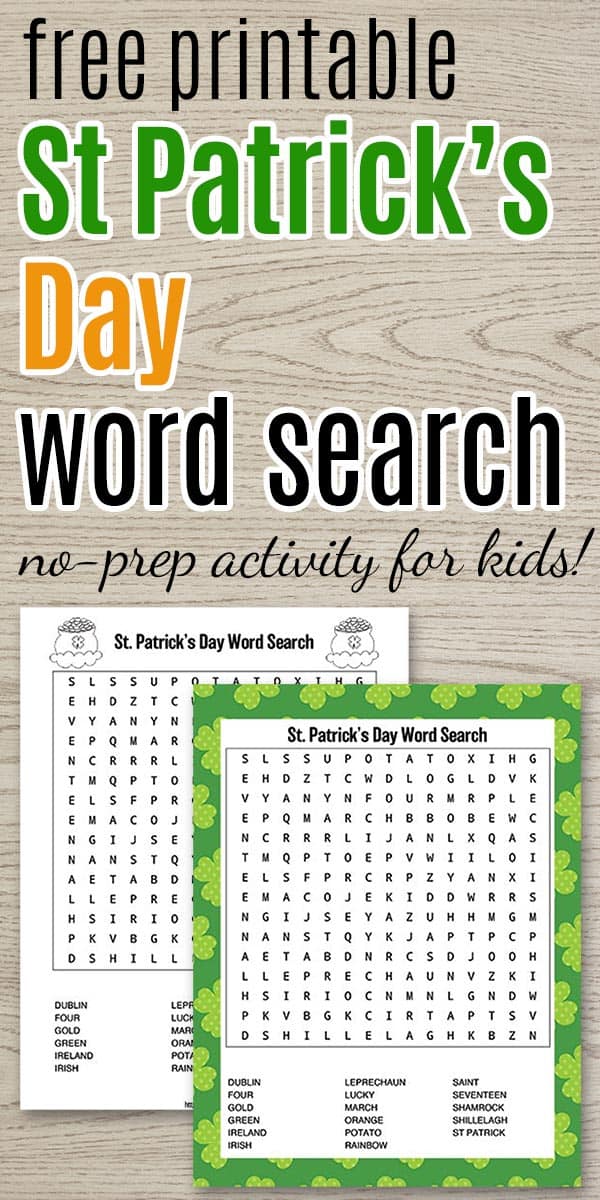
This St. Patrick's Day word search is an educational, no-prep activity

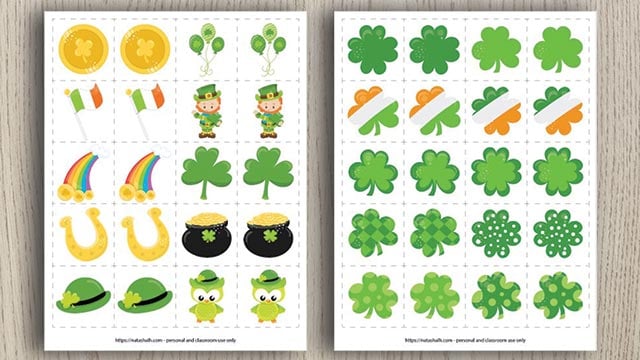
These free printable matching cards are available in two different versions. Make sure to download the more difficult shamrock matching game for your older kids!
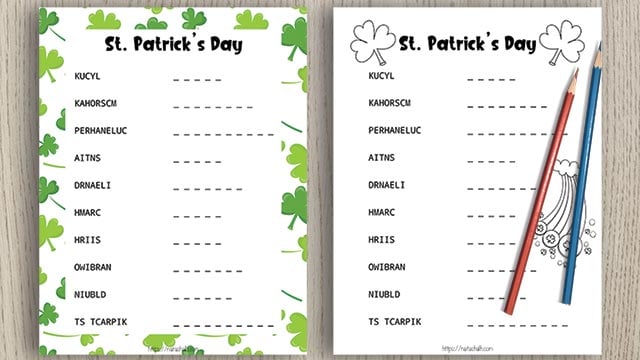
This free printable word jumble for St. Patrick's Day has 10 Irish words to unscramble.
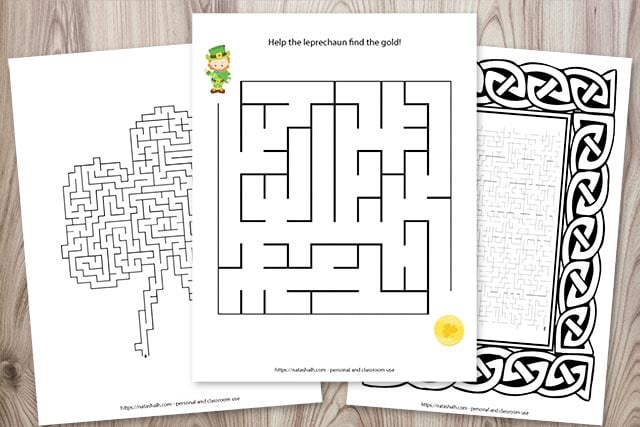
Get 10 printable mazes for St. Patrick's Day, including easy mazes, shaped mazes, and difficult mazes.


Lana
My favorite tea - ear gray! and this is a fun-tastic idea for a lovely Irish celebration!!! We are usually visiting Savannah, and as many others in this day 🙂 ... I wish they know this about drinking tradition - less beer :)!!!
Natashalh
Early Gray is good! It's one of my favorites, too.
I've never been to Savannah on St. Pat's, but I've seen the set up the weekend before and I know people who have been. I went to college in Charleston, SC, so classmates would drive down for it. No thank you!! I'd rather have a big tea drinking celebration than a beer festival. =)
Lora
Perfect idea! thanks.
Natashalh
Thank you, Lora! =)