This full-length beginner Yin Yoga sequence is perfect for all levels. Enjoy deep relaxation decompression with this 60 minute free Yin Yoga class!
Today I'm excited to share a 60 minute beginner yin yoga sequence! It's a fantastic all-levels class that's great for anyone who needs to take a moment to slow down and relax.
This post may include affiliate links, which means I may make a commission on purchases made through these links at no additional cost to you.
What is yin yoga?
Yin yoga is a slower-paced style of yoga. There are 20 main asana in the Yin Yoga repertoire, but only a handful of these poses are done in each class. Each class has a comparatively smaller number of poses when compared to a faster, "yang" style class. Yin yoga focuses on the deeper connective tissues by holding each pose for time.
The three principle tenants of yin yoga are:
- Find your comfortable edge.
- Find stillness.
- Hold for time.
Your comfortable edge means a point where you feel sensation, but not pain. If you ever feel pain, ease out of the pose right away.
Once at your comfortable edge, do your best to find stillness. Follow your breath and try not to fidget! If your body invites you to move deeper, then do so, but there is no forcing yourself into a posture in yin yoga.
Finally, you hold for time. In this class holds are 1-3 minutes. In general, more "advanced" yin classes are characterized by longer holds, not "more difficult" or "more advanced" asana.
Yin yoga encourages the use of props. You may want a block for this beginner yin yoga sequence. You may also want a blanket/towel to sit on during the opening mediation and a pillow or bolster for some of the poses. I almost always begin a pose with a block and then move it if/when my body invites me to go deeper.
60 minute beginner yin yoga sequence
I encourage you to watch the video, but there is also a step-by-step sequence below with still photos.
You can watch the video here or on YouTube. Please remember to like and subscribe so you don't miss out on future classes and guided meditations!
I explain the poses and how to use props to modify in the video, but if you're already familiar with the poses and want to see sequence for this class, you can check it out below. Hold each pose for 1-3 minutes, or less if you're new to yin yoga.
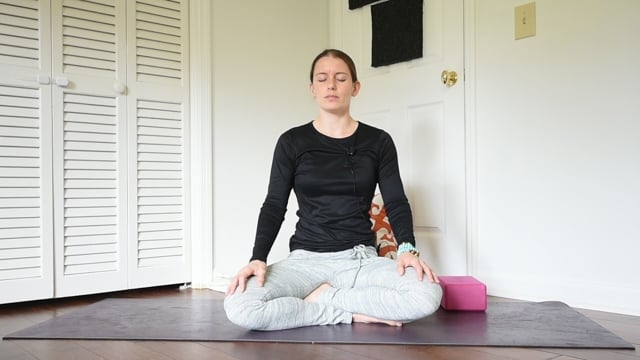
Yin classes typically begin with a meditation on the breath.
Come to a comfortable seated position and simply breathe. Sitting up on a block, towel, or blanket can help relieve tension in the hips. If a thought arises, don't judge yourself. Just return to your breath. If it helps, you can count your breaths.
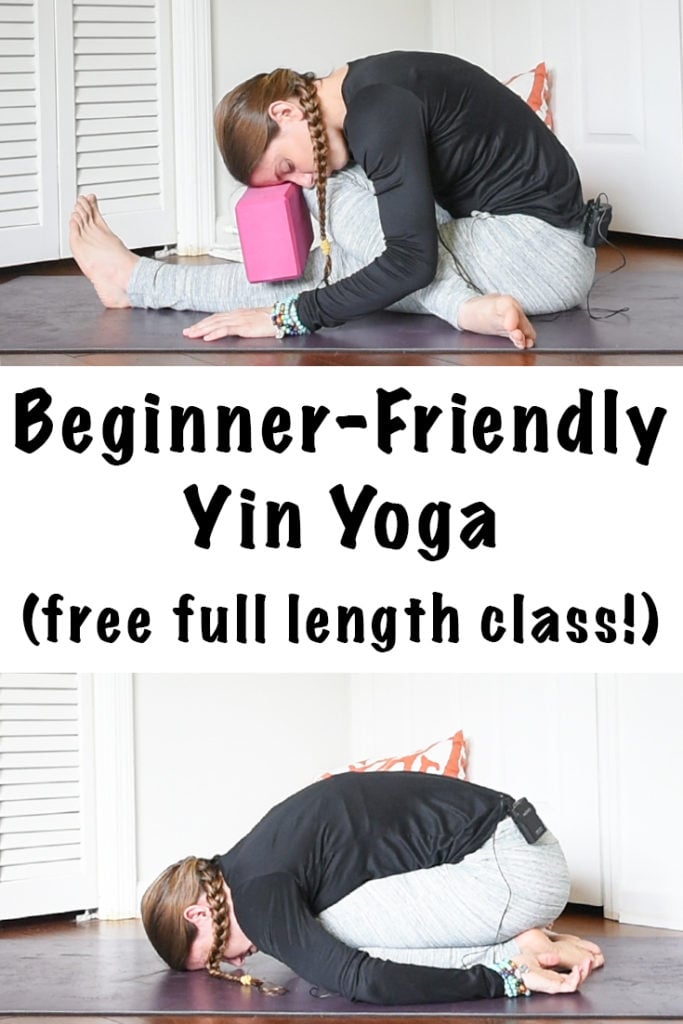
First we move into butterfly. Use a block or pillow for your head, if needed.
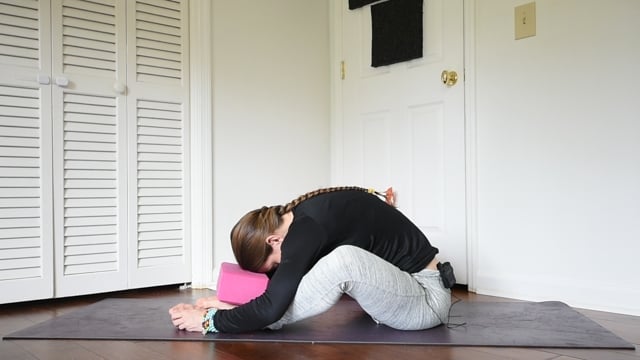
Next move into half shoelace. The right leg is extended long, left leg bent over the top with the left heel near your seat. Lean forward, if it's accessible to you, and use a block or bolster as needed.
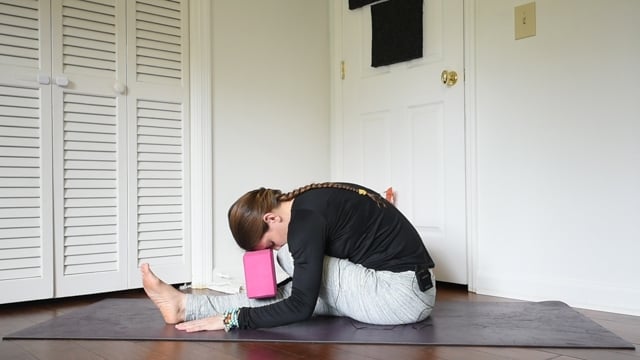
Switch sides and come into half shoelace with left leg long, right leg bent.
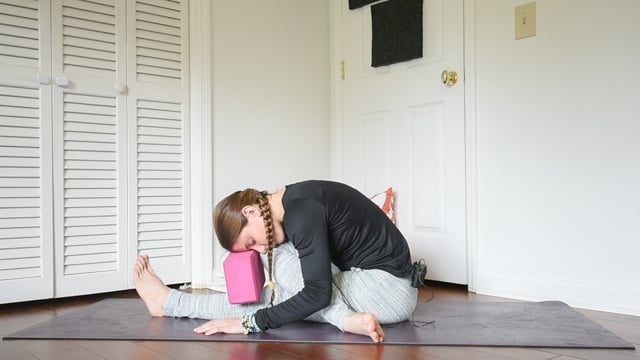
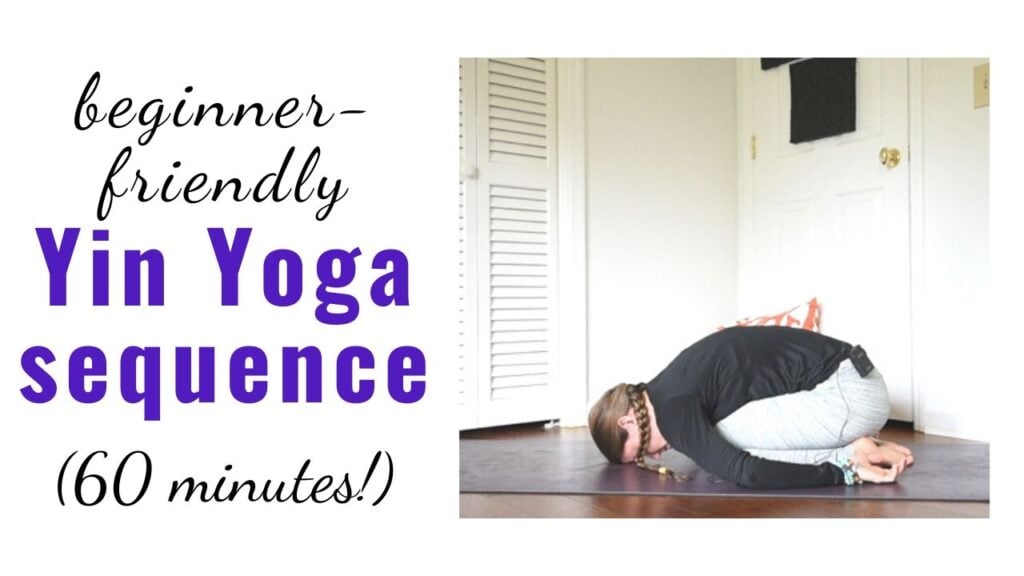
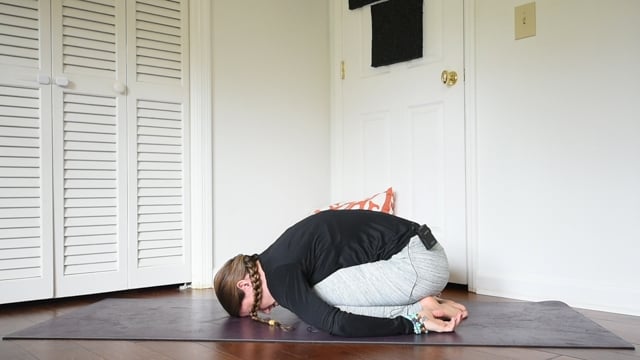
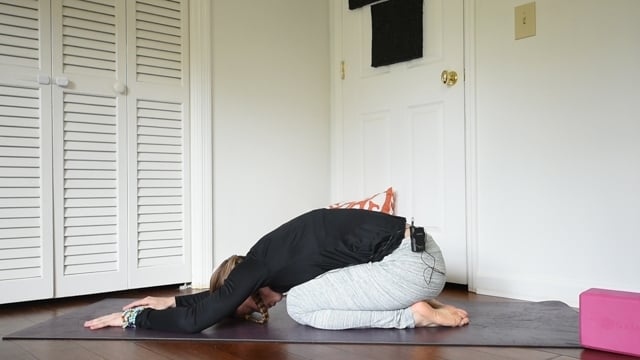
Next we come into child's pose with arms back, as shown. Hold this pose for a shorter amount of time, about 1 minute.
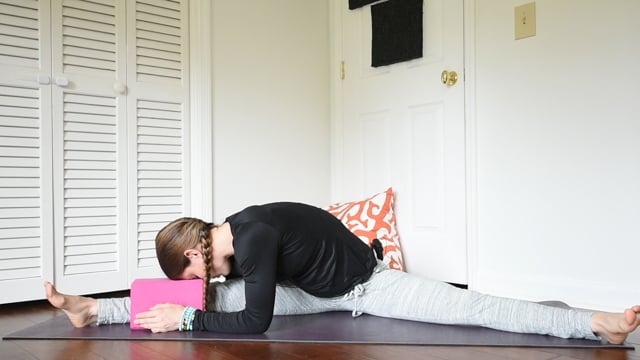
From here, we move into a straddle. If it's accessible, fold over your right leg.
Then move to a center straddle:
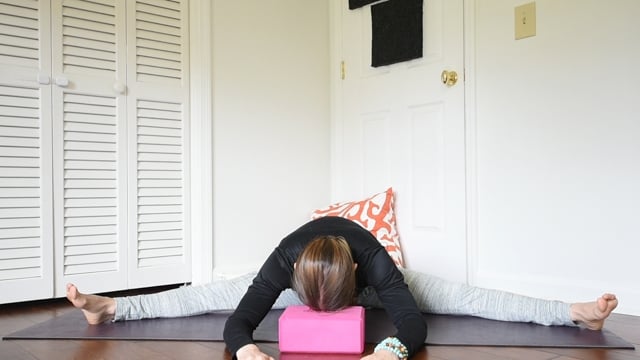
And finally a bend over your left leg:
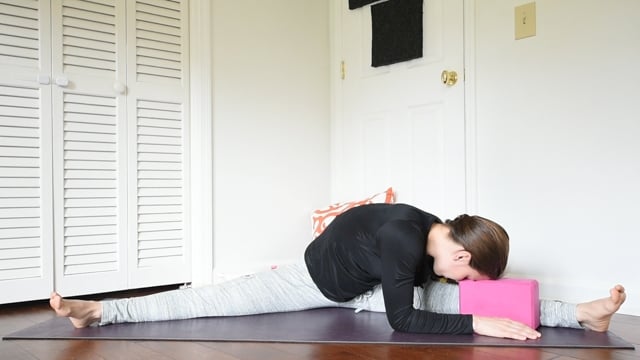
Come out of the pose slowly and gently. You may want to windshield wiper your legs a few times.
Return to child's pose for another minute, this time with your arms forward.
Next we move into sphinx pose. Stack your shoulders over your elbows, forearms parallel to the short edges of the mat and fingers pointing forwards. Lift up through the top of your head and enjoy the gentle backbend.
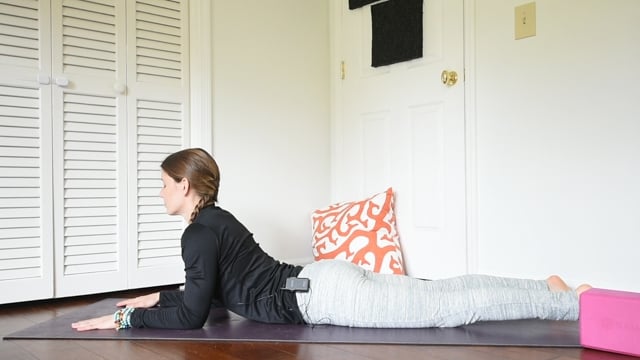
After a minute or two you may want to press into the palms and extend your arms into seal. If it is uncomfortable for you or it doesn't feel accessible today, stay in sphinx.
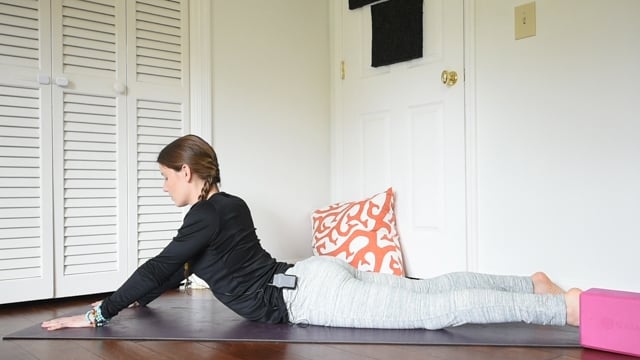
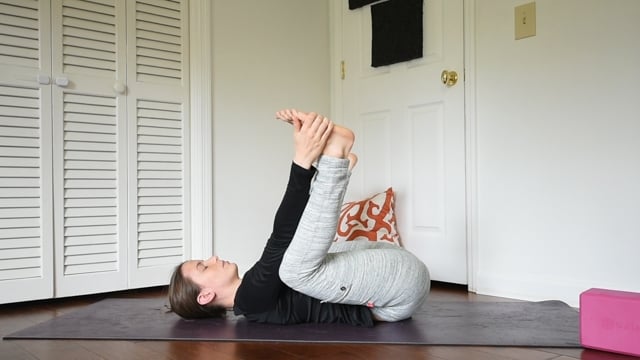
From here, relax down, roll over, and come into happy baby.
Release your legs down and come into a reclined twist. Feel free to use a block or pillow under your knee if the floor is too far away. I like to hook my bottom knee over my top calf/ankle for a deeper stretch.
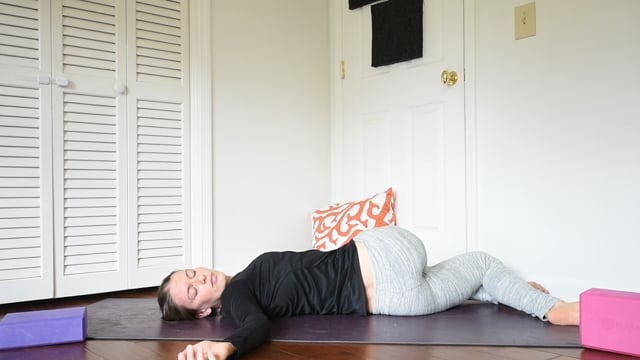
Swap sides!
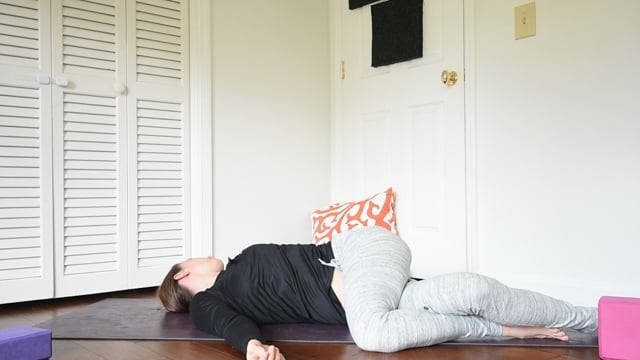
And, finally, we come to savasana, perhaps the most important pose in the practice. Allow your body to relax fully and absorb the benefits of the practice.
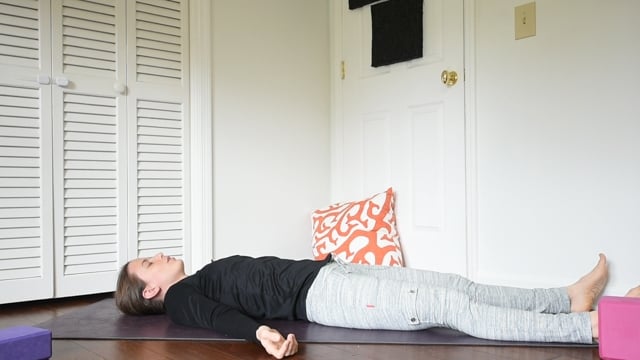
Slowly, gently, when you're ready - roll over on to one side. Pause for a moment before coming up to a seated position.
Namaste.
Thank you so much for practicing with me!
I hope you enjoyed this beginner-friendly yin yoga sequence. To see more free yoga classes, please visit the yoga section of The Artisan Life. Please also remember to subscribe on YouTube!
If you want to know more about yin yoga, probably the very best book available is Bernie Clark's Complete Guide to Yin Yoga. He describes the science of yin yoga to explain how it works on the body's deep connective tissues to promote better health and flexibility.
- Clark, Bernie (Author)
- English (Publication Language)
- 296 Pages - 01/10/2012 (Publication Date) - Wild Strawberry Productions (Publisher)
Free Yoga Classes & Resources
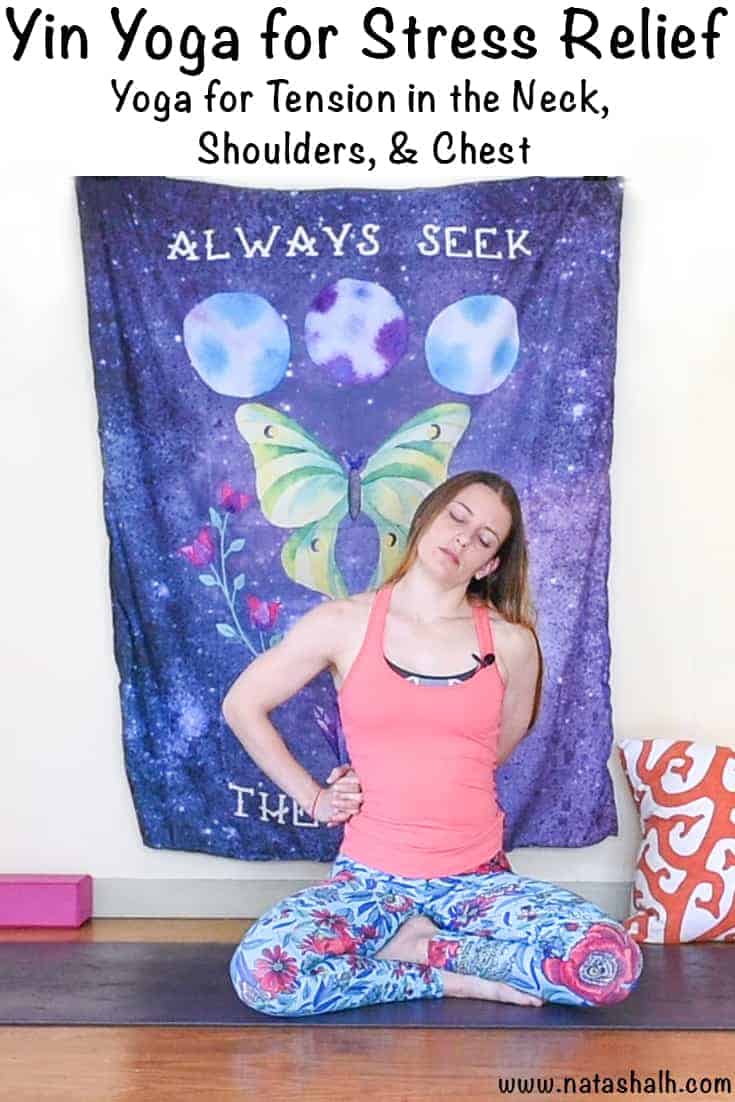
Need more free yoga classes? Discover yoga calsses and yoga resources to improve your practice and understanding of yoga.
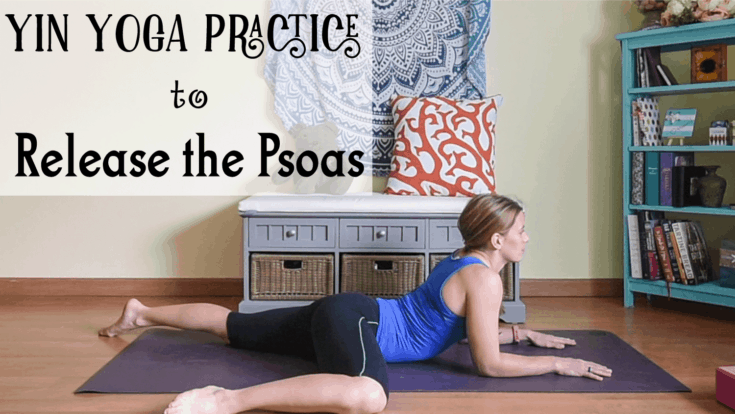
This yin yoga sequence to release the psoas is my most popular sequence ever on YouTube. Stop by and see why everyone loves it!
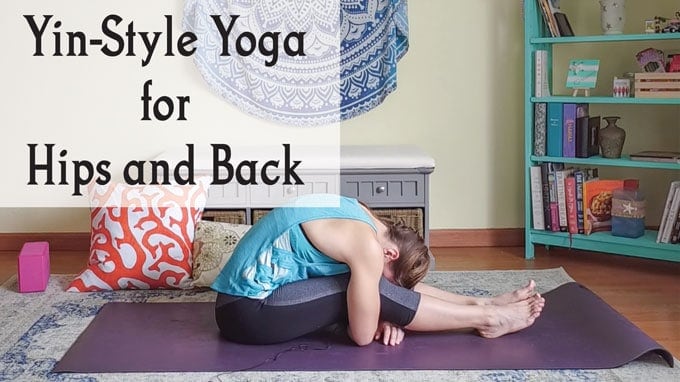
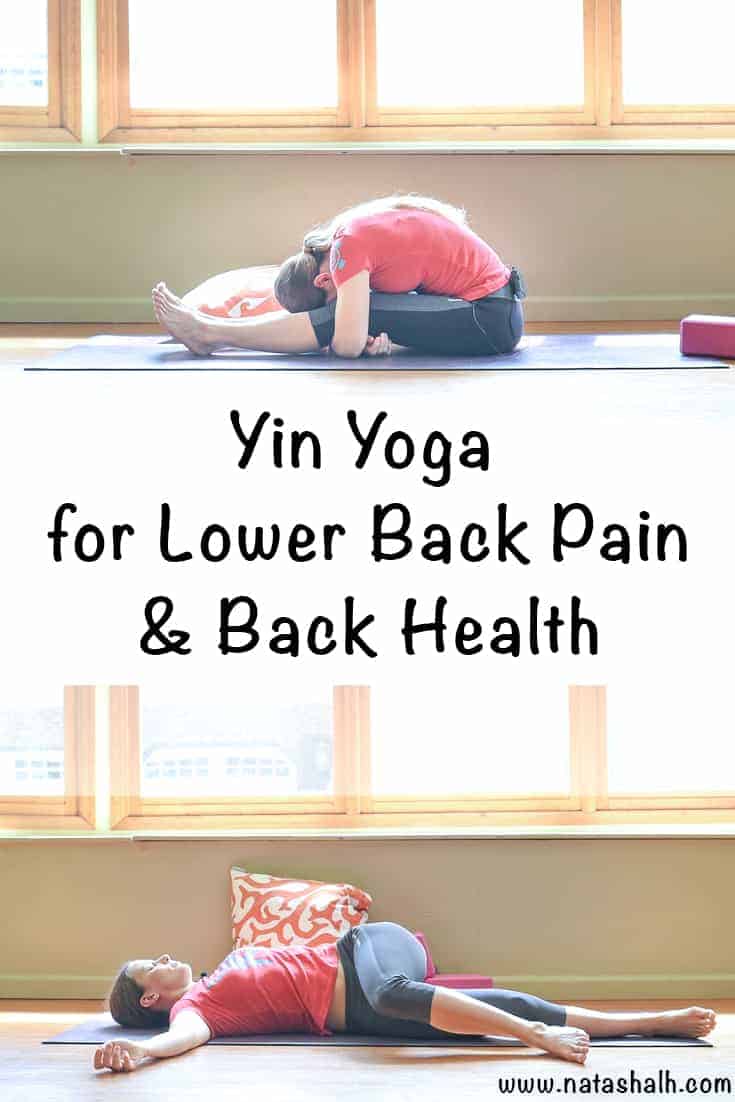
We sit, sit, sit in the modern world. This yoga sequence helps counteract sitting and slouching with poses for the hips and back.
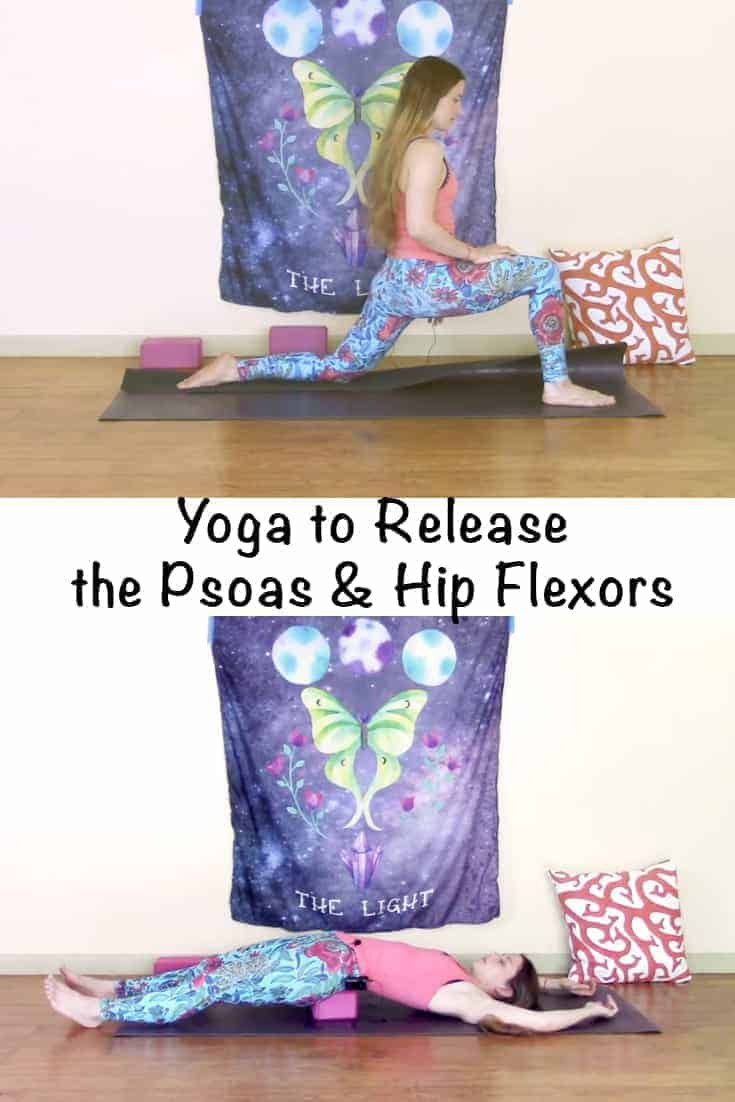
This yoga to release the psoas and hip flexors is a reader favorite! Recover afer a long day of sitting with these poses for your psoas.
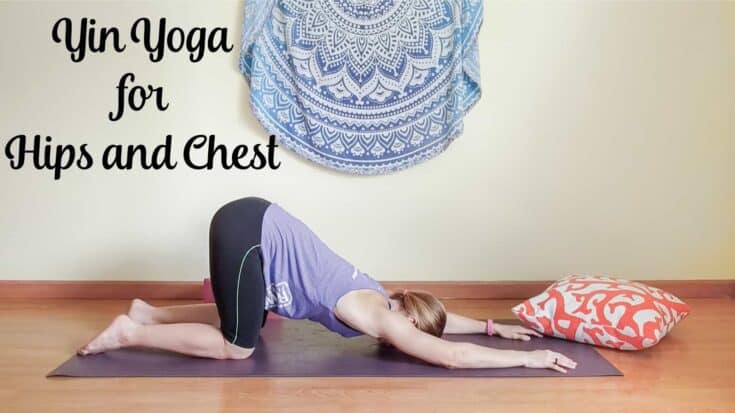
Sit at a computer all day? You need this yin yoga practice to open up your hips and chest!

Emma Hitzelberger
This is a good read for mommy that has no time in going to the gym because of their housewife duties. Thank you for sharing!