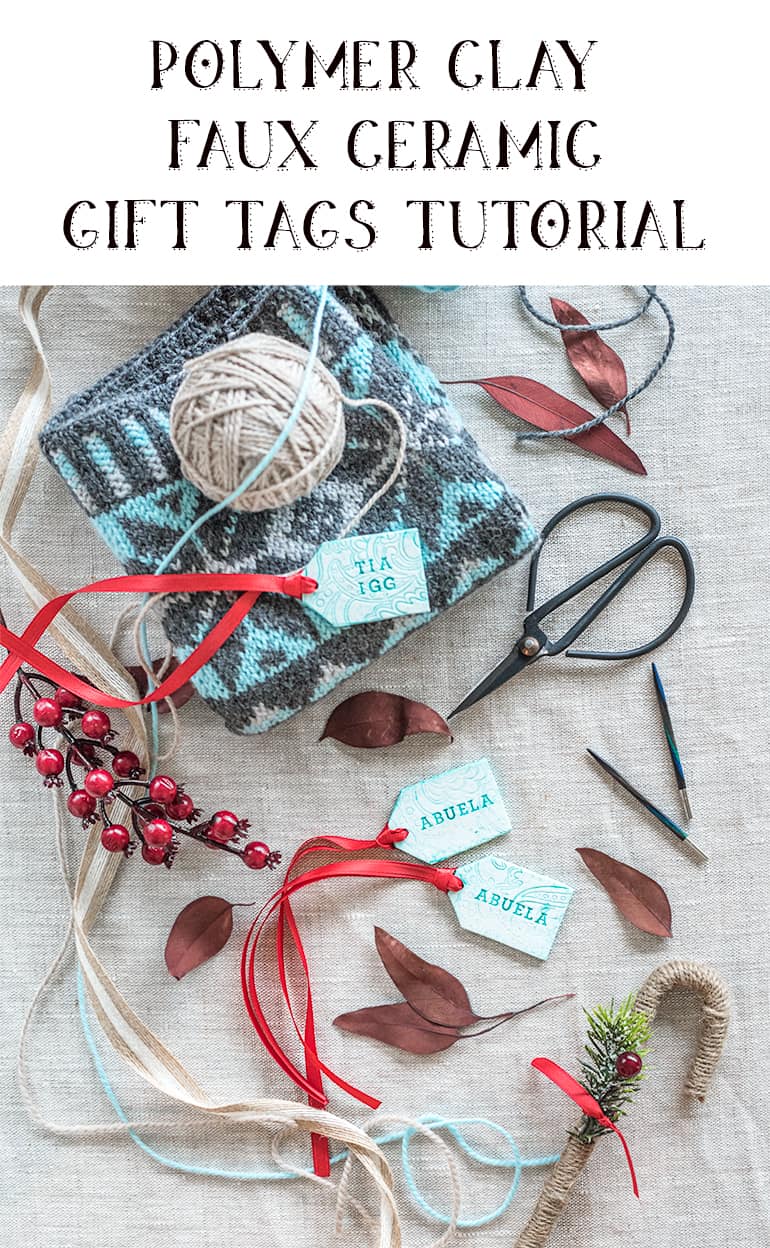
These faux ceramic polymer clay gift tags are easy to make and look so lovely on packages that the recipients will want to keep them as special ornaments! Just grab the free printable tag template, your clay, and let's get started!
My gifts have a reputation for being the "worst dressed" under the family Christmas tree. I'm not really sure that it's a fair assessment of the situation - any wrapping job looks pretty shabby next to my mom's presents. It's kind of like how you can't feel too bad if you don't bake as well as a family member who happens to be a professional pastry chef or something.
In an attempt to spruce up gifts this year, I made some faux ceramic polymer clay gift tags. They turned out so nice that I decided to share the process in a tutorial.
Nothing about these polymer clay gift tags is specifically 'Christmas,' so they can be made for any occasion during the year. I hope you enjoy and, as always, please let me know if you have questions about the process!
This post may include affiliate links, which means I may make a commission on purchases made through these links at no additional cost to you.
This same technique can be used for many different polymer clay projects. It's a fun way to give a ceramic-like effect when you don't have the equipment to work with ceramics.
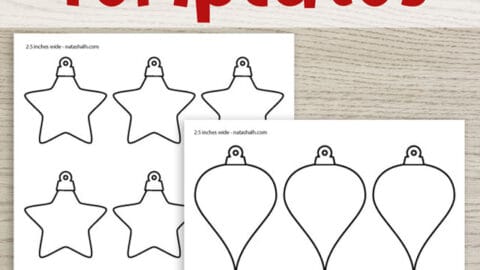
You can make your polymer clay gift tags any shape or size, but I created a 'tag' shaped template for you to use! You can download it for free from Dropbox here and below. There are three tags on the printable. They're all the same size, but it can be helpful to have more than one copy if you're making multiple tags.
Materials needed to make faux ceramic polymer clay gift tags
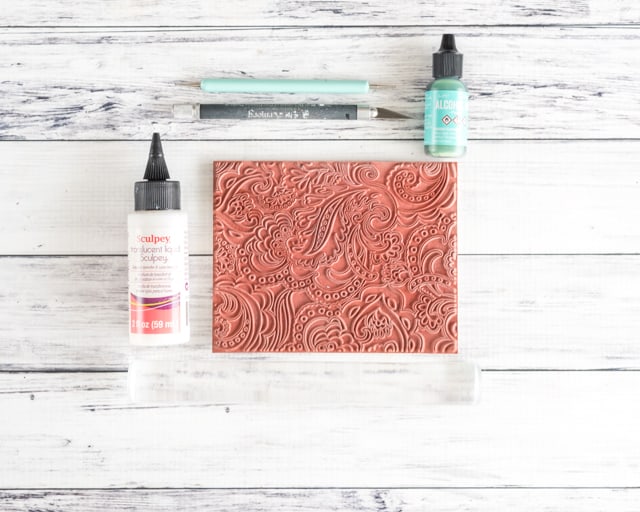
- Polymer clay. I virtually always use Premo! Sculpey. For the pictured tags I used ~1 oz of Accent Frost White Glitter.
- A texture stamp or something else to add texture with.
- A letter stamp set, optional.
- An acrylic roller
- A pasta machine for clay use (optional but helpful)
- A cookie/clay cutter or your printable template
- Ball head tools - I used both a very small and a mid-sized ball head tool. These are both optional, but helpful. You can use a colored pencil, instead. Don't use a graphite pencil because it will mark the clay. This set from Etsy seller My Mandarin Ducky has smaller heads than I've been able to find at craft stores or on Amazon.
- A hobby blade ("X-acto knife")
- A nonstick crafting sheet or piece of cardstock to bake you clay on
- Liquid translucent polymer clay
- Alcohol ink
- Nitrile gloves (optional but highly recommended because alcohol ink stains!)
- A bamboo skewer or toothpick
- A plastic tray, lid, etc. that you don't mind tossing afterwards. I used an oatmeal container lid.


Want some extra holiday cash? Sign up for a free Ebates account to earn cash back on the online purchases you were going to make, anyway, PLUS cash bonuses for referring friends! (Ebates is called Rakuten now, but it's the same thing.)
Faux ceramic polymer clay gift tag tutorial
Print and cut out your tag template, if you're planning to use it. To make a larger tag, simply scale up (print at 110%, 120%, etc.) when printing.
Condition and roll out your clay. I used 1 oz, or half a 'normal' sized package, of clay to make three tags and had some left over.
To condition, simply knead your clay and/or run it through your pasta machine until it is more supple and workable. I used the thickest setting on my machine for the tags. You can also use an acrylic roller.
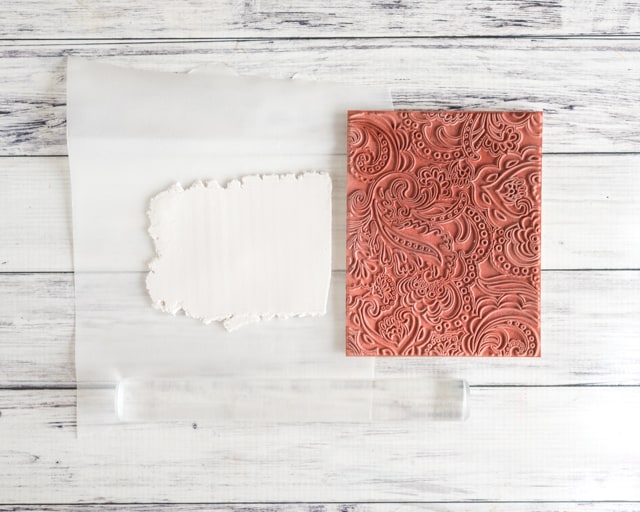
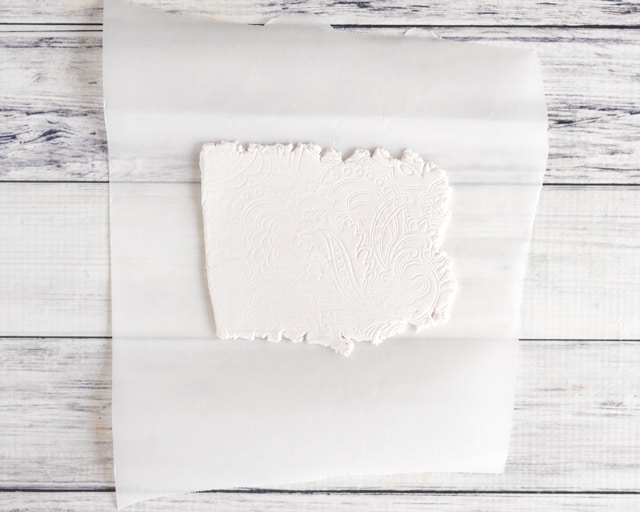
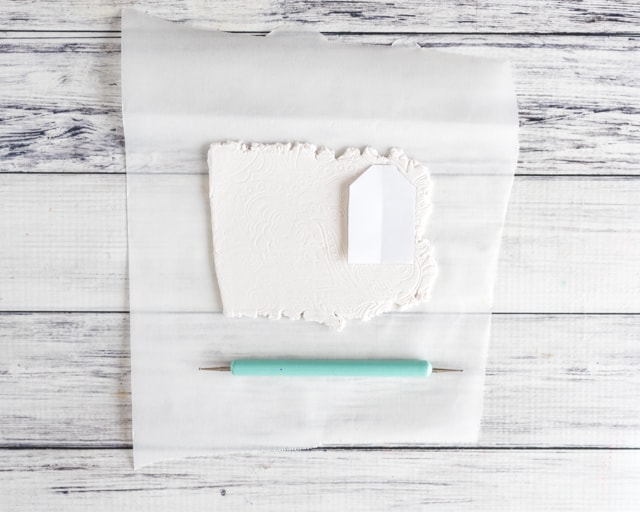
Once your clay is rolled out nicely and you've confirmed that your template or cutter will fit on the piece of clay, texture it.
To use a large, flat rubber stamp like mine, place it on the clay and then roll your acrylic roller across the back carefully but firmly. For a mounted stamp, just press into place. Carefully lift the stamp.
Place your tag template on the clay and trace around it with a ball head tool or colored pencil.
If you're making multiple tags, you can save some time by carefully lining up the long, flat edges so the tags share an edge.
I highly recommend tracing the tags and then cutting them. Stray marks with a ball head tool are way easier to fix than cuts from a hobby blade, plus the ball head doesn't have the same potential for damaging your template.
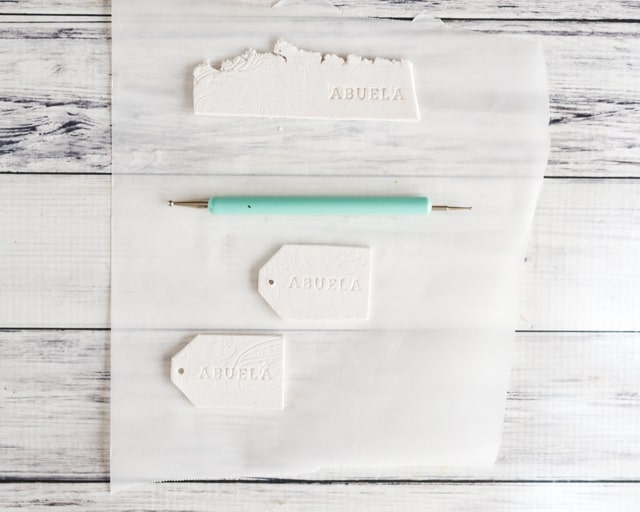
After tracing your tags, carefully cut them out with your hobby blade.
Stamp the tags again, if you'd like. You can also write on the back of each tag instead of stamping it.
If you're stamping text with letters you position on a stamp block, I suggest you test it out on scrap clay before stamping your tags to make sure all the letters are positioned correctly.
If you're using a ball head tool to make holes for the tags, do that now, before baking. (You can also drill the holes later, but it's so much easier to just go ahead and make them now!)
Pre-heat your oven to the temperature directed on your clay's packaging.
For Premo!, the baking temperature is 275ºF. Bake your clay, but only for a few minutes. I baked my tags for 10 minutes.
Bake your tags for less than half the recommended time, adjusting the time as necessary for your clay and your tag's thickness.
Remove the tags from the oven and allow it to cool completely.
While your clay is cooling, squirt a bit of liquid translucent clay onto your plastic lid, or whatever surface you're using for mixing. Add a few drops of alcohol ink and mix thoroughly with a toothpick or skewer. Add more ink, if you'd like, to achieve your desired color.
![]()
Once your clay is cool, use your gloved finger to spread colored liquid clay over the tag's fronts. It will naturally start to sink down in the cracks. You can also rub off some of the clay with a paper towel, if you'd like.
Bake your tags for an additional 10-20 minutes, or as needed to finish baking your tags.
Add ribbons or twine and you're ready to use your faux ceramic polymer clay gift tags!
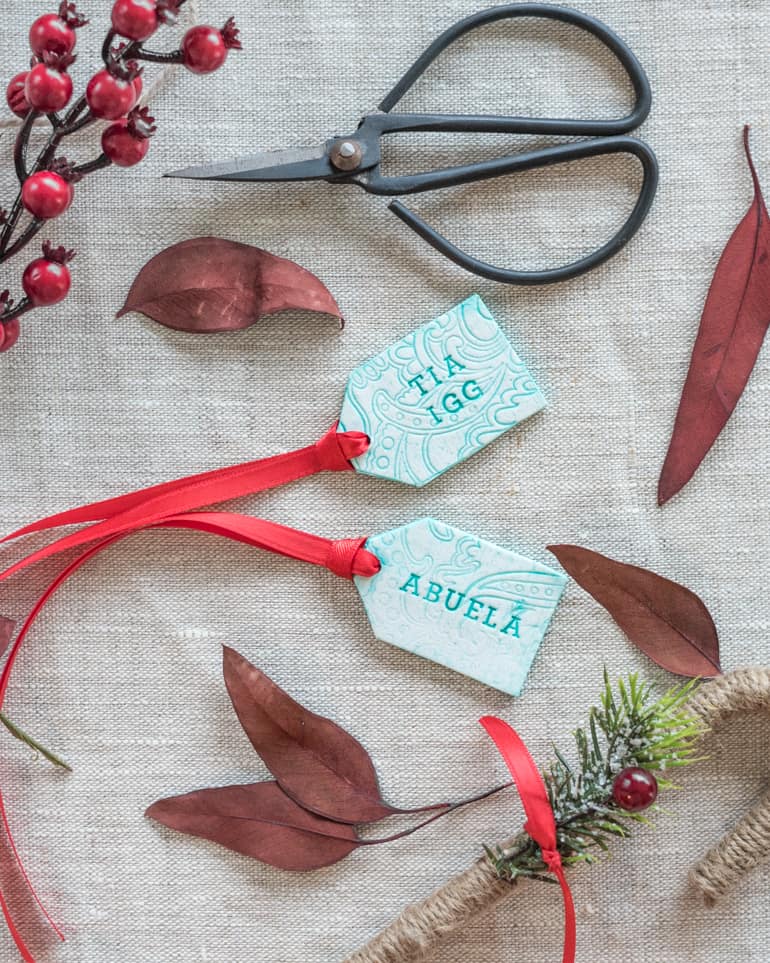
If you want to see what "Tia Igg" (my sister) received, please stop by this post on the lovely fair isle-inspired cowl my husband made her from a Craftsy class pattern! The post also has tips on how to block a knitted cowl for a smooth, rounded edge appearance without any ugly folds.
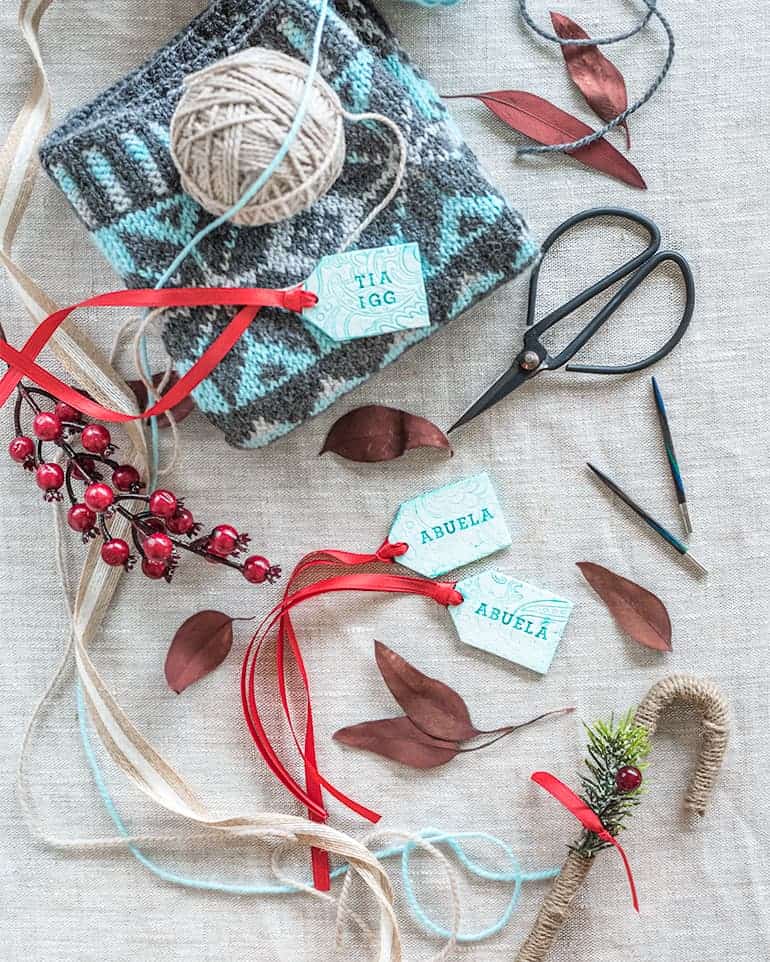
As mentioned above, this same faux ceramic technique can be applied to a variety of polymer clay projects! I used it to make cute commemorative baby ornaments for family members, and I've used it on some clay cabochons and buttons.
Have you ever worked with ceramics or tried to replicate the ceramic look with a different medium? What did you do and how did it go?
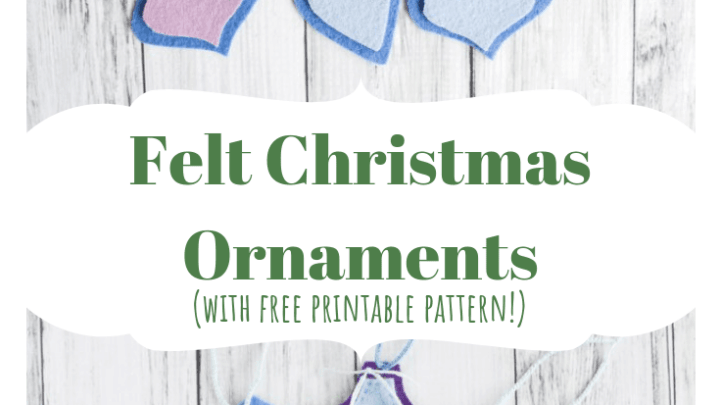
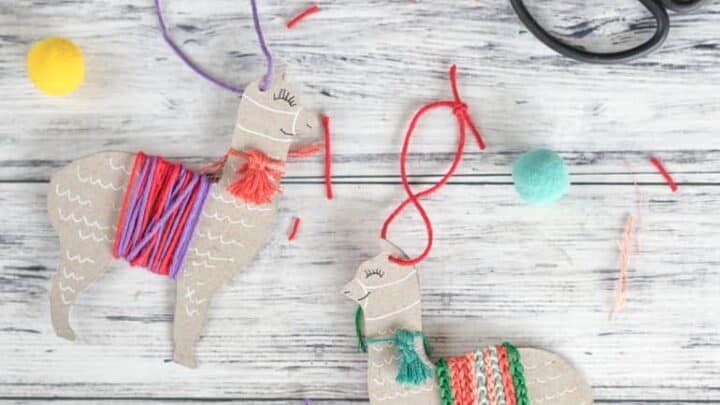
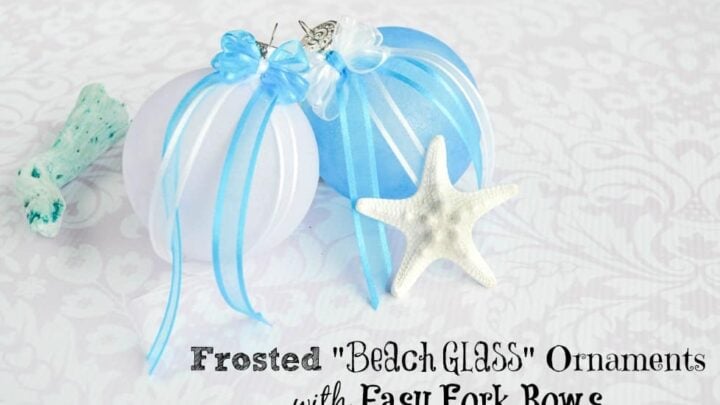
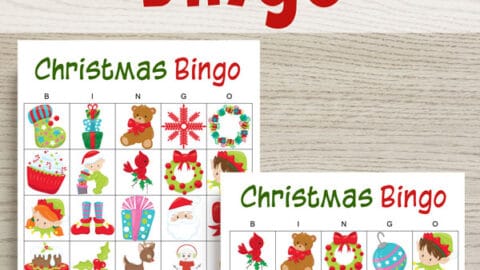
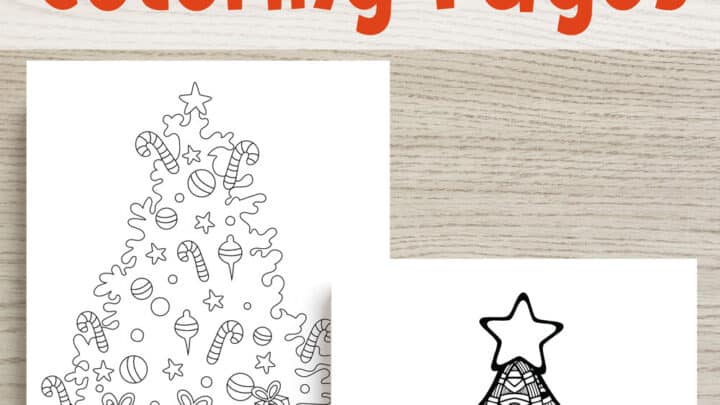
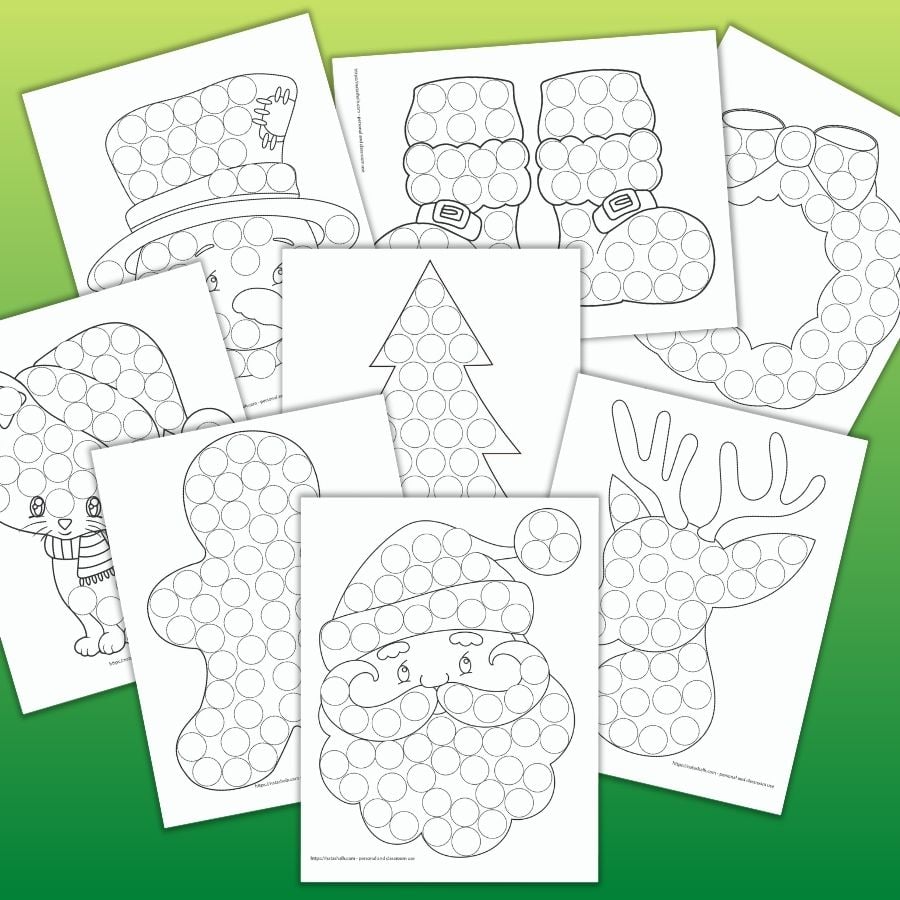
Looking for more DIY ornament tutorials or free printables for Christmas? You've come to the right place!Christmas tutorials and printables


Michelle
How lovely Natasha. Gift tags like these are almost a present on their own. Gorgeous
Natasha
Thank you! I know at least several of the tags were kept, so I think family members agree with you. =)
Duni
These tags are so cute! I love the design you chose to stamp them with. I have bookmarked this for when I feel crafty again 🙂